

Send an envelope from a client's page under Worksorted and their details are filled in for you. Once it's signed, Annature saves the completed document back to the client in Worksorted as a note, filed under the category you choose.
How to send an envelope
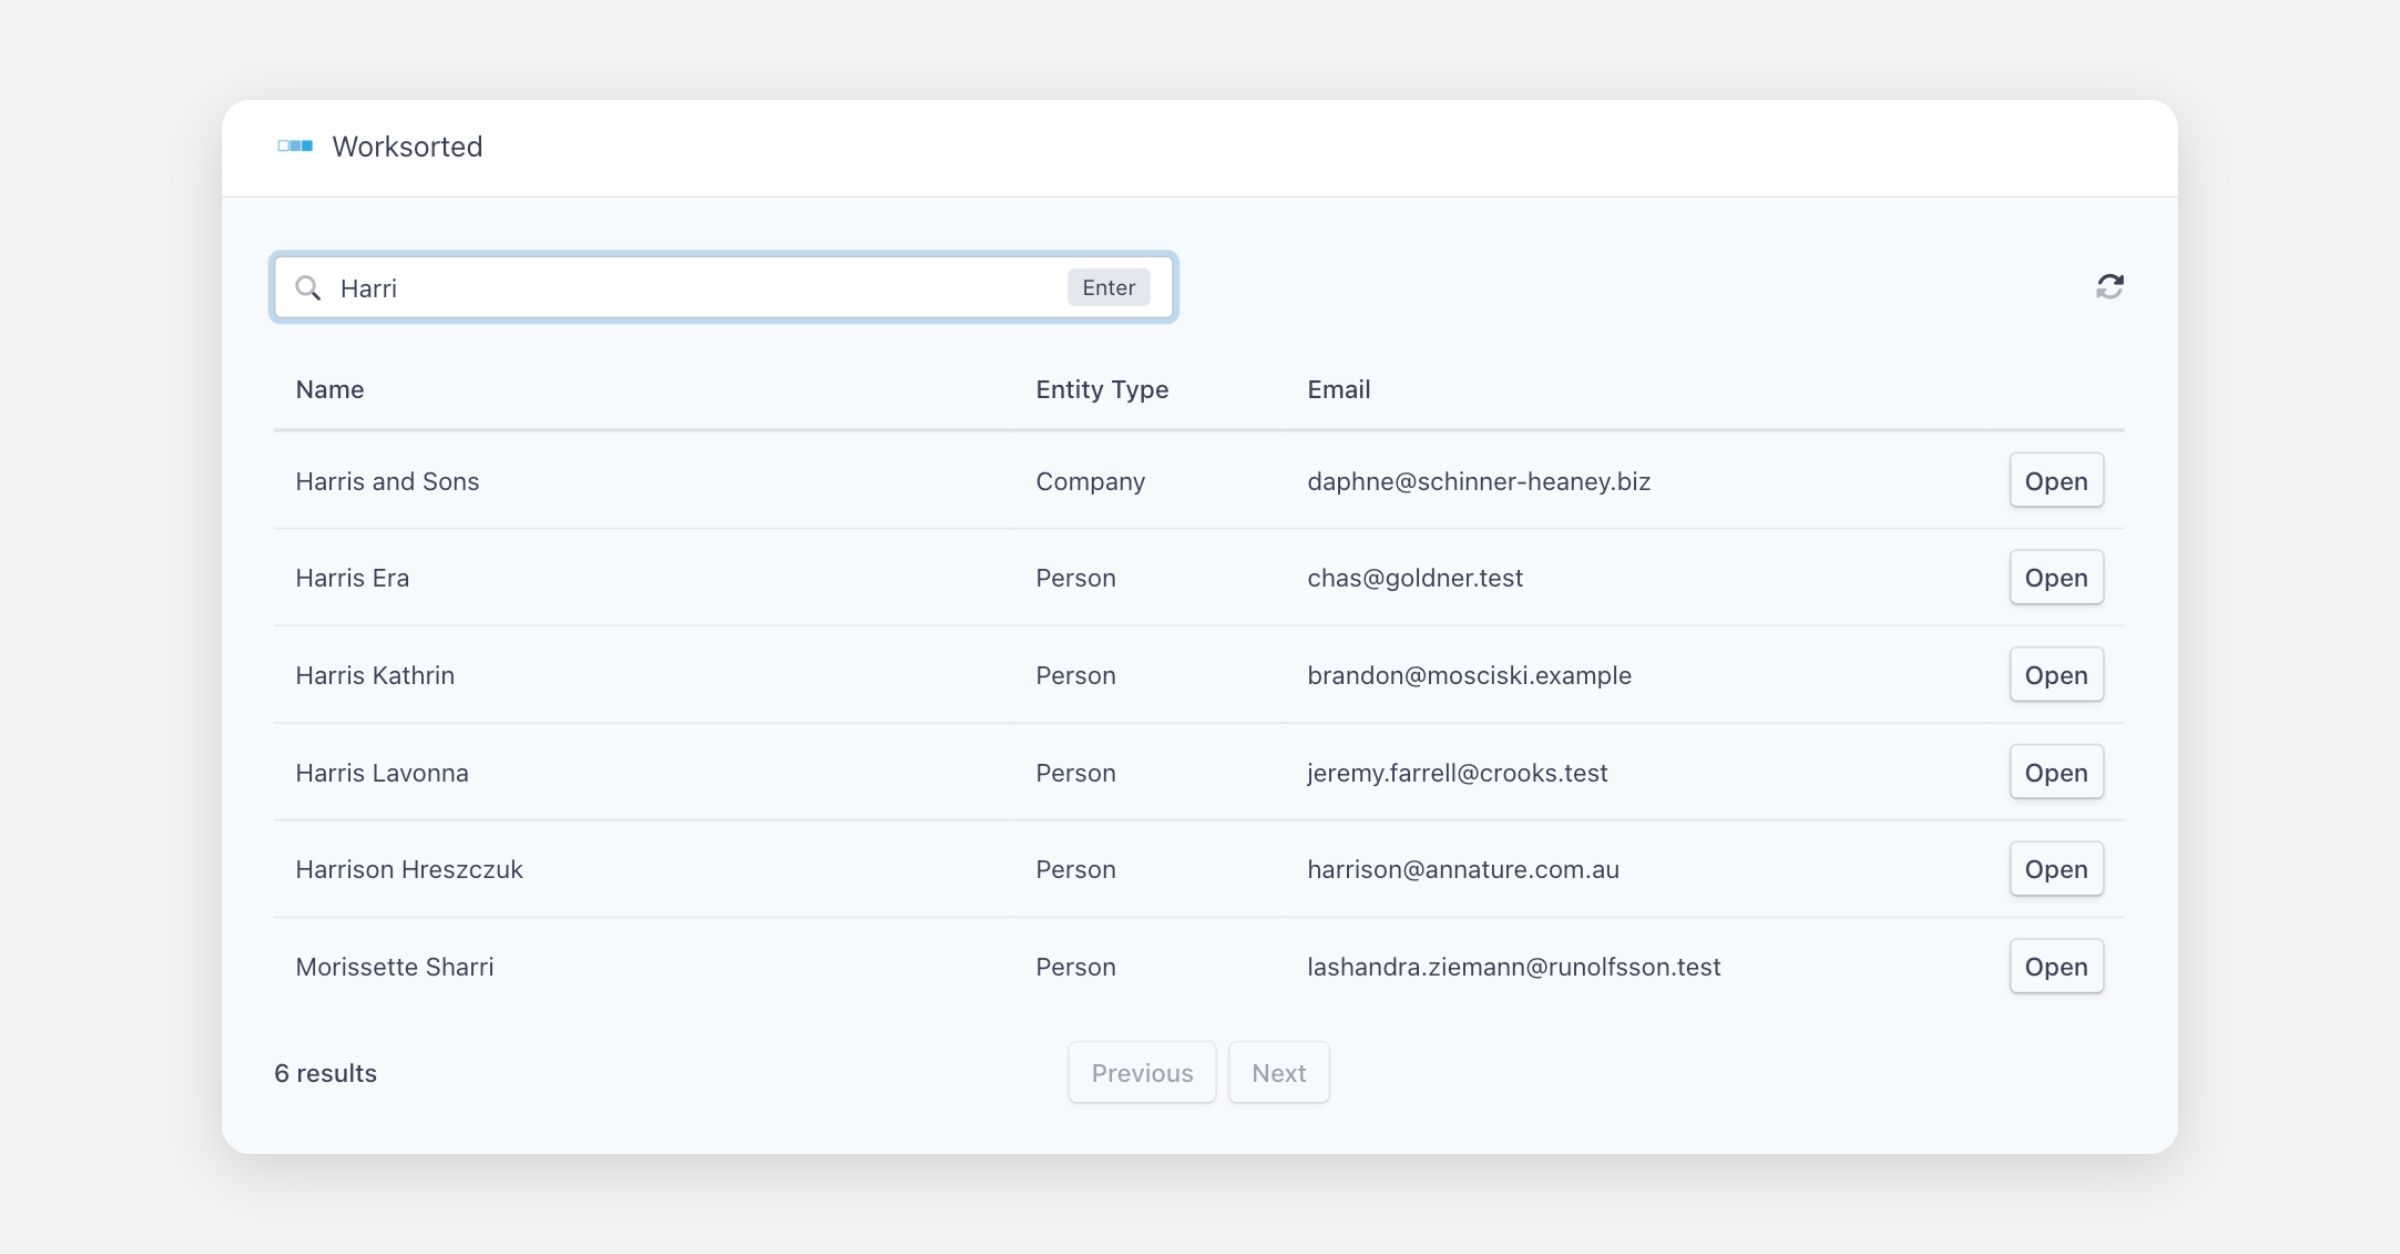
- Select Worksorted from the left-hand menu, search for the client and click Open.
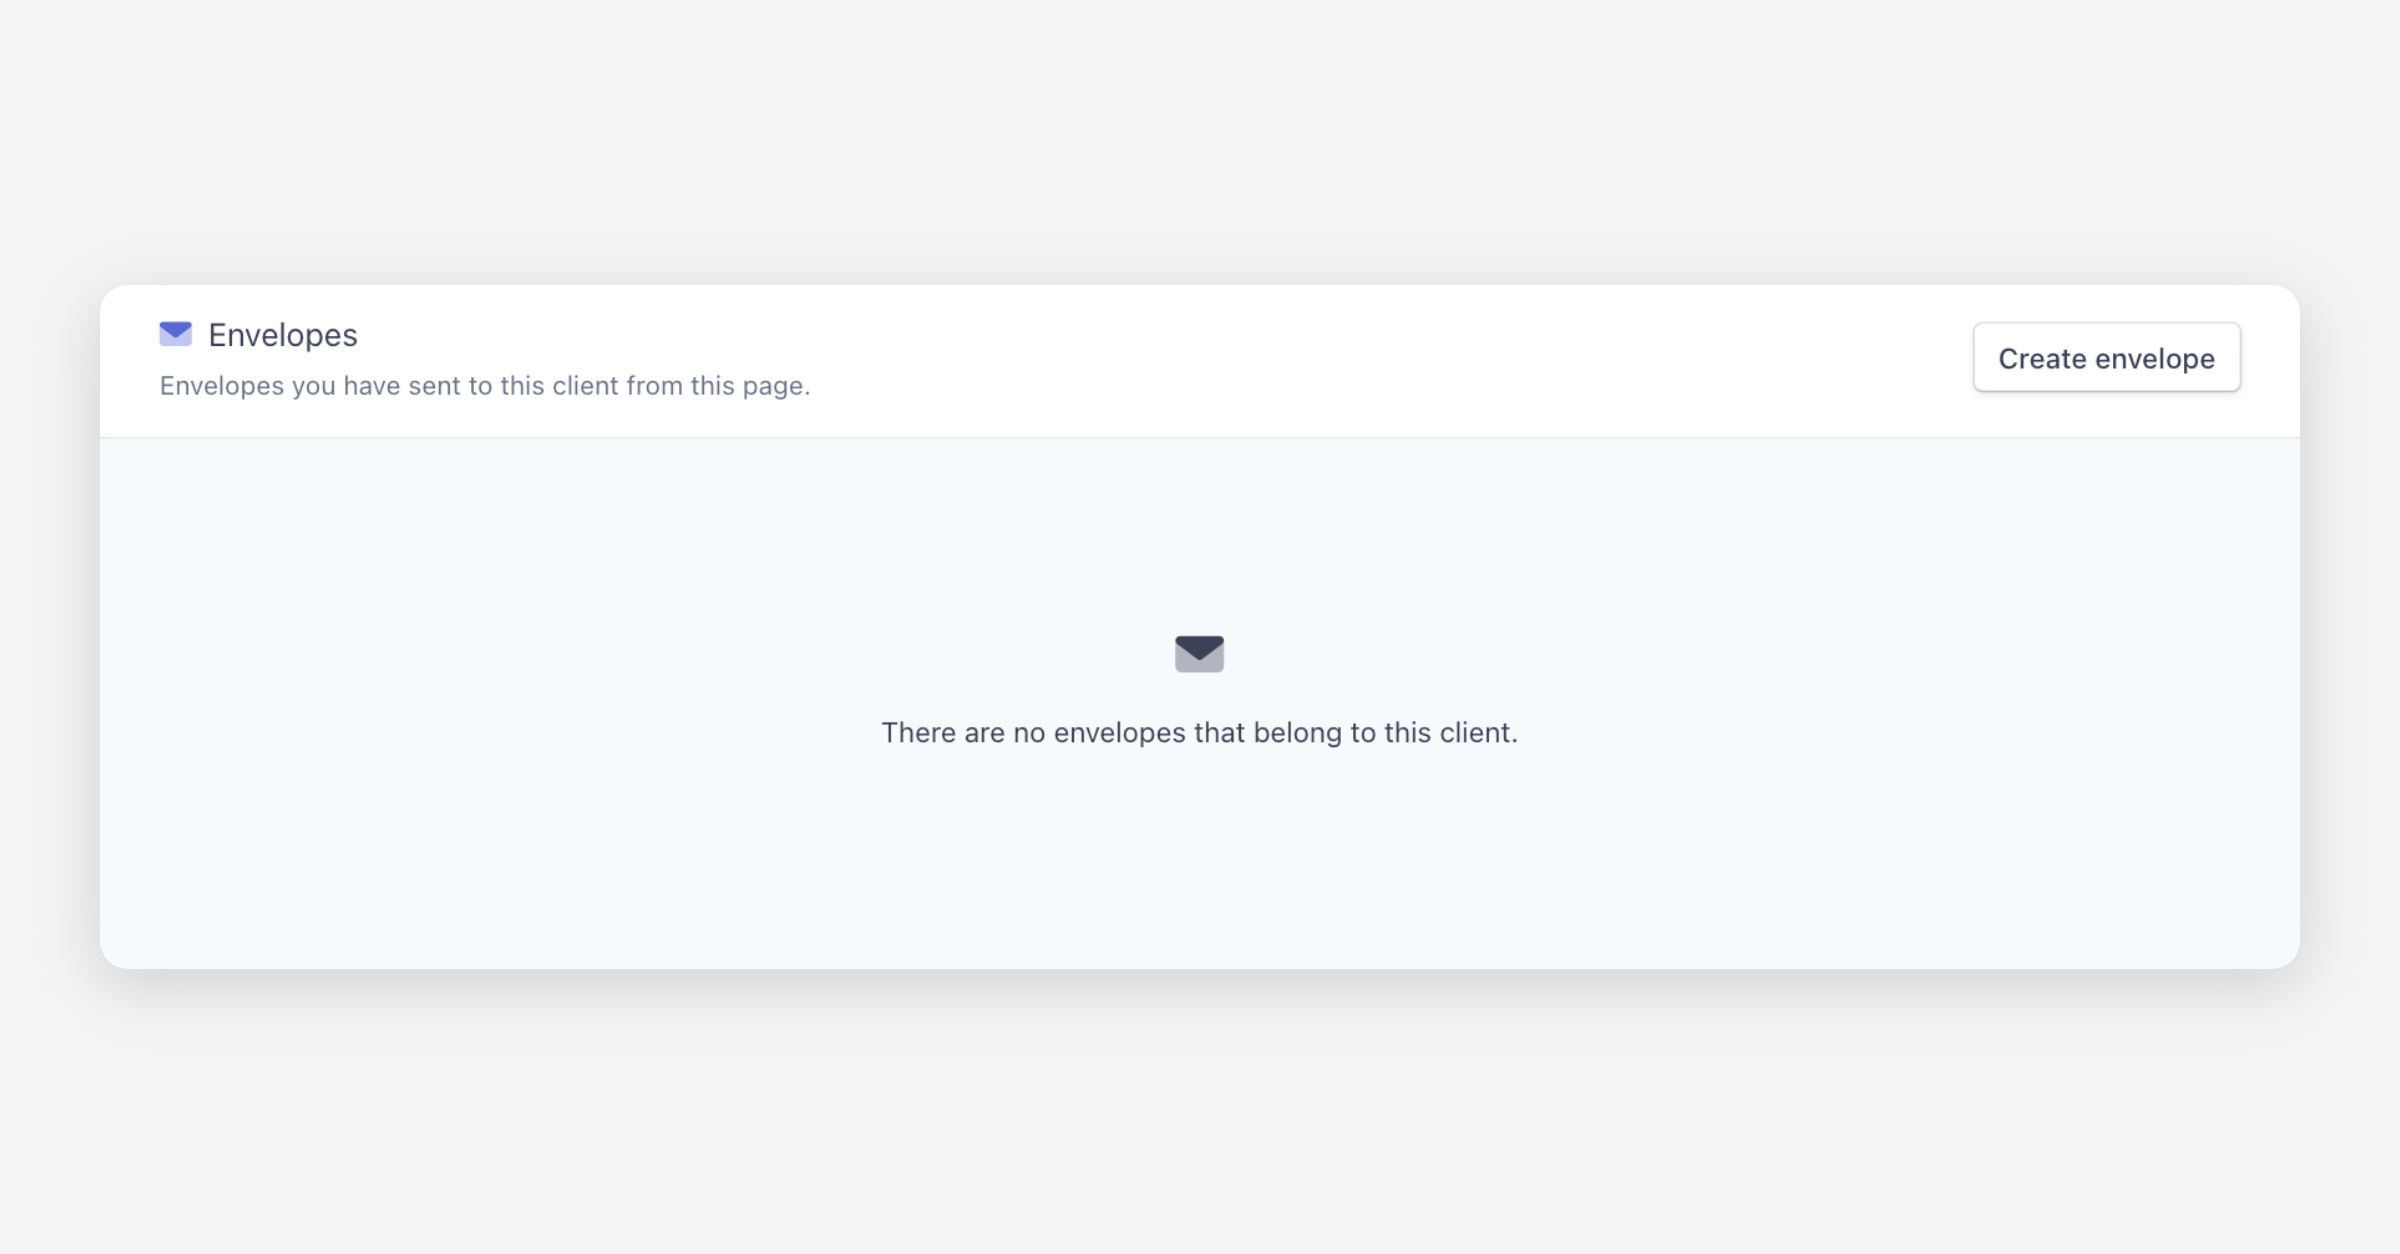
- Under Envelopes, click Create envelope. The client is added as the signer, with their name, email and mobile number filled in from Worksorted.
- Upload your documents and add any other recipients.
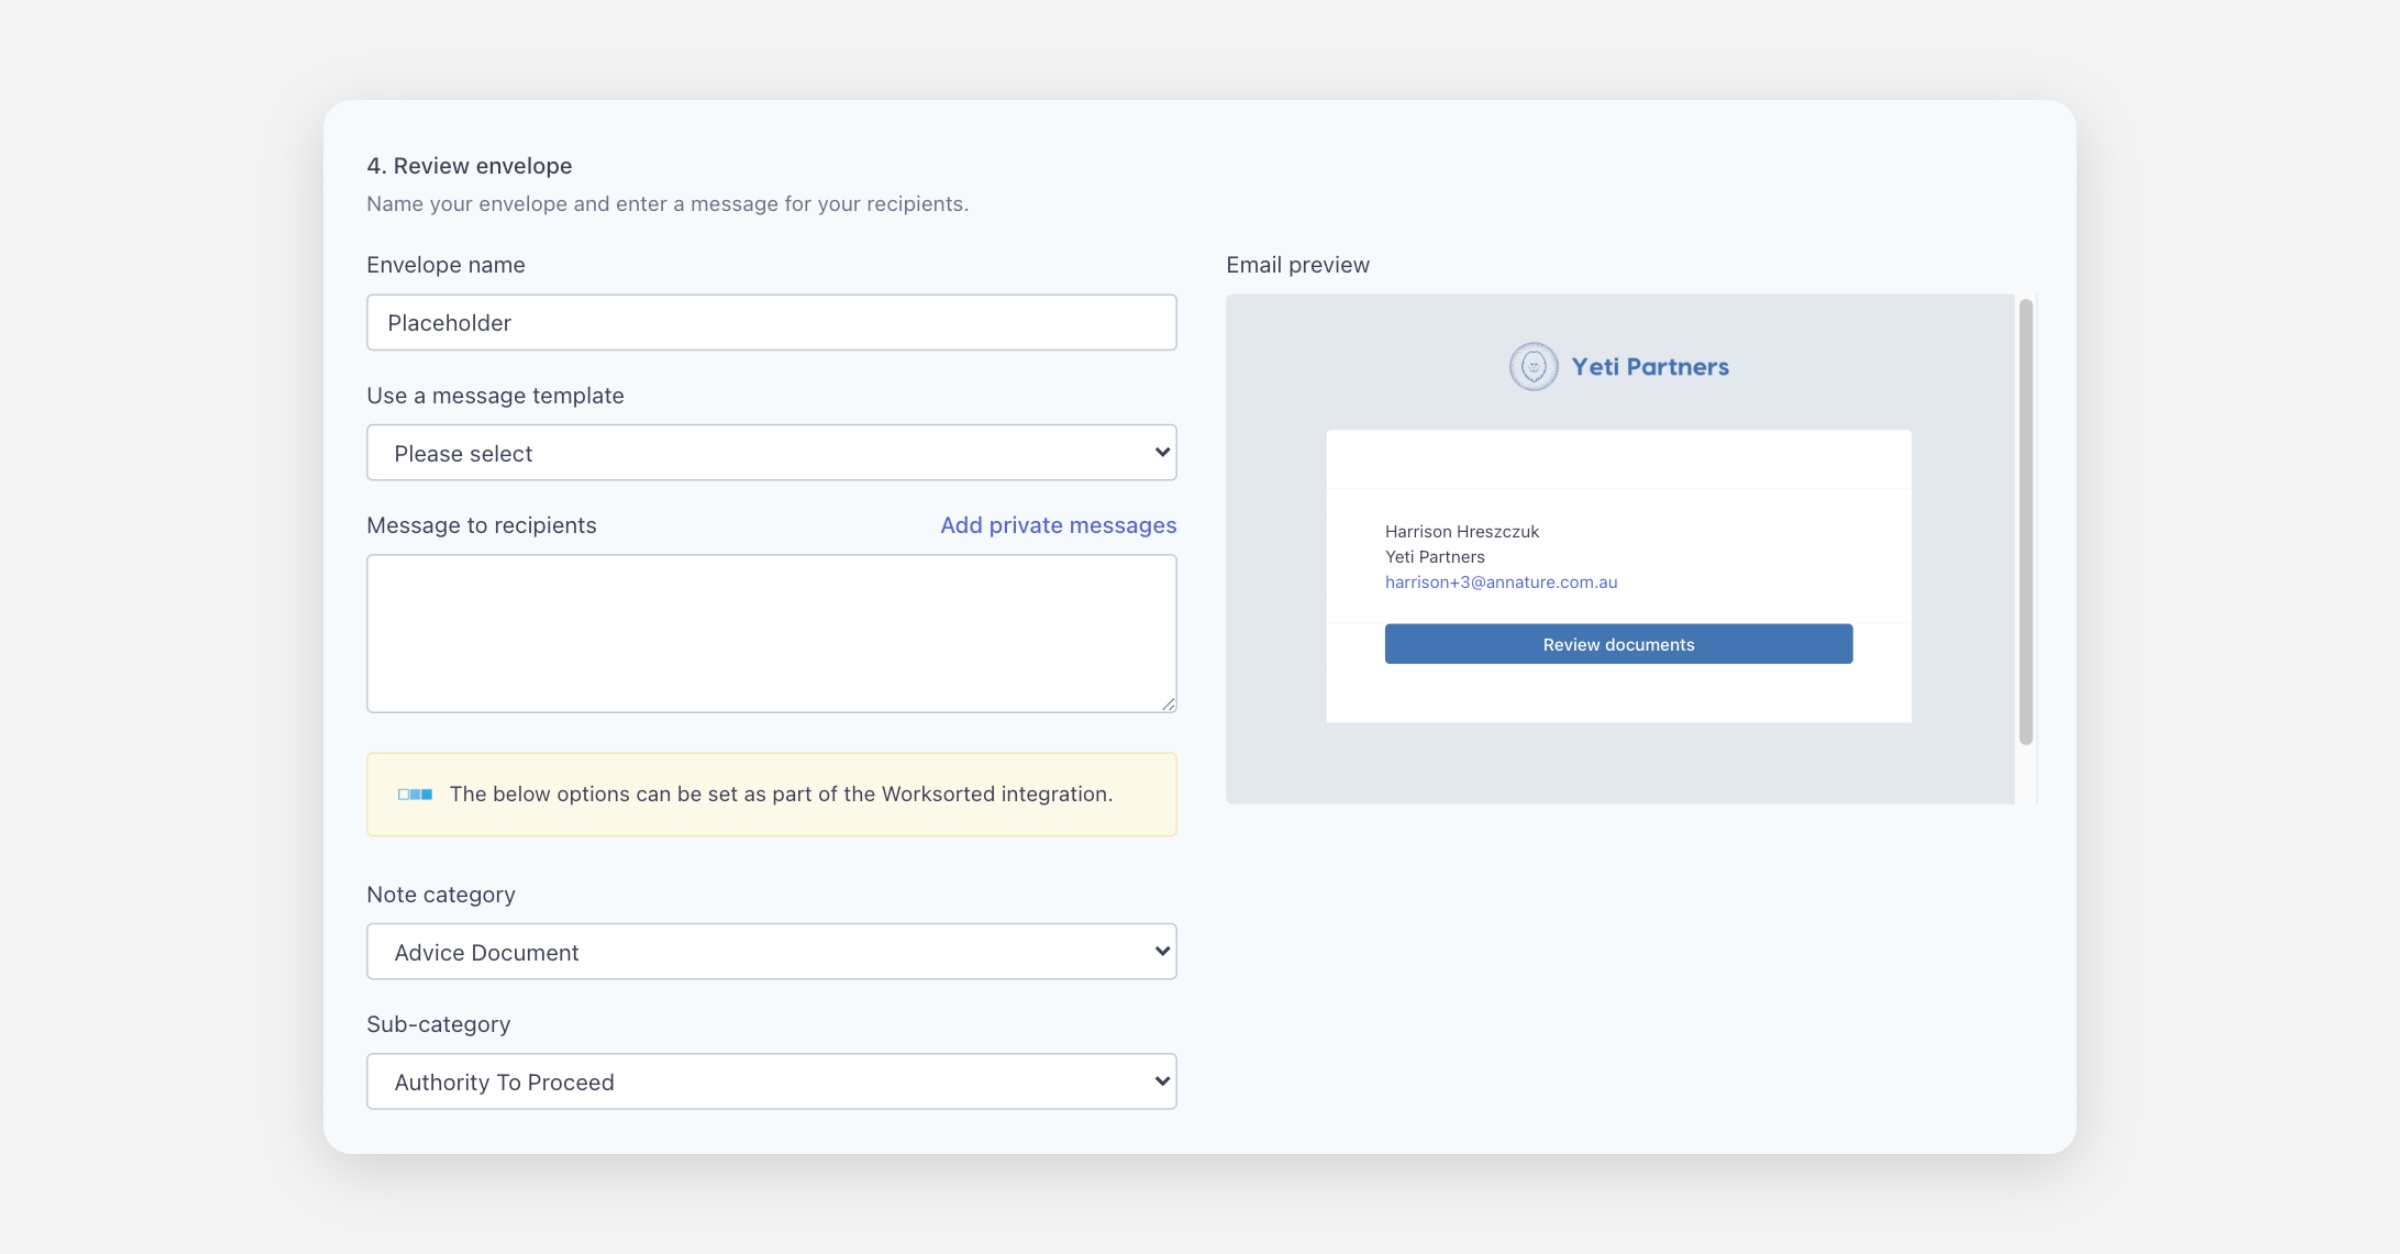
- Choose a Note category and Sub-category for the note that's saved to Worksorted. These are your own Worksorted note categories, and both are optional.
- Prepare and send the envelope as usual.
If the client doesn't have an email address in Worksorted, the signer is added with a placeholder email. Replace it with their real email before you send.
What happens when it's completed
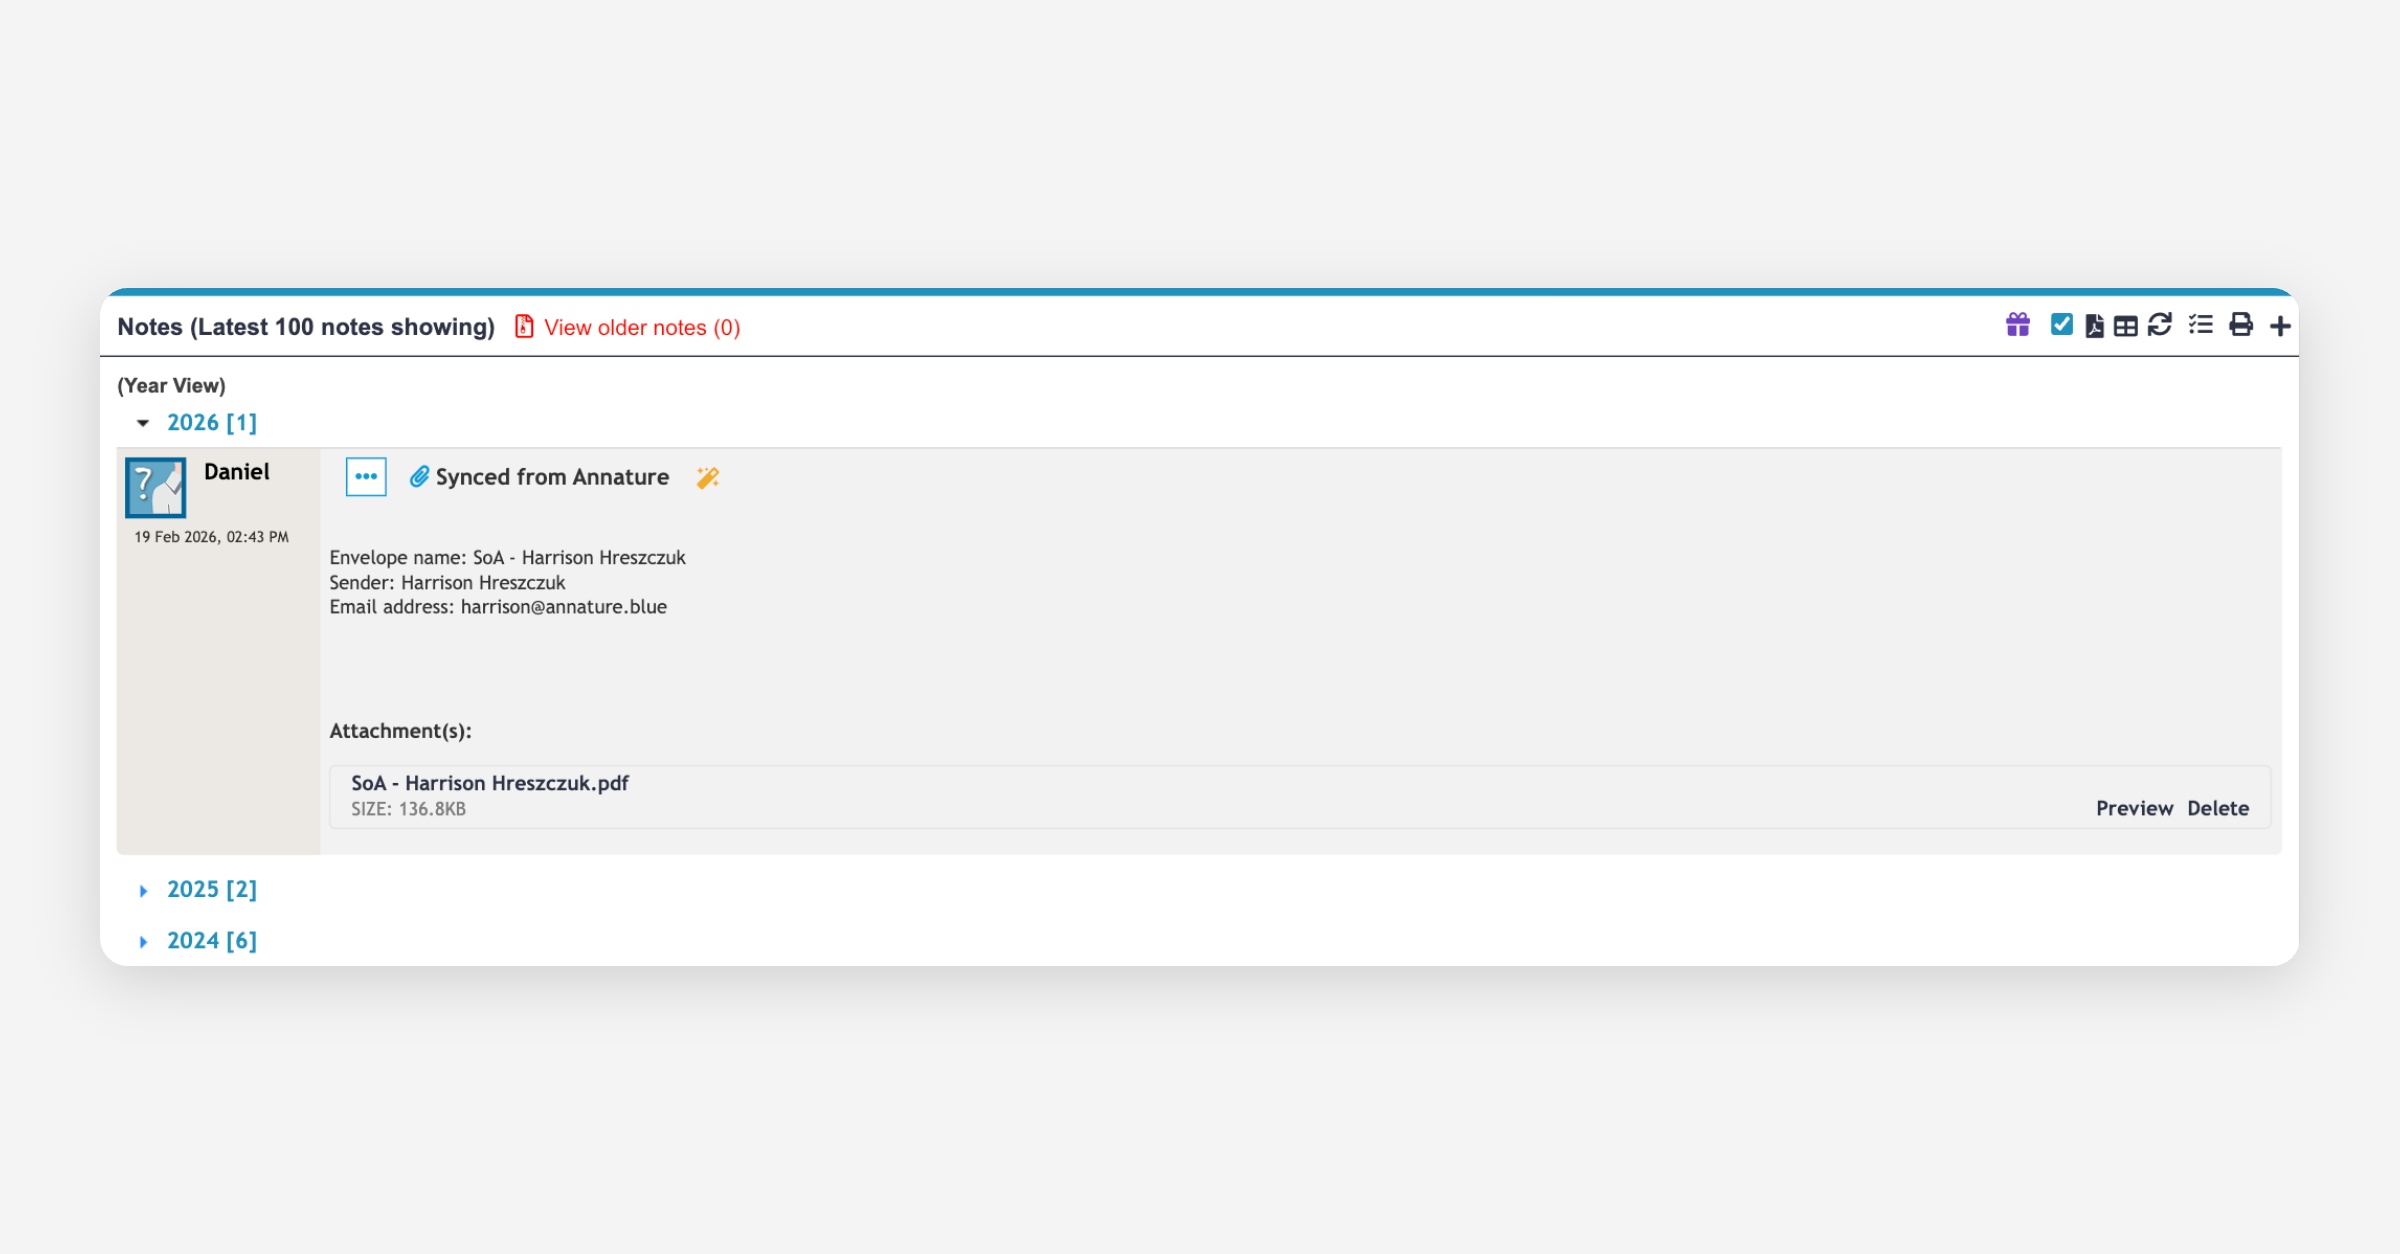
When everyone has signed, Annature adds a note to the client in Worksorted with:
- The title Synced from Annature.
- The envelope name, and the name and email of the person who sent it.
- The note category and sub-category you chose.
- One PDF attachment, named after the envelope, containing the signed documents and the certificate of completion.
Nothing is saved to Worksorted for envelopes that are declined or voided.
To check whether an envelope has synced, or to sync it again, see What syncs to Worksorted.
Only envelopes created from the Worksorted page sync back
Envelopes only sync to Worksorted when they're created with Create envelope on the client's page. An envelope sent from Send envelope, a template or your address book isn't linked to Worksorted, even if the recipient was imported from Worksorted.