Docs / Settings
Labels
Create custom labels to categorise, organise, and filter your envelopes from the sidebar.
Labels are a handy tool to organise and manage your envelopes in Annature. By creating custom labels, you can group envelopes together based on specific criteria — such as document type, client, project, or workflow stage — making it simpler to locate the envelopes you need.
Once created, labels appear in the sidebar navigation under the Labels section, allowing you to quickly filter and view all envelopes with a specific label.
The Labels page can be accessed by any Annature Admin by navigating to Settings > Labels.
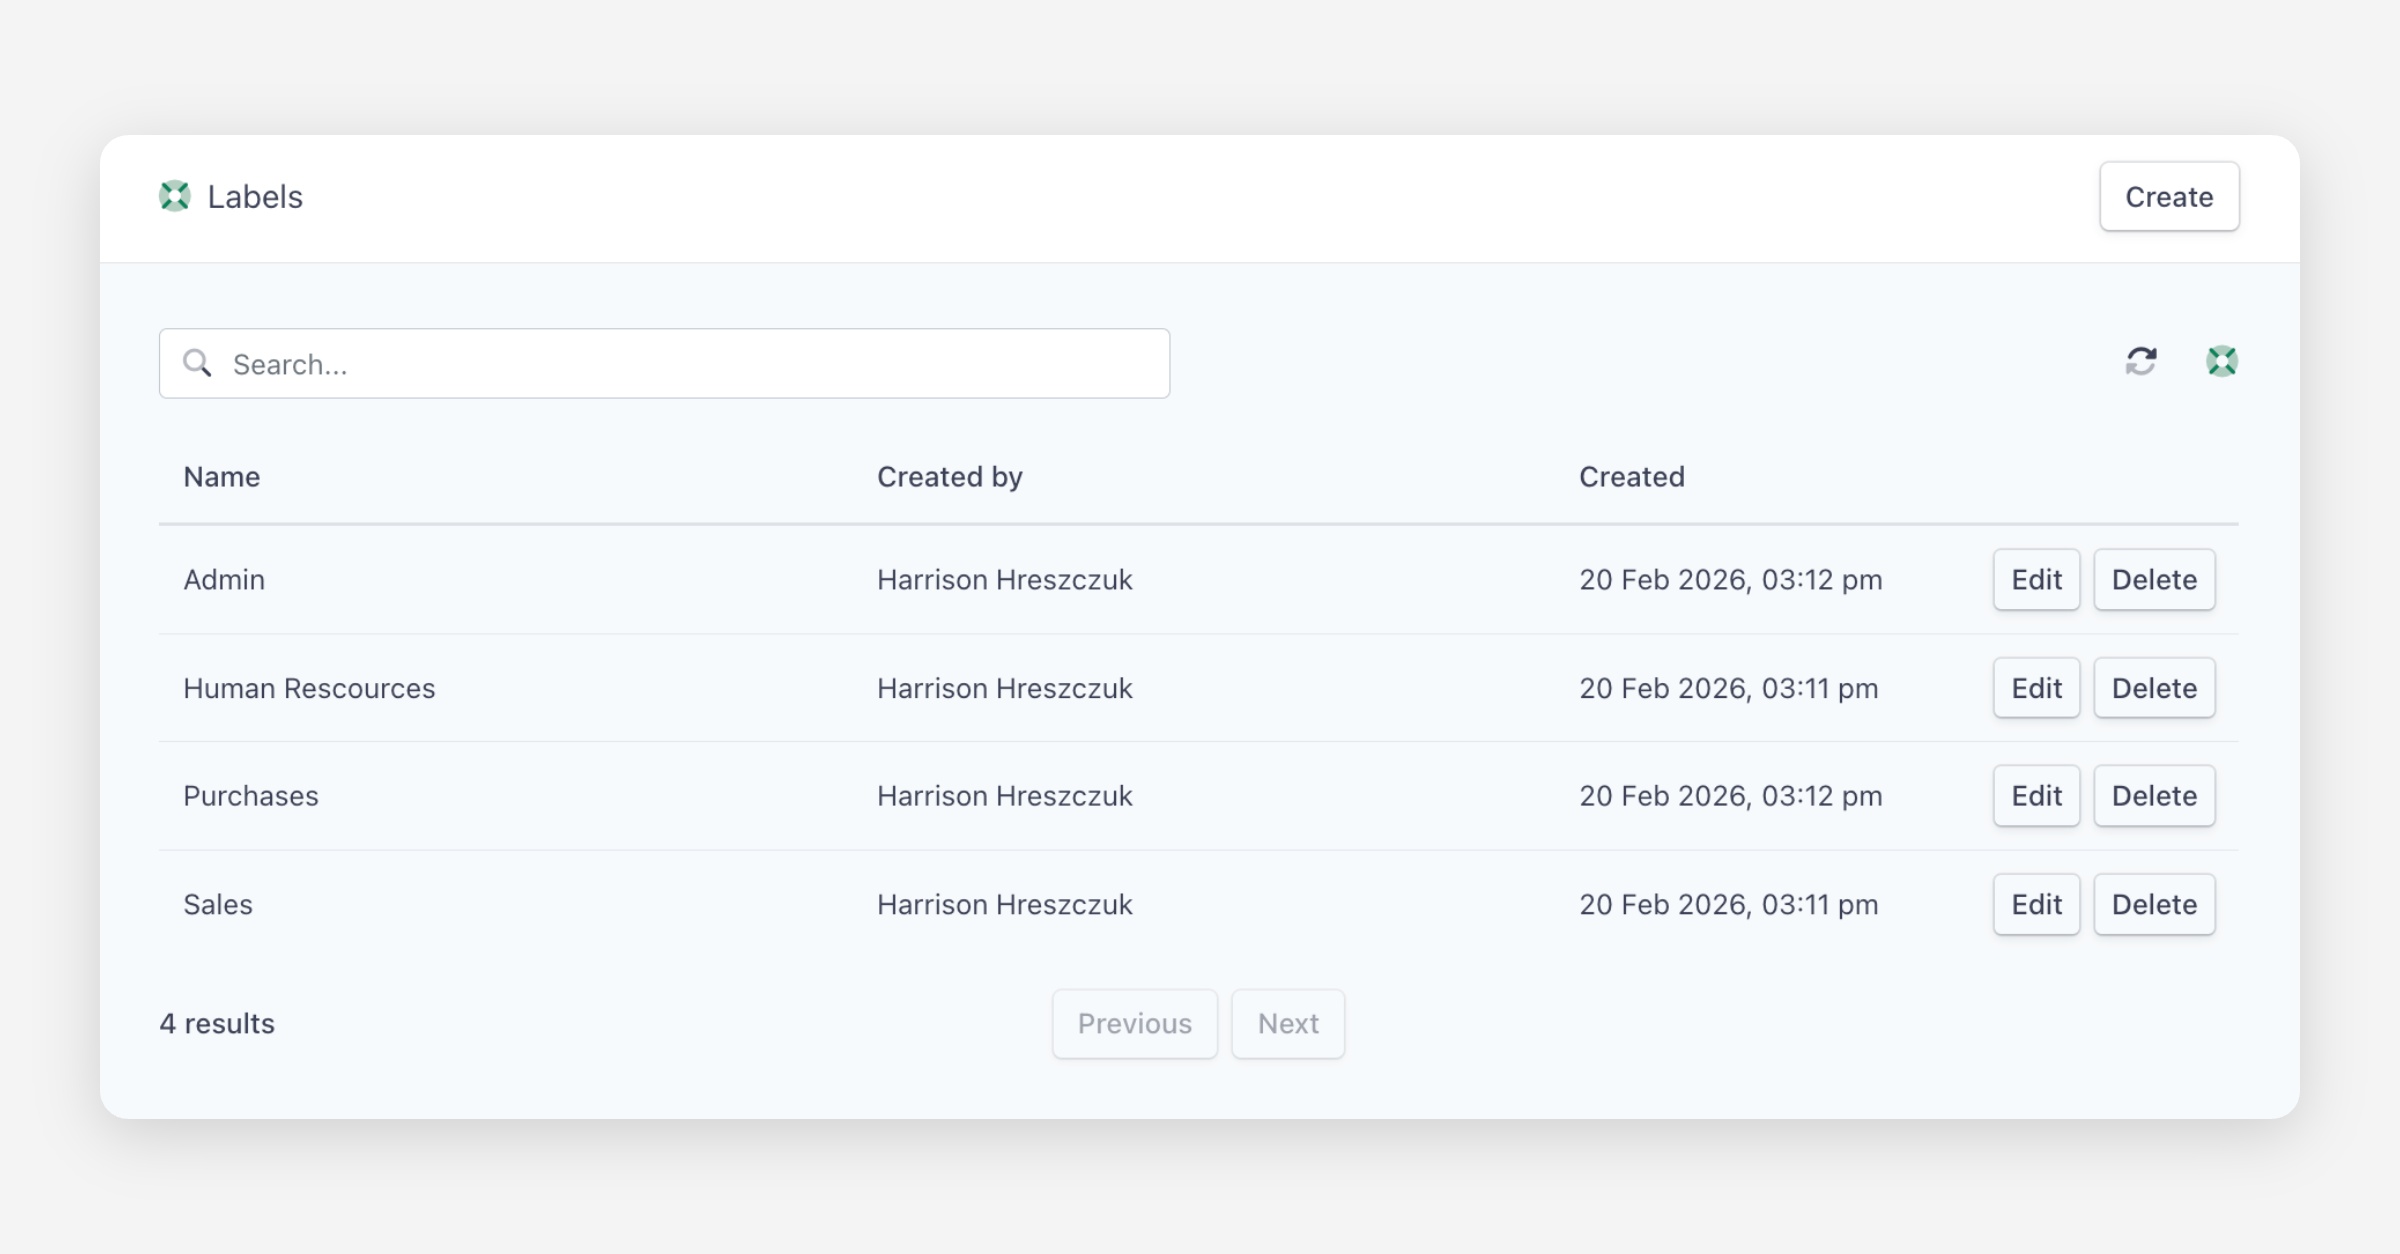
Labels List
The Labels page displays a table of all labels in your organisation, showing:
Name — The label name.
Created by — The team member who created the label.
Created — The date the label was created.
You can search for labels using the search bar at the top of the page.
Creating a Label
To create a label:
Navigate to Settings > Labels.
Click Create in the upper right corner.
Enter a name for your label.
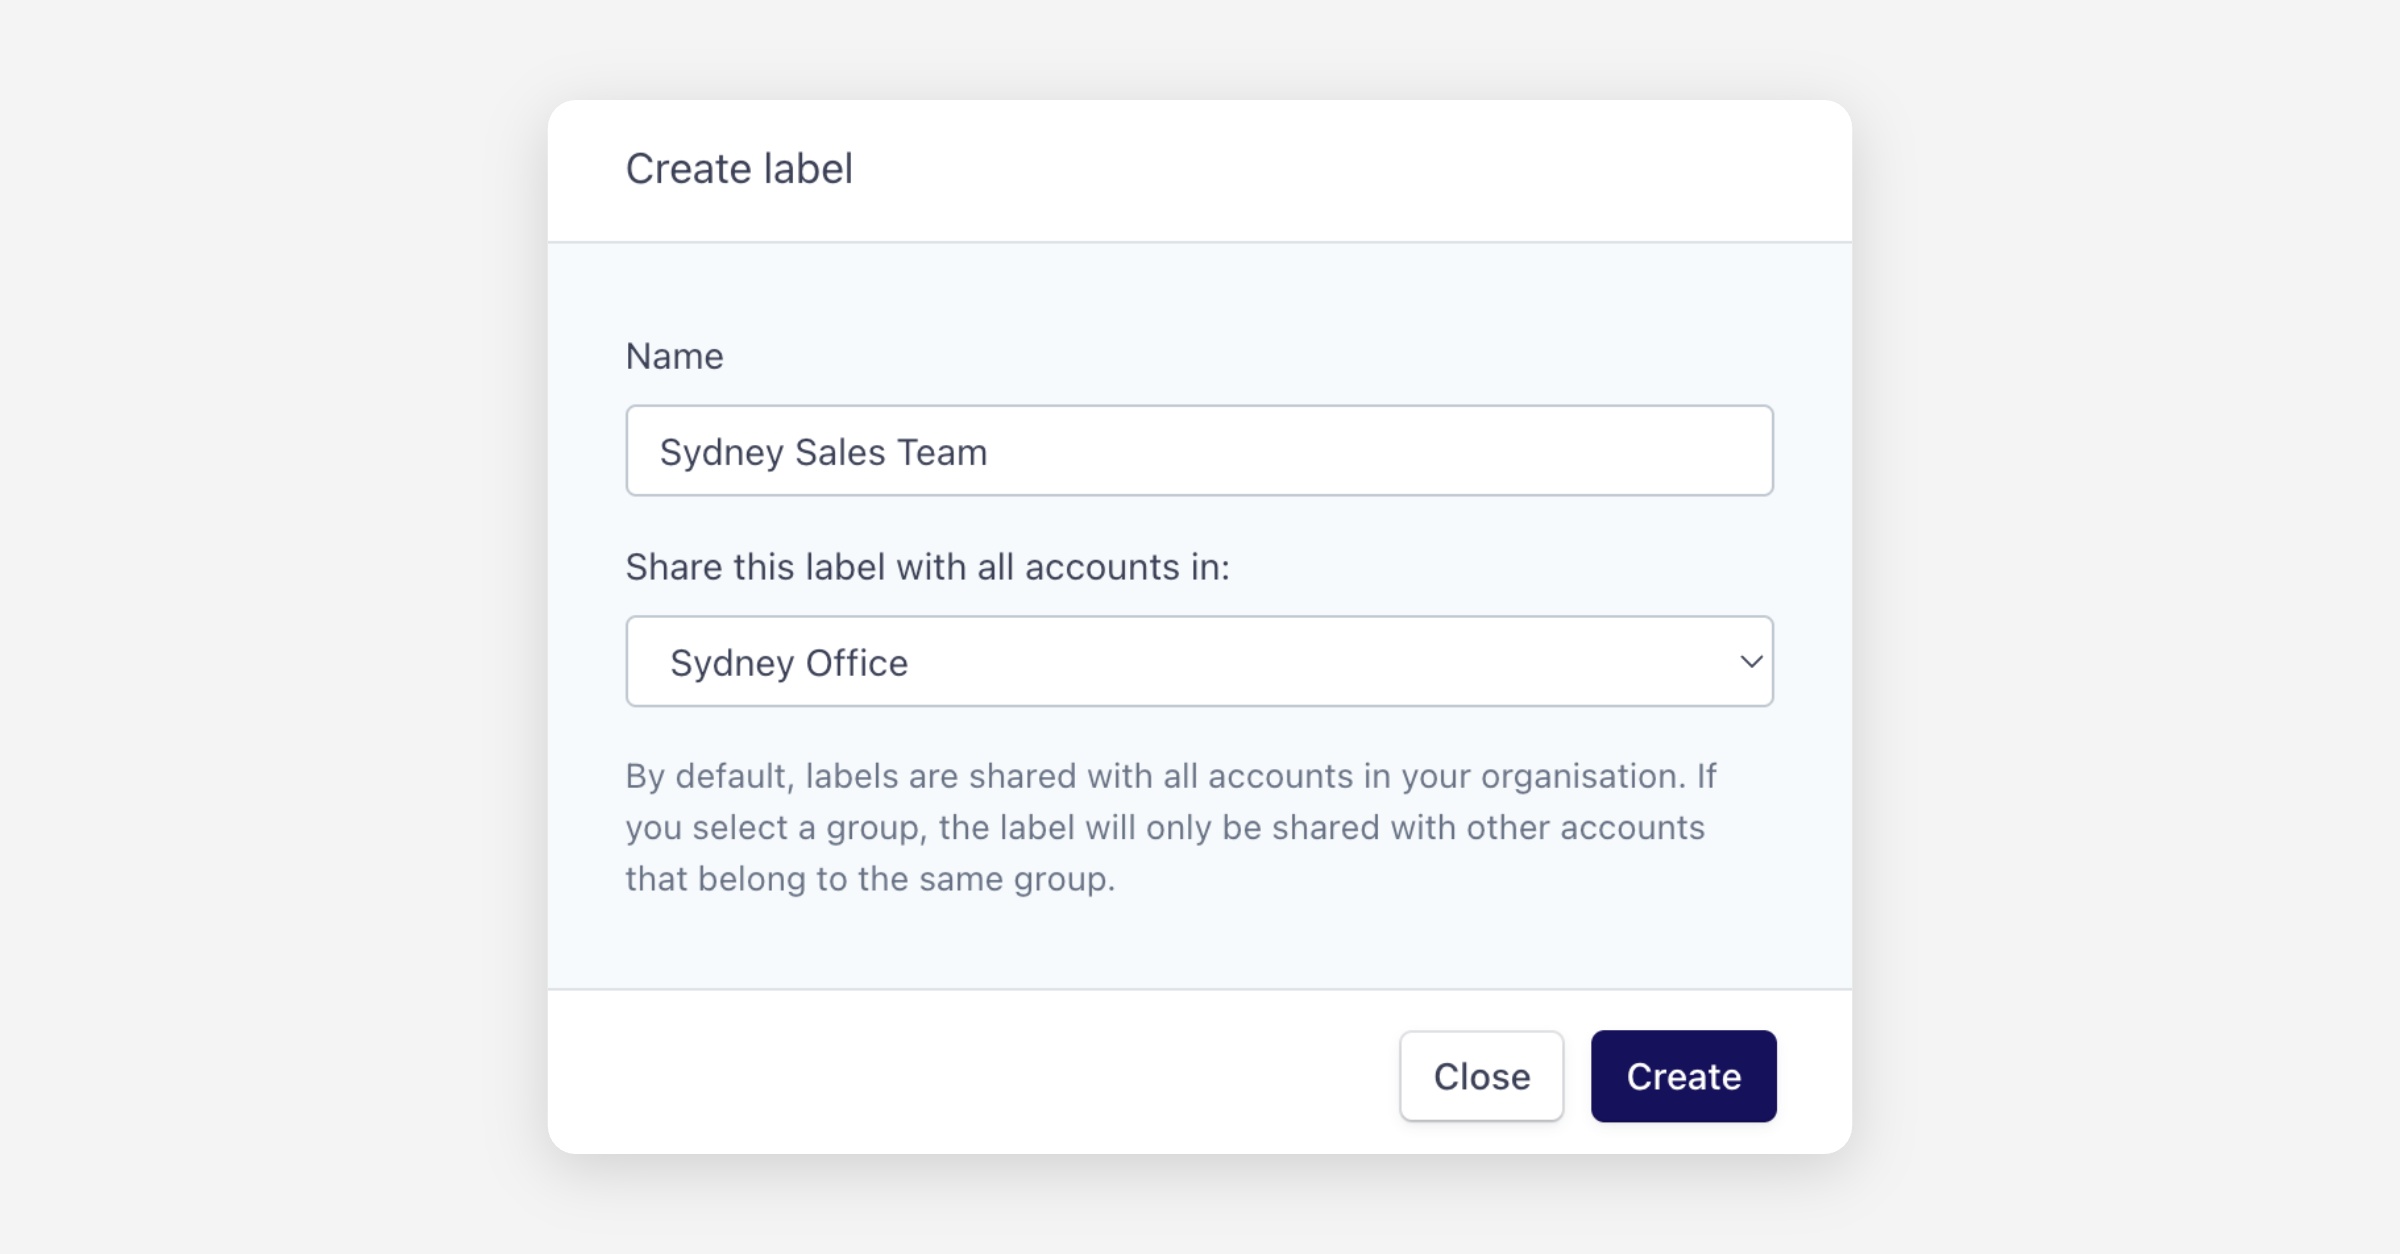
If you have groups set up, select which group you want to share the label with. By default, labels are shared with all users and groups in your account.
Click Create to save.
Once created, the label will be available to apply to envelopes and will appear in the sidebar under Labels for quick filtering.
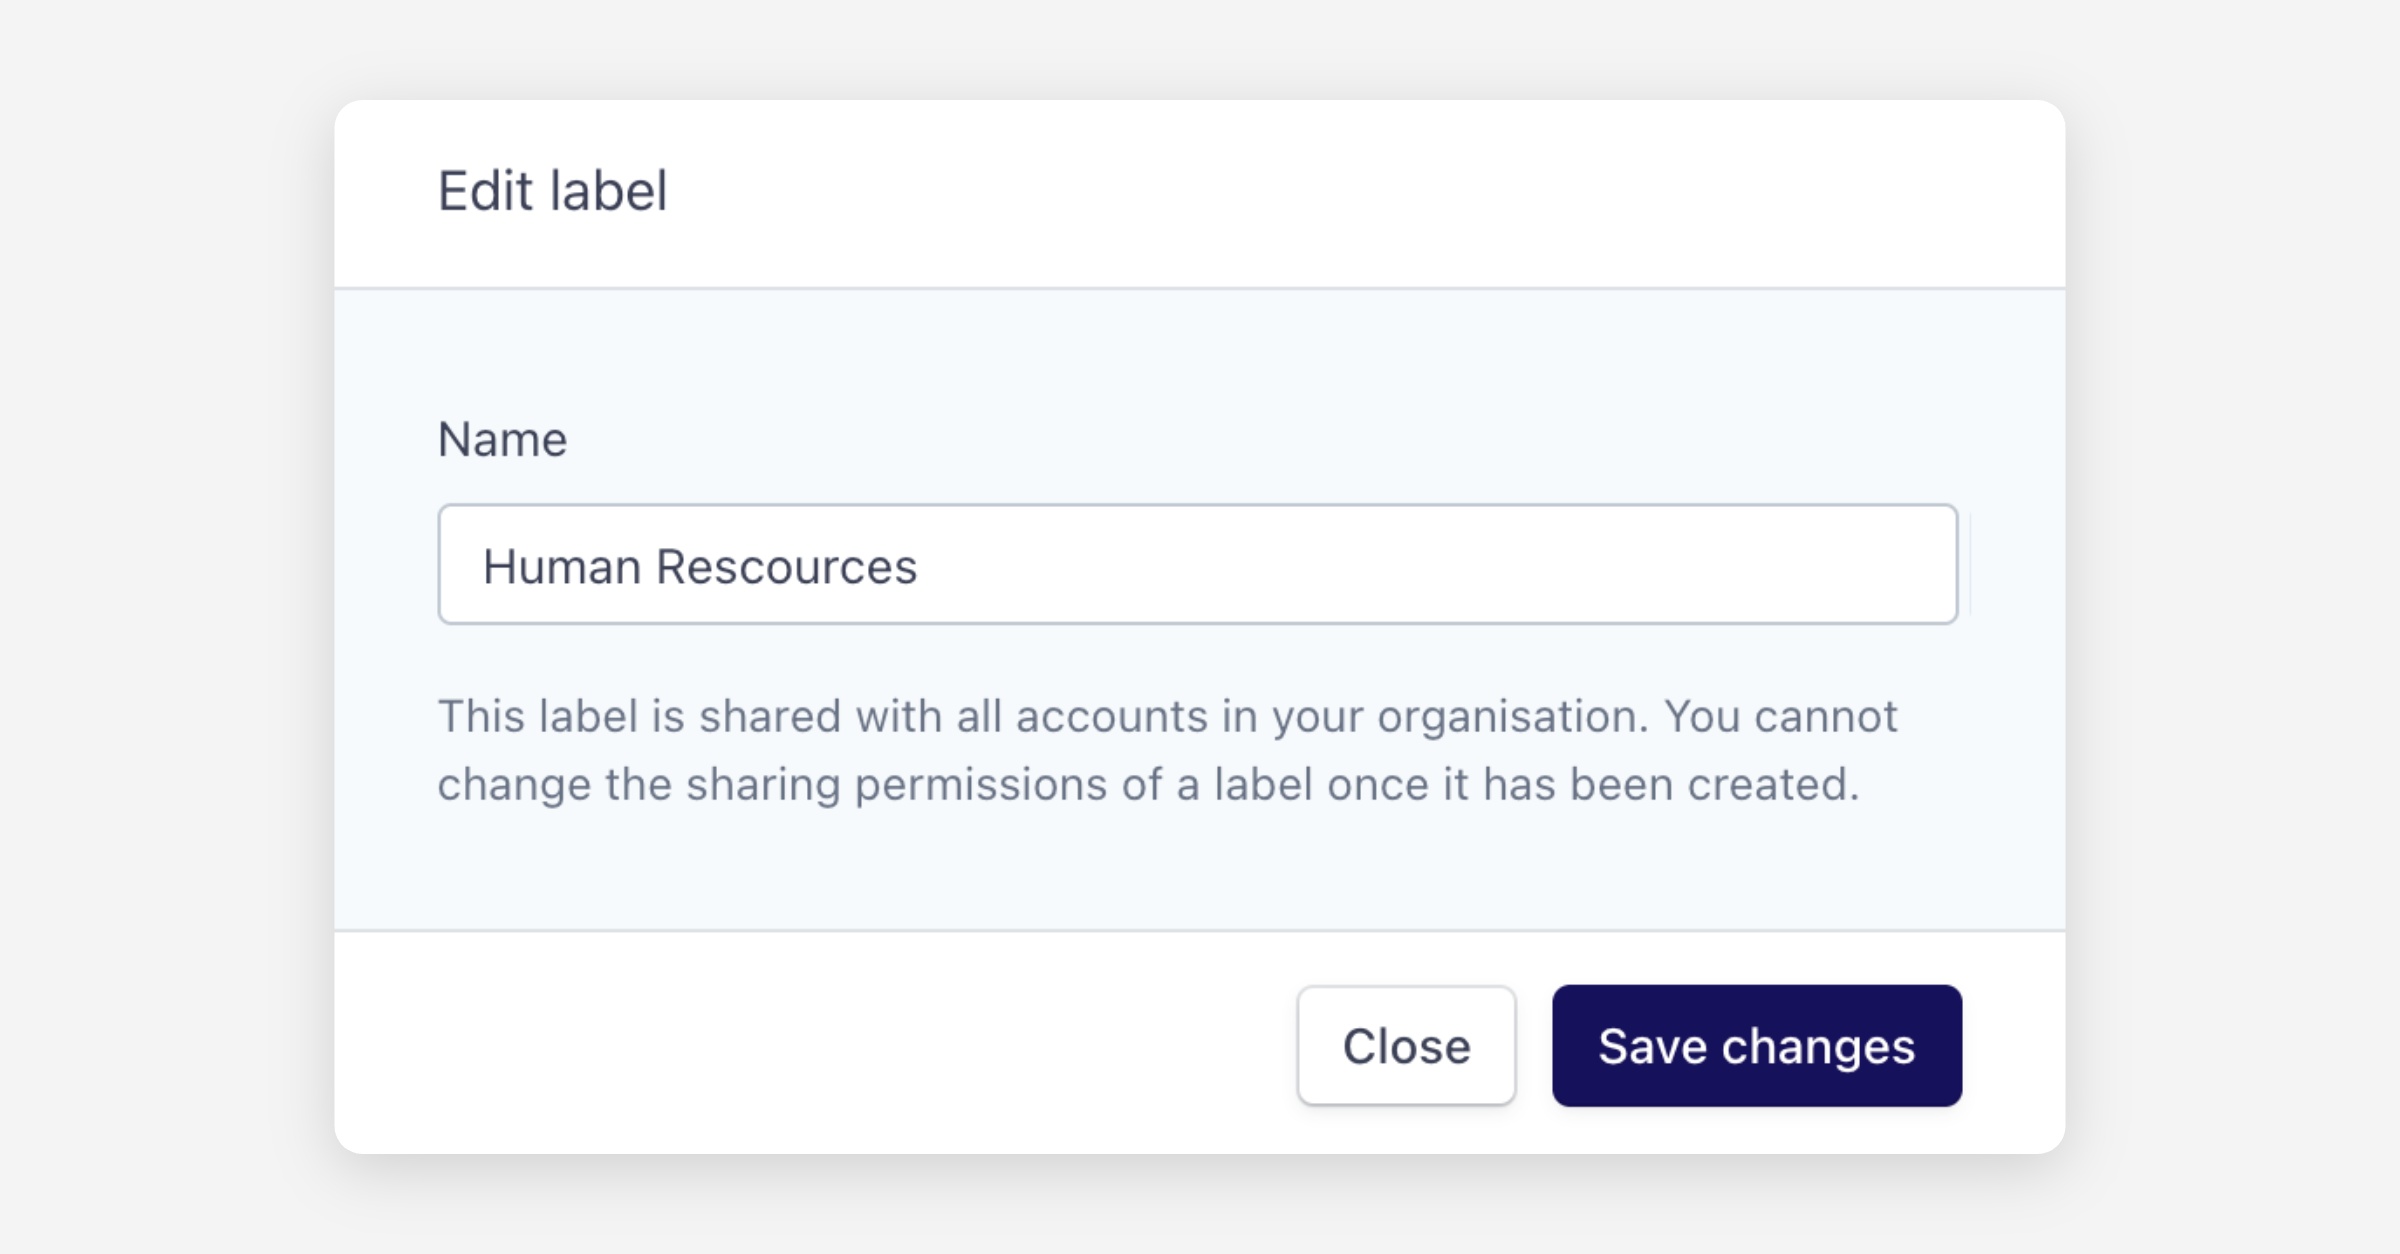
Editing a Label
To rename a label, click Edit next to the label you want to update, enter the new name, and save your changes.
Deleting a Label
To delete a label, click Delete next to the label you want to remove. Deleting a label will remove it from any envelopes it was applied to.
Adding a Label When Sending an Envelope
You can apply a label to an envelope when you send it:
After uploading your documents, entering recipient information, and adding fields, scroll down to the 4. Review envelope section.
Click the Labels dropdown and select the label you want to apply.
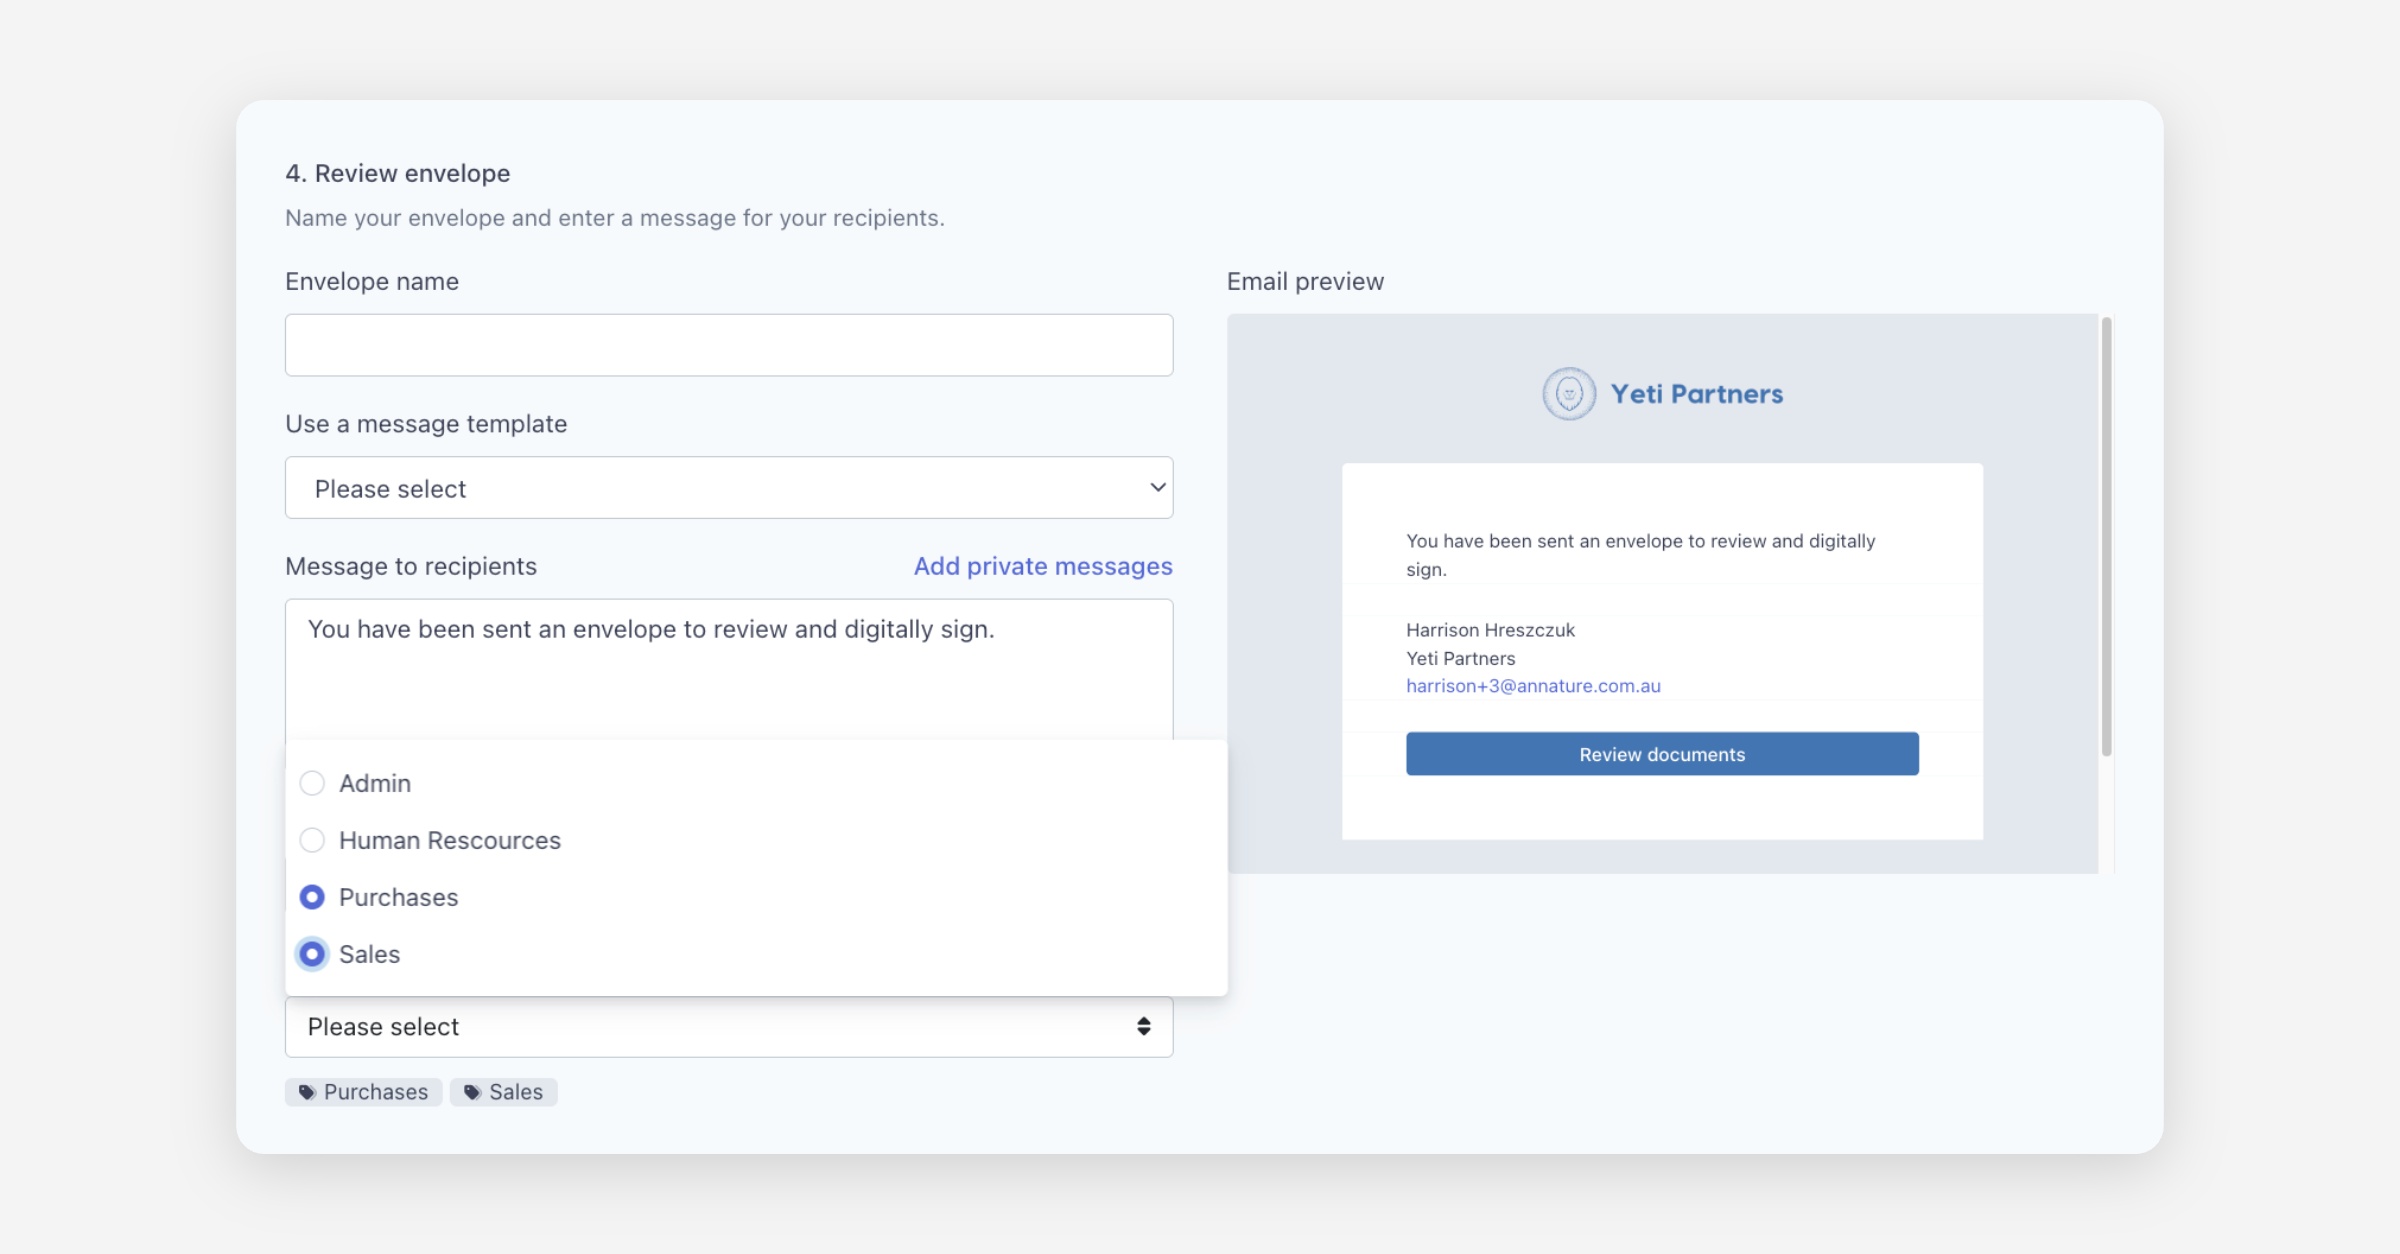
Click Send Envelope.
Adding a Label to an Existing Envelope
If you've already sent an envelope and forgot to assign a label, you can still add one:
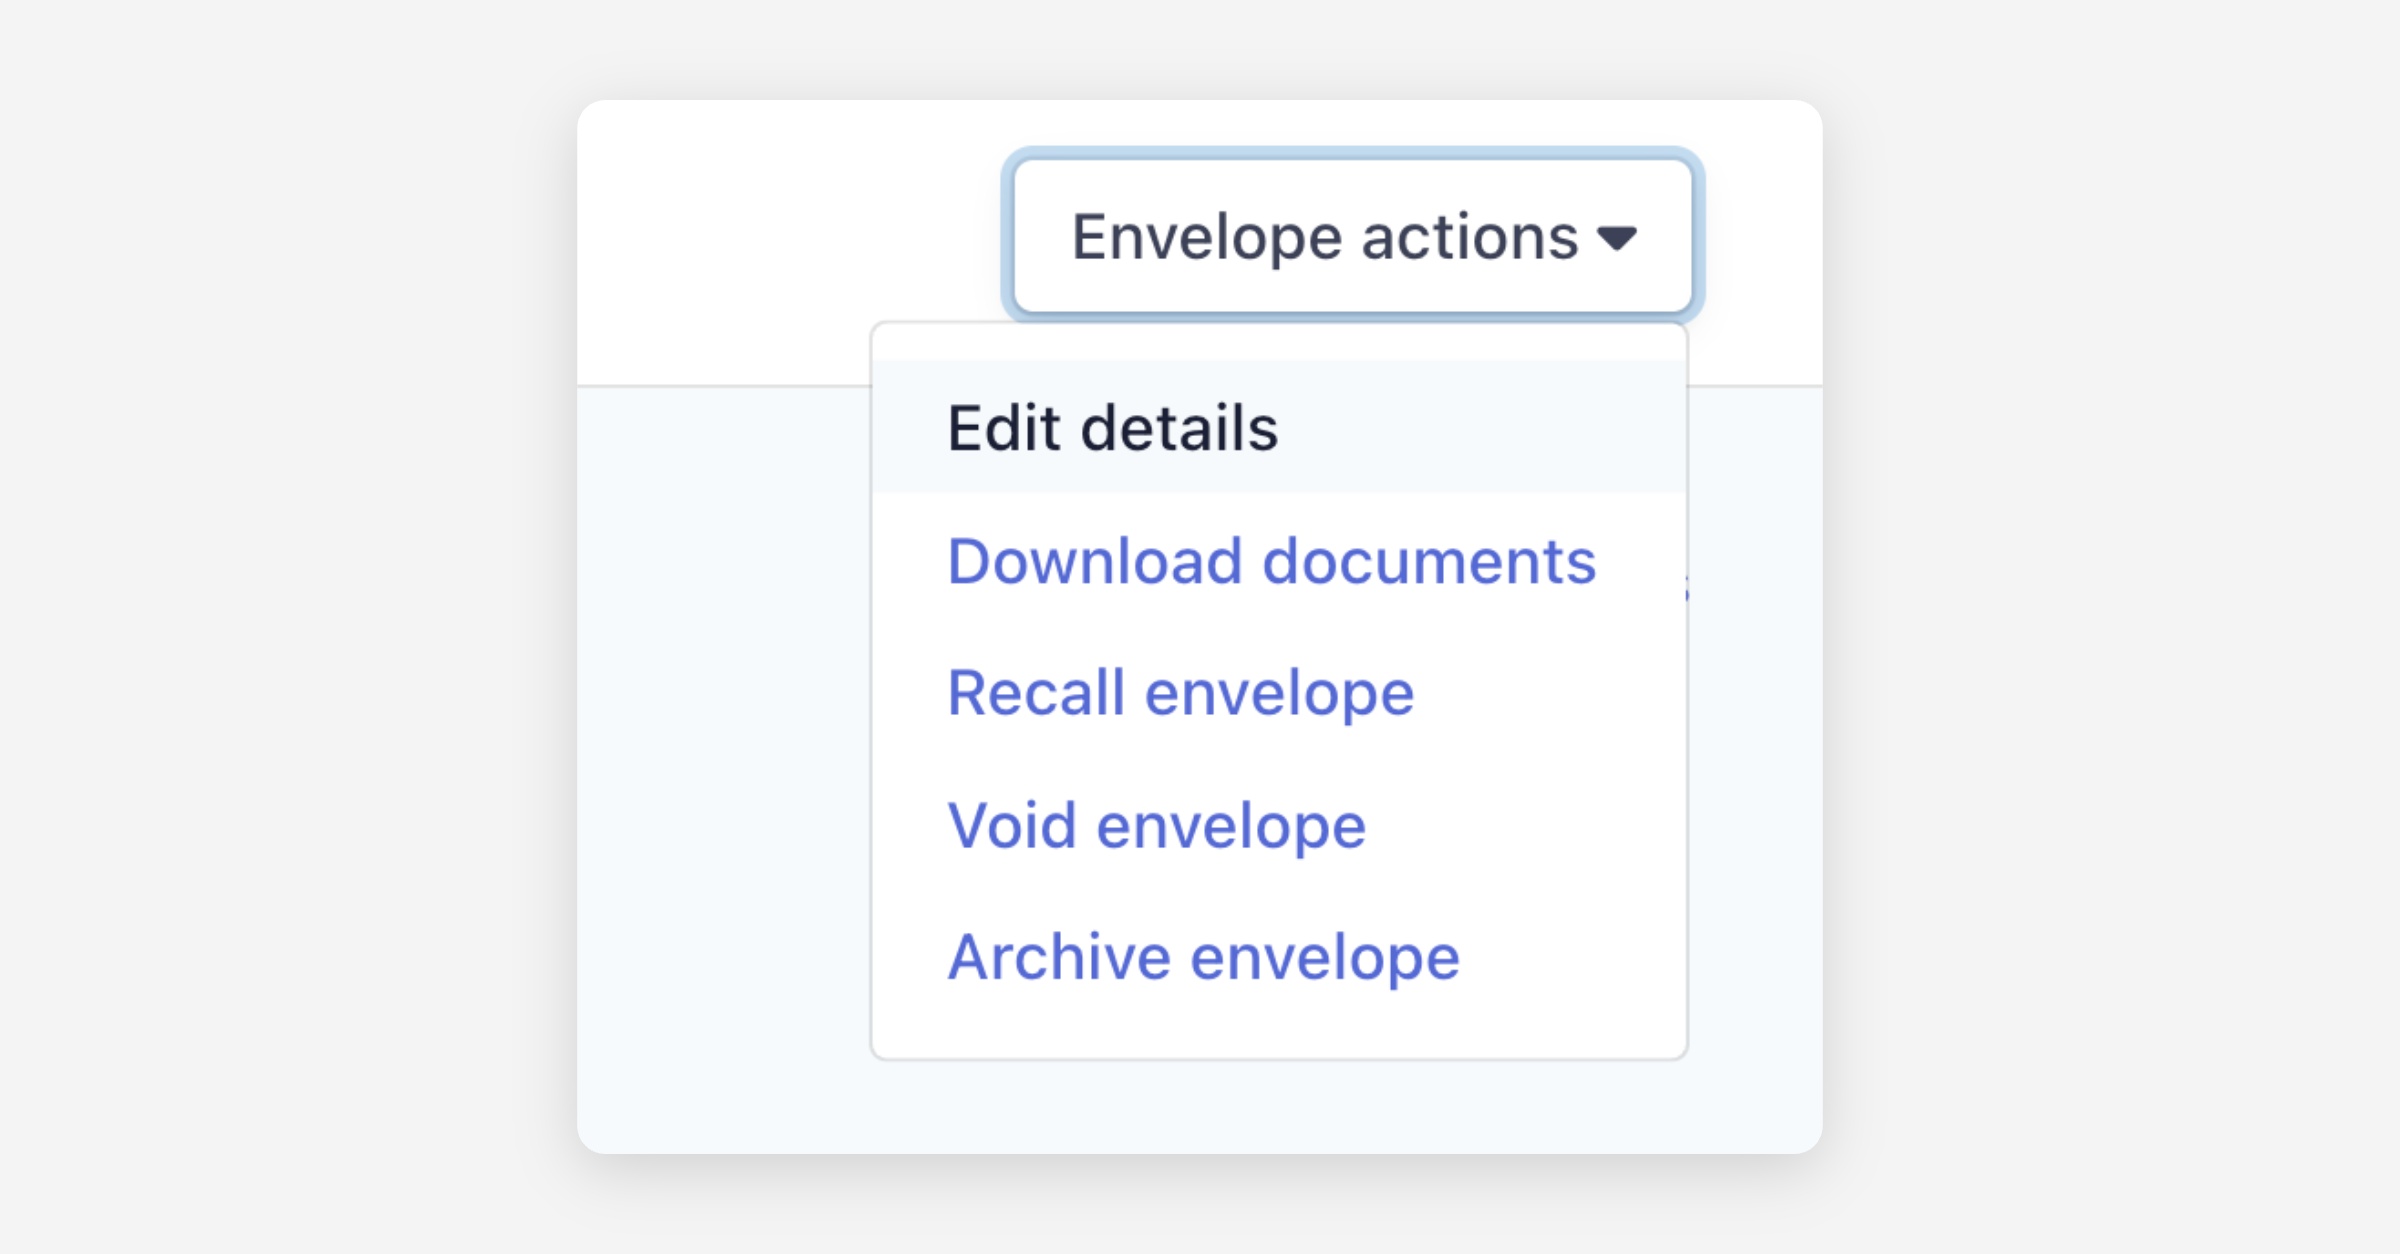
From the Envelopes dashboard, locate the envelope and click Open.
Click Envelope Actions and select Edit Details.
Click the Labels dropdown and select the label you want to apply.
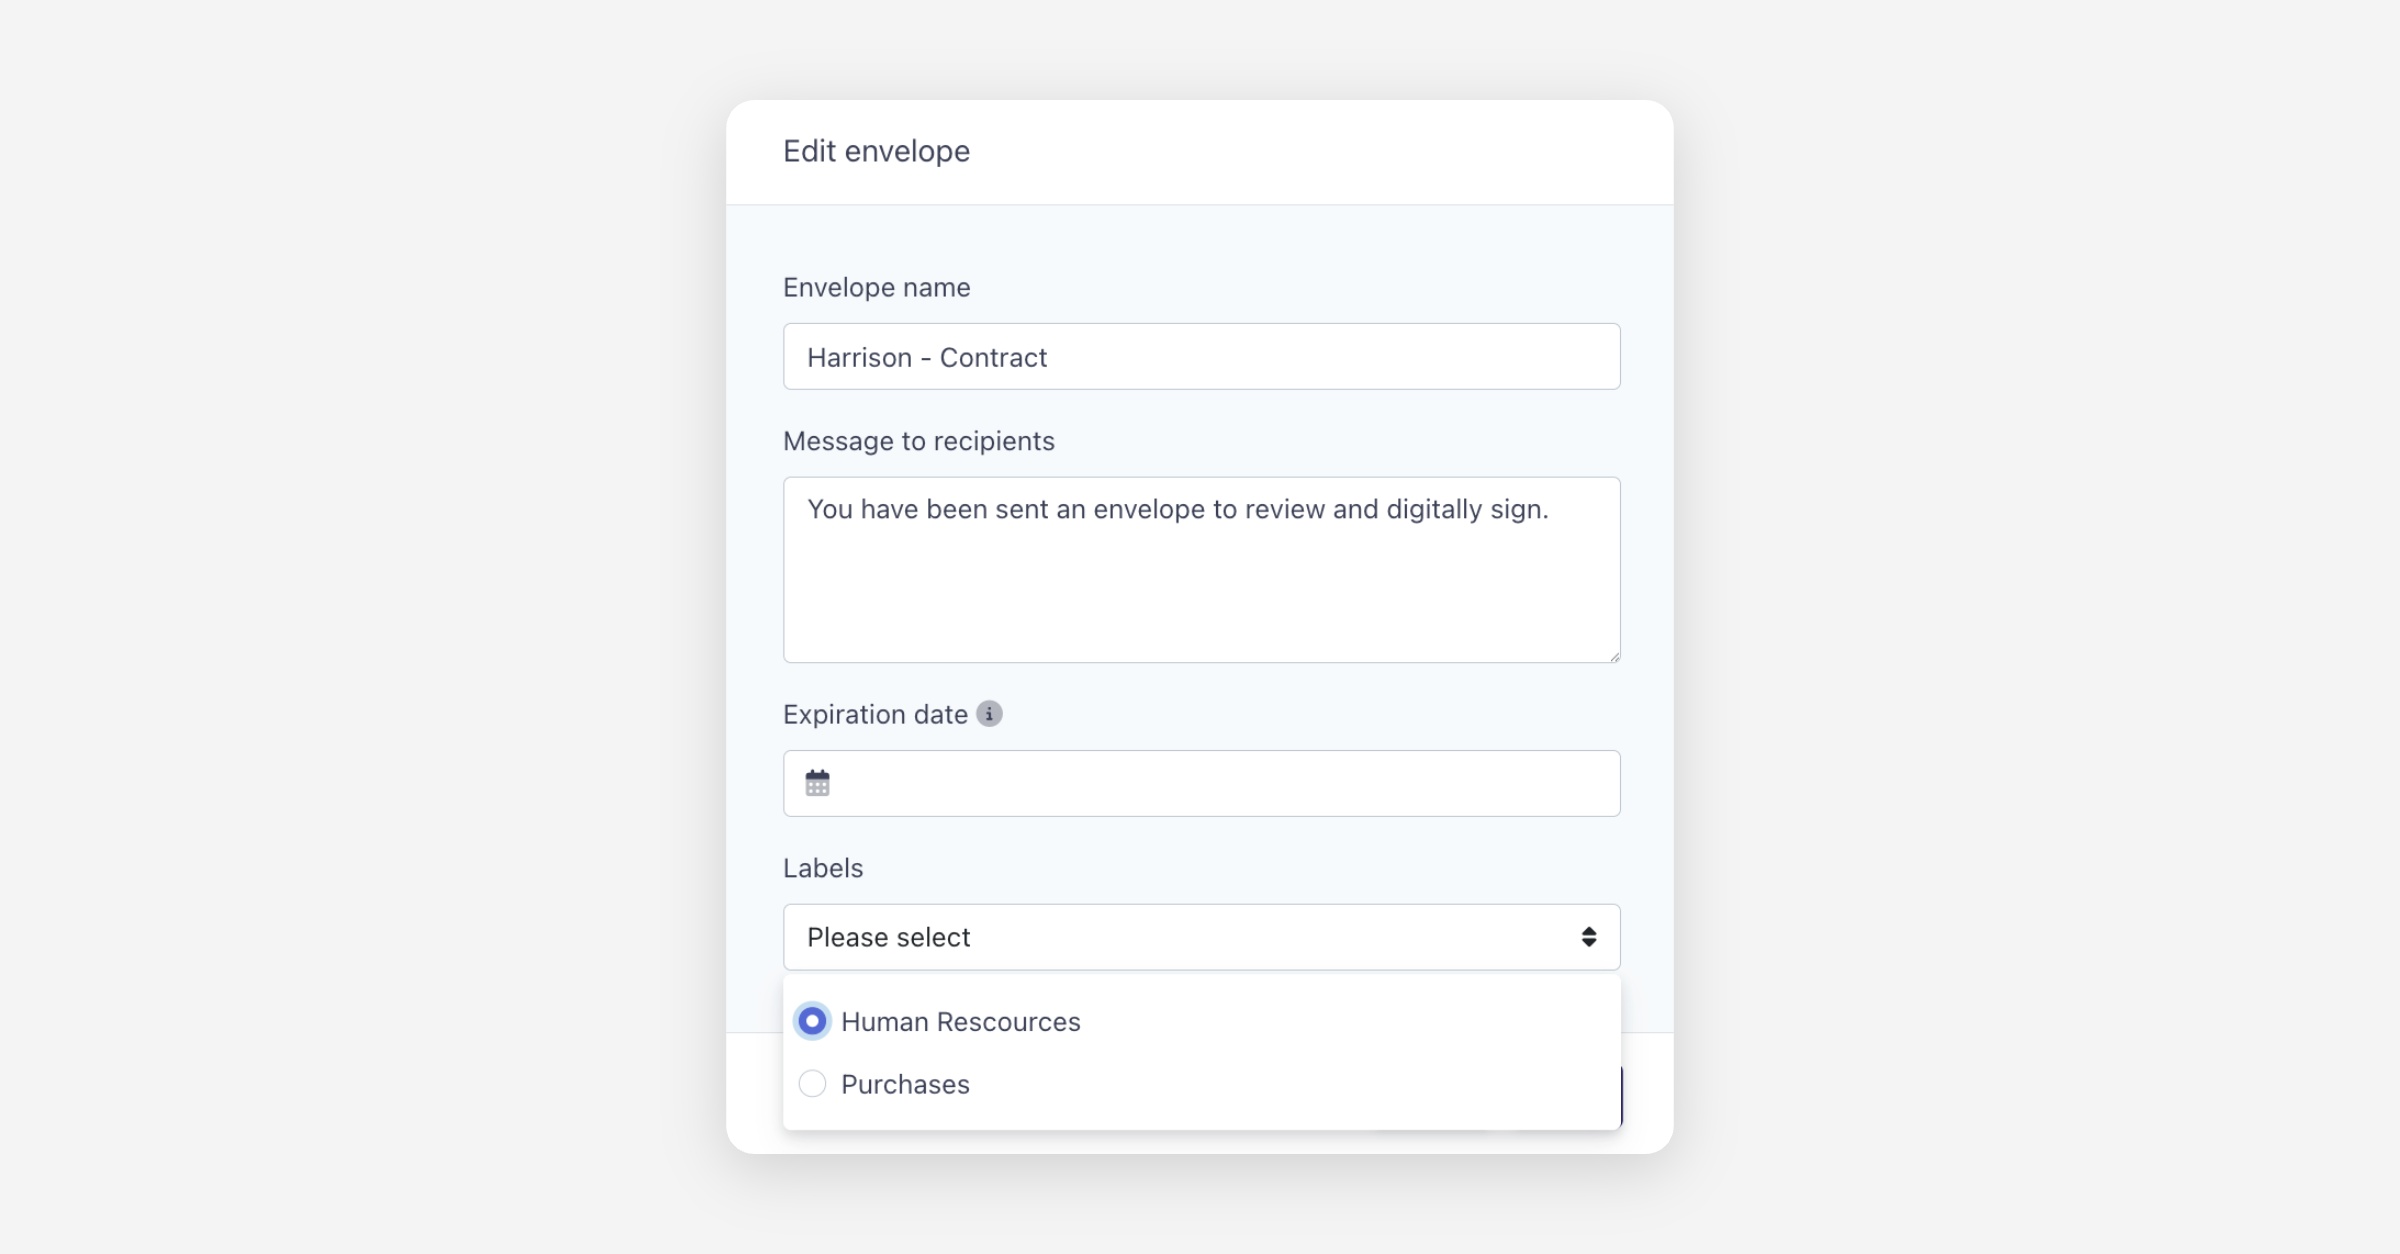
Click Save.
Filtering Envelopes by Label
Labels appear in the left sidebar under the Labels section. Clicking on a label will filter the Envelopes view to show only envelopes that have that label applied. This makes it easy to find and manage related envelopes without searching manually.
Was this helpful?