Docs / Advanced Envelope Features
Document Fields
Explore every field type available when preparing documents, from signatures and text to checkboxes and dropdowns.

When preparing documents in an envelope, you can add a variety of fields to guide your recipients through the signing process and capture the information you need. Fields are placed by selecting a recipient from the dropdown, then dragging and dropping fields onto the document. This article covers each field type available in Annature and how to configure them.
Signature
The signature field is used when a recipient needs to sign the document. When the recipient clicks on the field, they are prompted to adopt their signature using one of three methods: selecting a pre-made signature based on their name, drawing their signature, or uploading an image. Once adopted, their signature is saved and automatically applied to any remaining signature fields in the envelope.
Initials
The initials field works similarly to the signature field. When the recipient interacts with it, their initials are automatically generated based on their name. The recipient can choose to adopt the generated initials, draw their own, or upload an image.
Date Signed
The date signed field is automatically populated with the current date when the recipient completes the envelope. This field cannot be edited by the recipient and ensures accurate record-keeping of when the document was signed.
Name, Email, and Mobile
These fields automatically populate with the recipient's details based on the information provided when the envelope was created.
Name — Automatically populated with the recipient's full name.
Email — Automatically populated with the recipient's email address.
Mobile — If the recipient has a mobile number on file, the field is automatically populated. If no mobile number was provided, the recipient can manually enter their number when completing the envelope.
Text
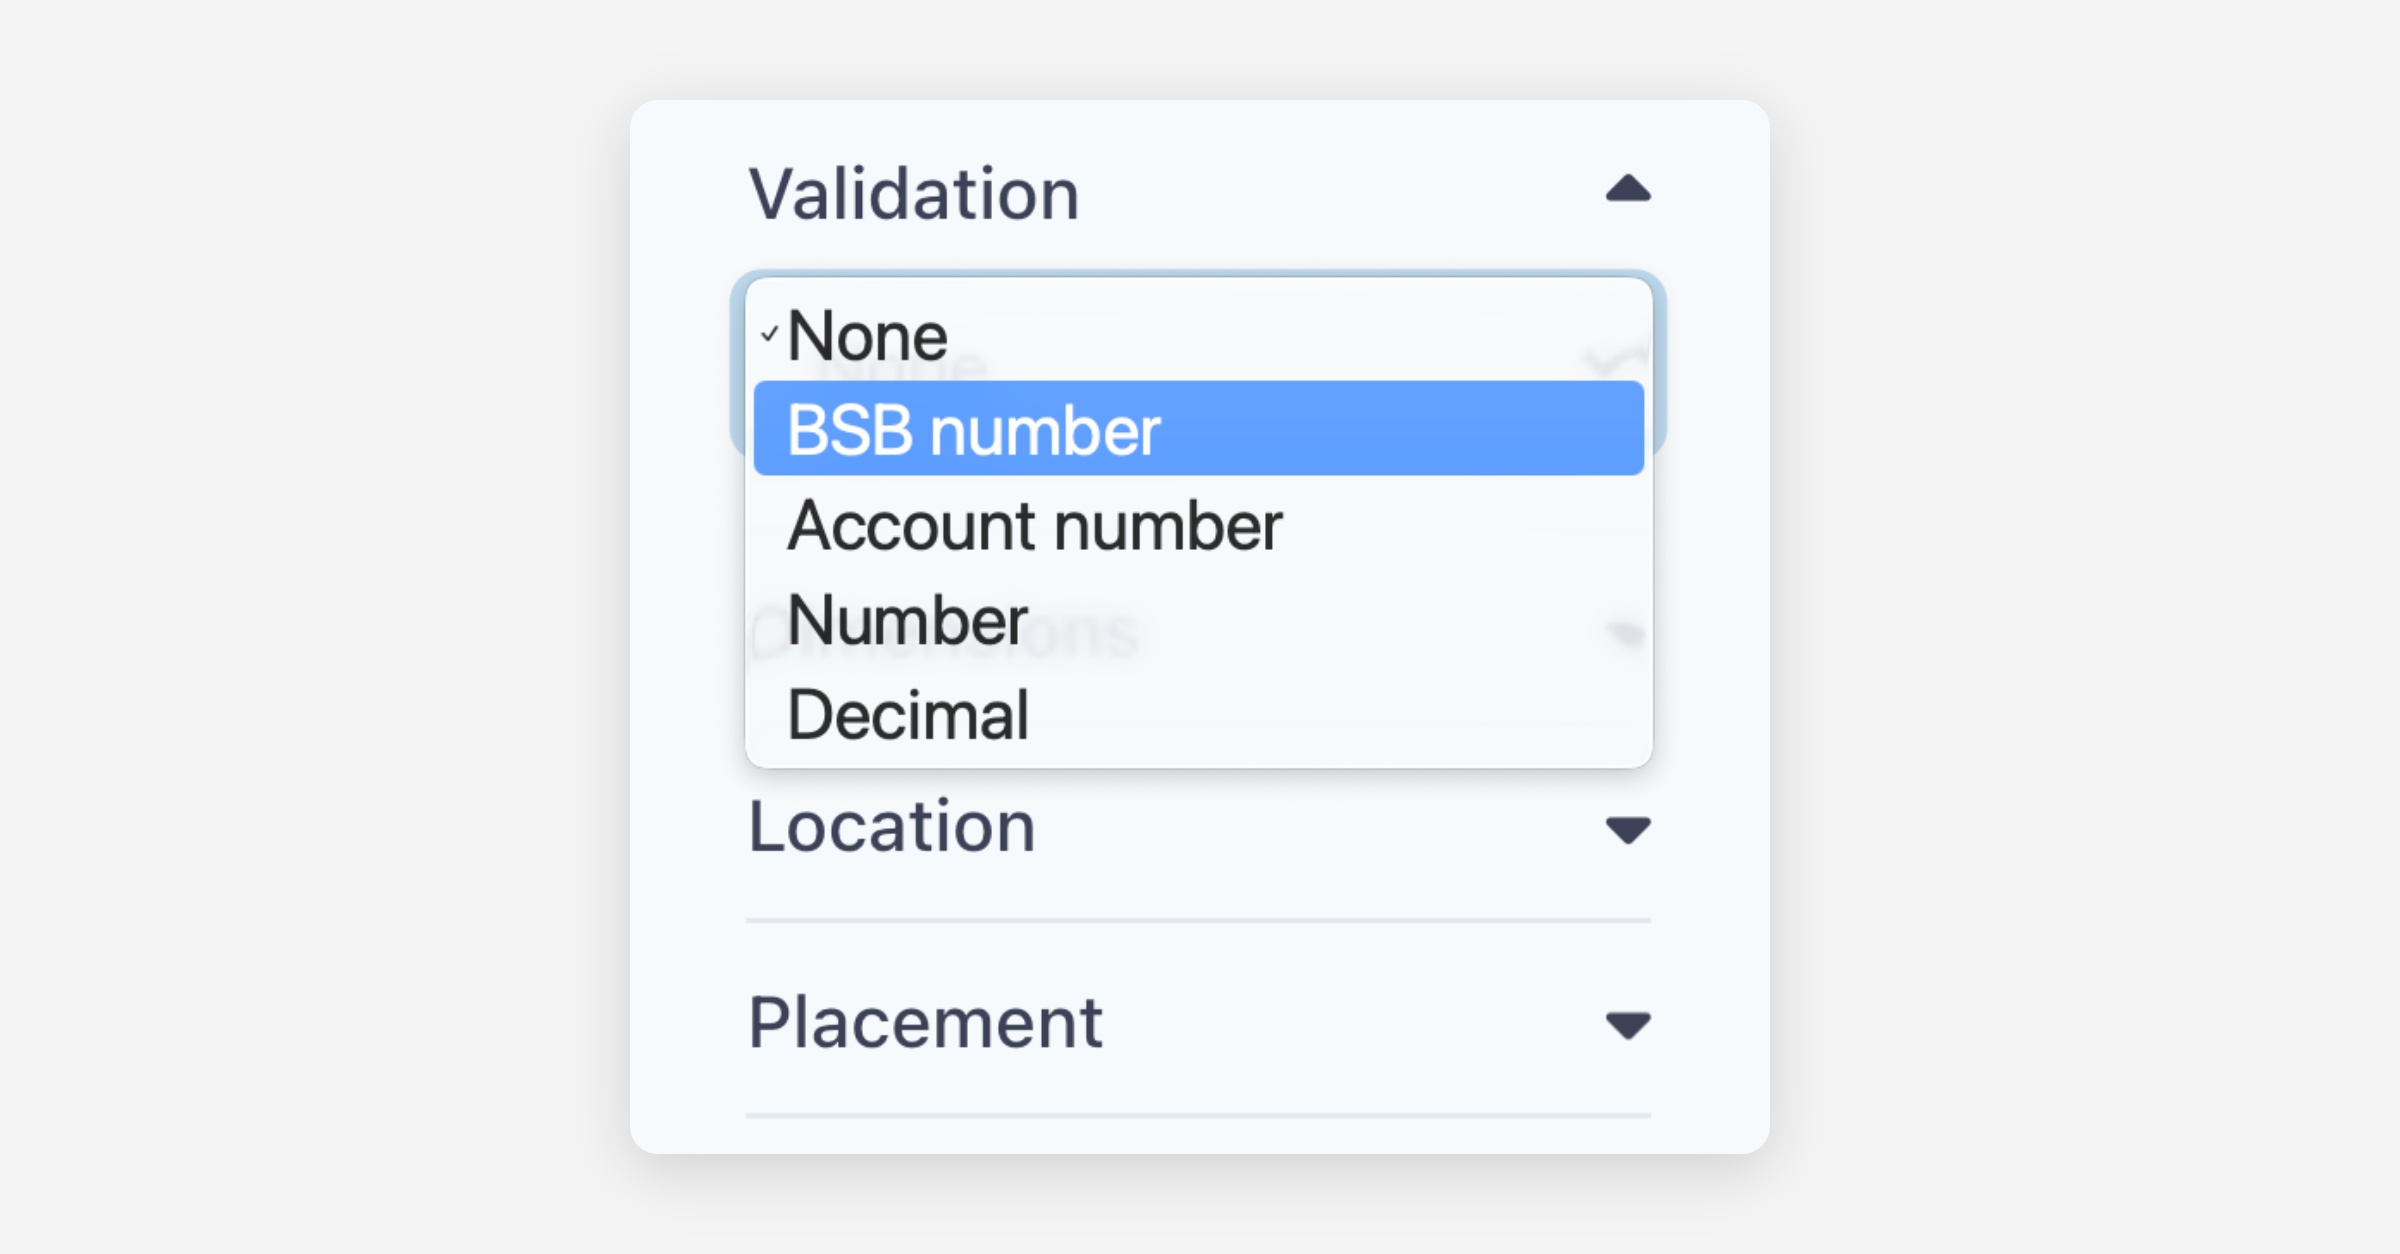
Text fields allow you to prompt recipients to enter free-form text. You can pre-populate a text field with default content using the field properties panel, which is useful for providing suggested or standard responses.
Text fields also support validation, allowing you to restrict data entry to specific formats such as BSB numbers or account numbers. This ensures that the information entered meets the required format.
Strikethrough
The strikethrough field places a line over a specific area of the document. This is useful for crossing out sections that do not apply to a particular recipient. You can change the strikethrough colour from the field options panel.
Checkboxes
Checkboxes can be used individually or grouped with a validation rule.
To add a checkbox, drag it onto the document in the desired location. From the right-hand side panel, you can mark the checkbox as pre-checked or mark it as required.
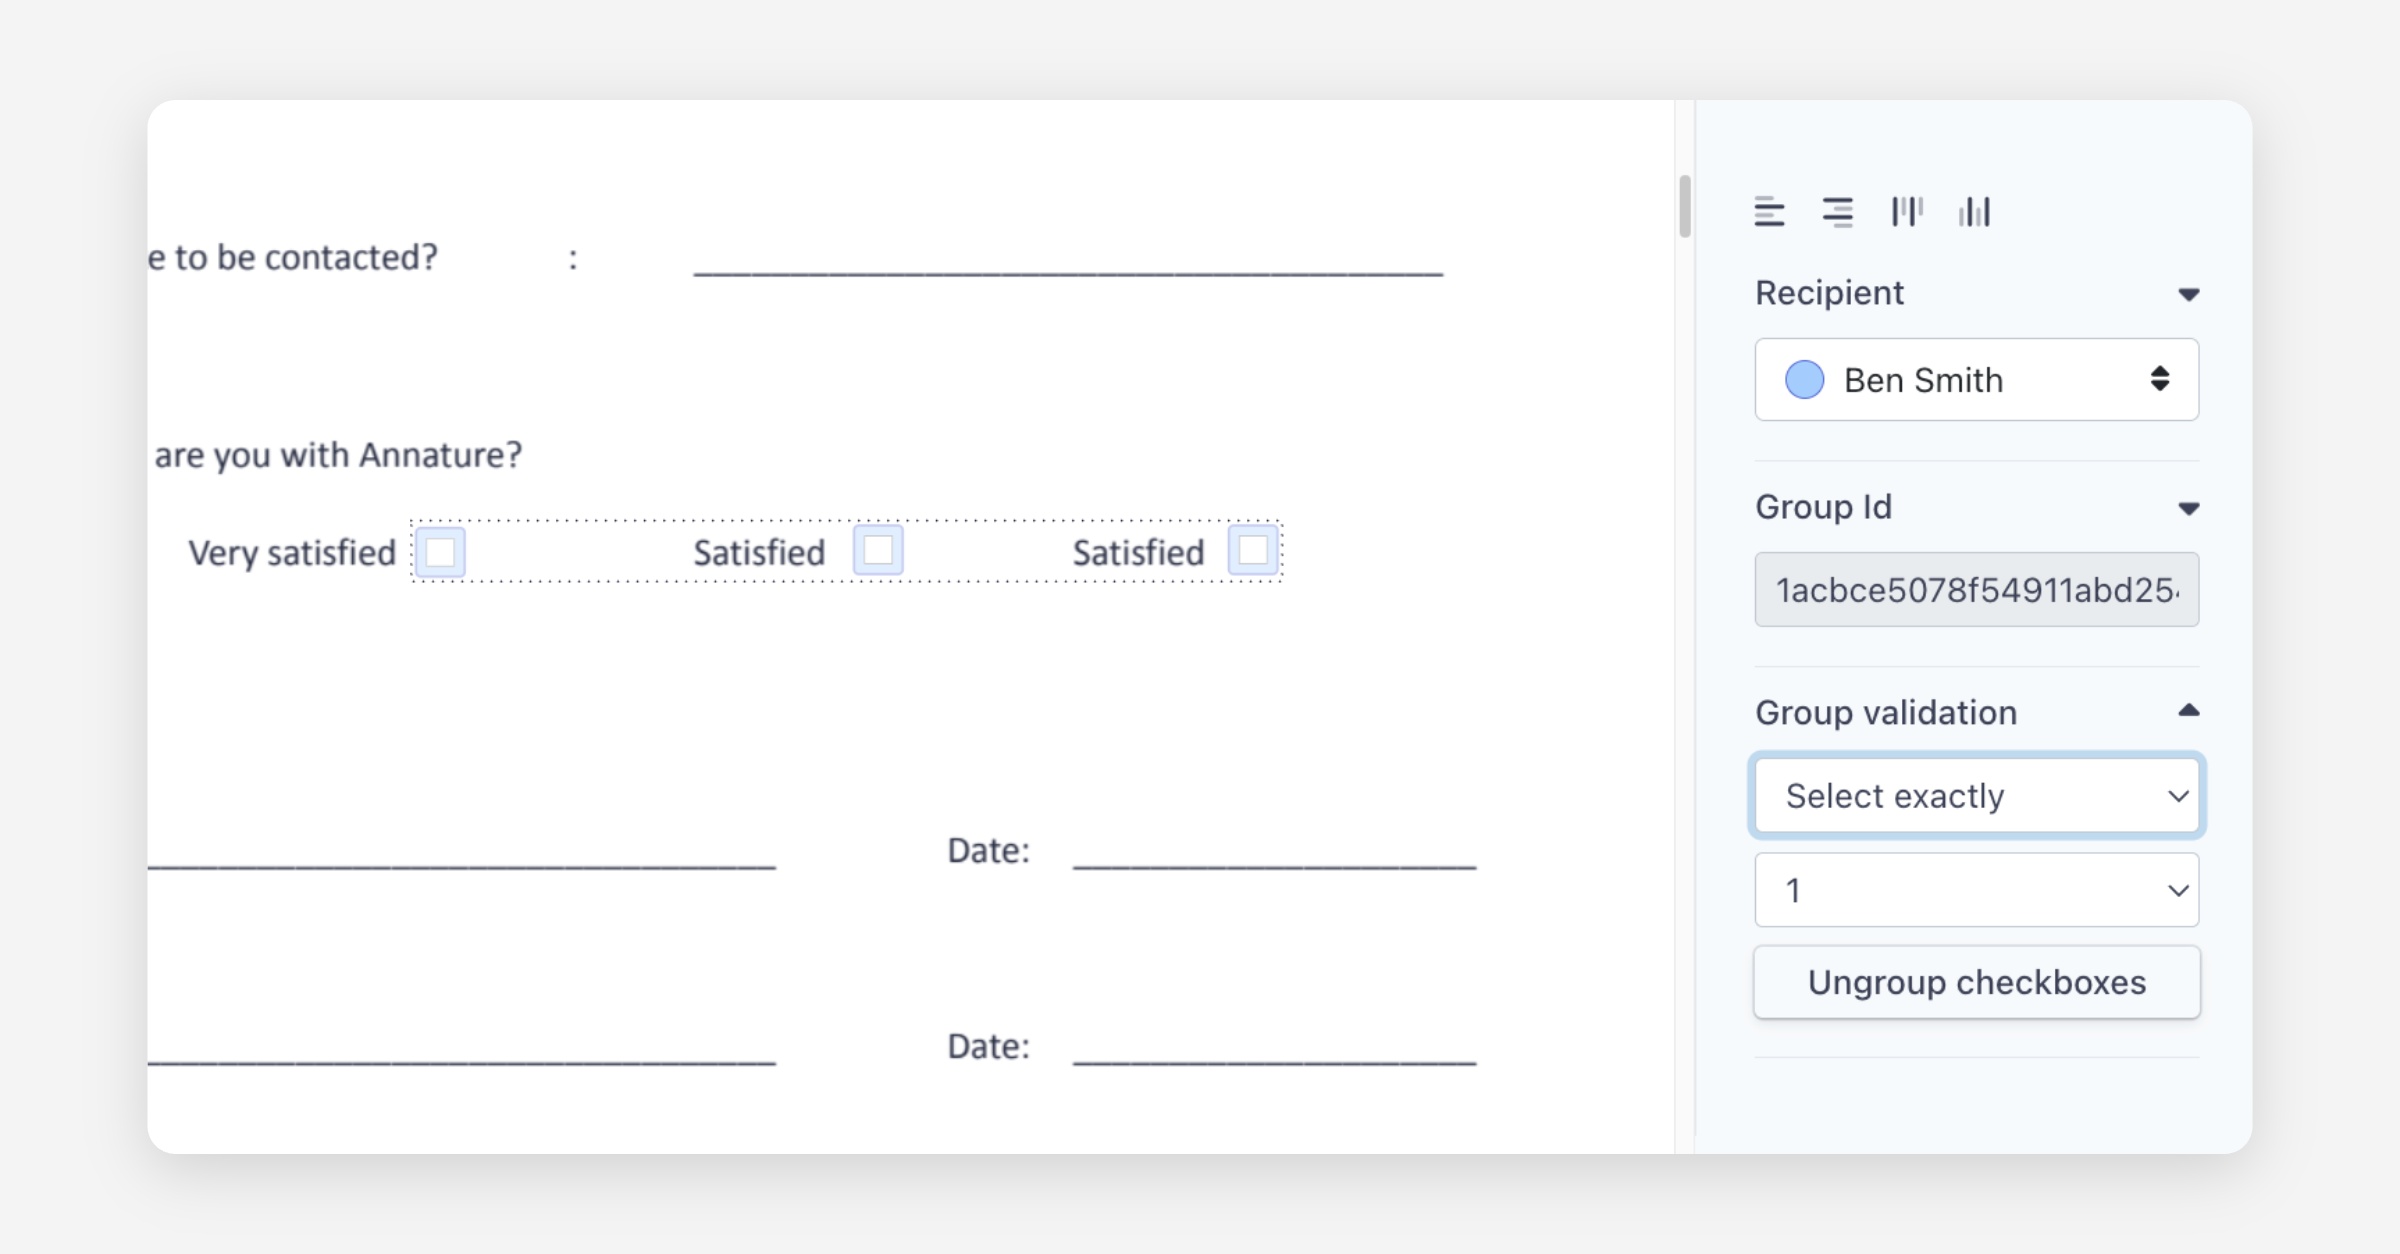
Grouping checkboxes:
If you have multiple checkboxes that relate to the same question (for example, selecting option A, B, or C), you can group them together. Highlight the checkboxes and select Group checkboxes from the right-hand side panel. Once grouped, you can add a validation rule — for example, requiring the recipient to select exactly one option in order to complete the envelope.
Dropdowns
Dropdown fields allow you to present a list of options for the recipient to choose from. The selected option is stamped into the envelope as text.
When adding a dropdown, enter the available options in the right-hand side panel. If the field is marked as required, the recipient must select an option before they can complete the envelope. You can also style the dropdown by selecting a font, colour, and other formatting options.
Witness
The witness field allows you to include a witness signature without adding the witness as a separate recipient on the envelope. The witness is expected to be physically present with the recipient at the time of signing.
When the recipient reaches the witness field, they are prompted to enter the name and email address of the person witnessing the signature. The witness then signs using the same device as the recipient. After the envelope is completed, the witness's details are included in the certificate of completion and audit log.
For more details on how electronic witnessing works, see the Electronic Witnessing article.
Attachment
The attachment field allows recipients to upload files to the envelope, such as certificates, documents, or photos.
When preparing your envelope, ensure you set the field as required or optional based on your needs. If the field is marked as required and the recipient does not have the files ready, they will not be able to complete the envelope.
Recipients can upload multiple files to a single attachment field. On mobile devices, they also have the option to take a photo directly, which is useful for capturing certificates or hard copy documents.
To view attachments uploaded by a recipient, navigate to the completed envelope and click the attachment icon next to the recipient's name.
For more details on how electronic witnessing works, see the Attachments Field article.
Field Options
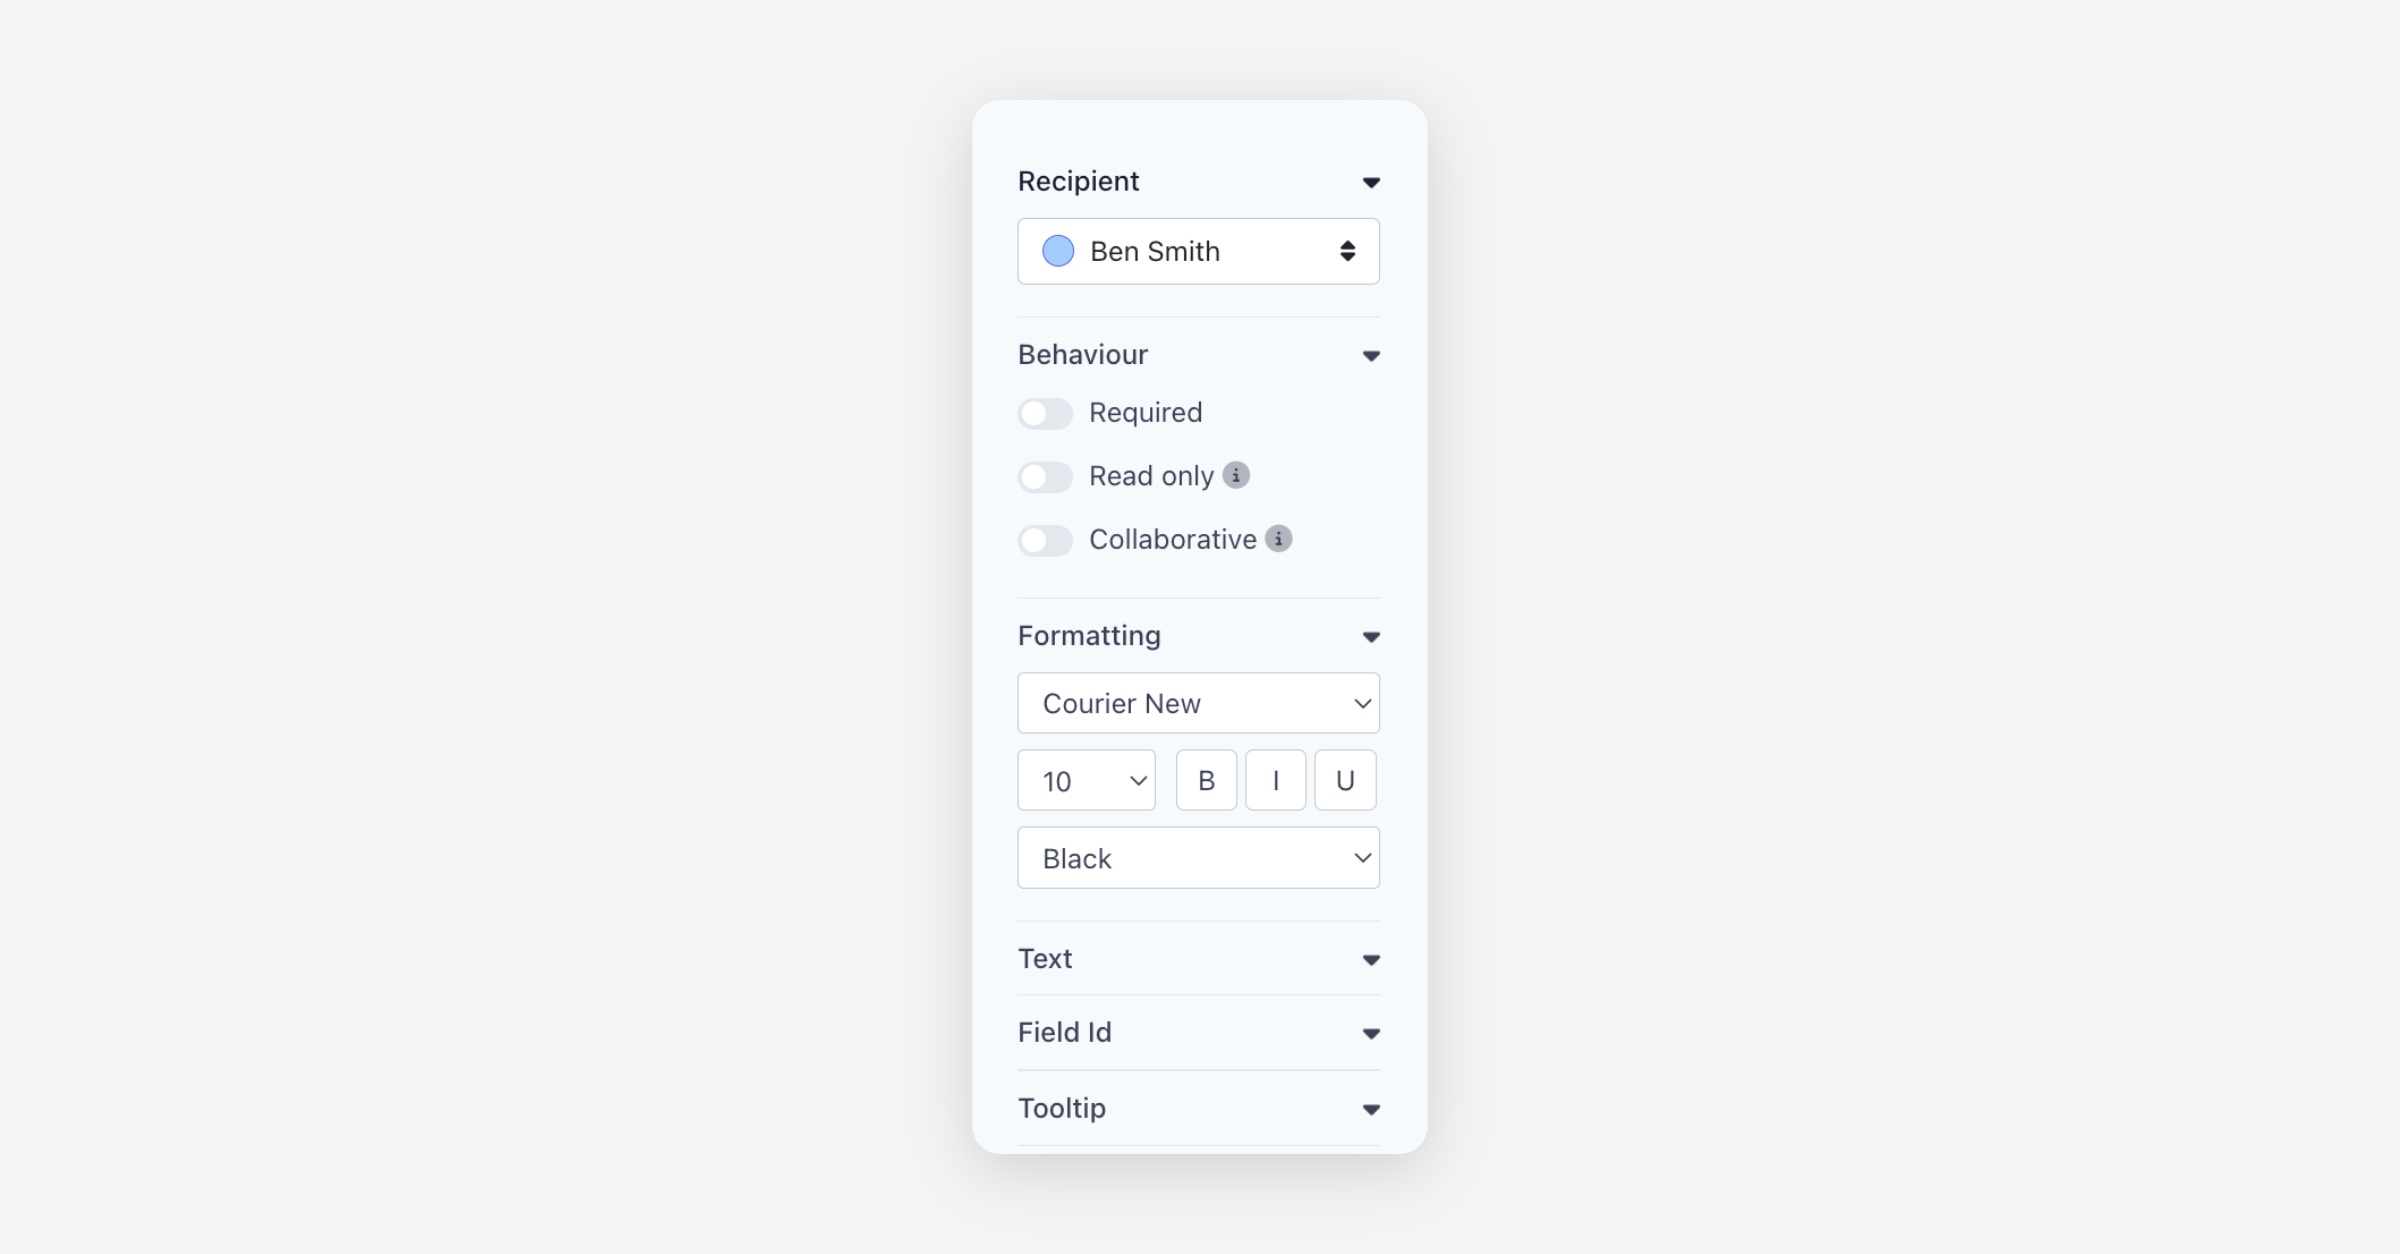
Each field can be customised using the options panel on the right-hand side of the document preparation view. The available options vary depending on the field type, but common settings include:
Required — The recipient must complete the field in order to finish the envelope.
Read only — The recipient cannot edit the field. Useful for pre-filled information that should not be changed.
Collaborative — All recipients on the envelope can see and interact with the field, not just the assigned recipient.
Text — Pre-populate the field with default content.
Field Id — An internal identifier assigned to the field. This does not need to be changed for standard use.
Tooltip — A hint or instruction that appears when the recipient hovers over the field.
Formatting
You can control how text appears in fields using the formatting options in the right-hand side panel. Available formatting options include:
Font and Size
Colour
Bold, Italic, and Underline
These formatting options also apply to name, date, and mobile fields, giving you full control over how auto-populated information appears in the signed document.
Was this helpful?