Docs / Advanced Envelope Features
Envelope expiration
Set a deadline on an envelope so it's automatically voided if not completed in time.
Setting an expiration date on an envelope is useful when you have a contract, quote or agreement that must be signed by a specific deadline. If an envelope isn’t completed by that date, we automatically void it so no signatures can be added afterwards. This helps you make sure documents are actioned on time and reduces the risk of stale or ambiguous agreements.
Things to Know Before Setting an Expiration
An expiration is best used for time-sensitive documents. Choose a date that gives signers a reasonable window to review and sign; remember that the envelope will be voided automatically at the selected date and time if signatures are not completed.
How to set an expiration before sending
To set an expiration when creating an envelope:
Start creating a new envelope as normal and upload your documents.
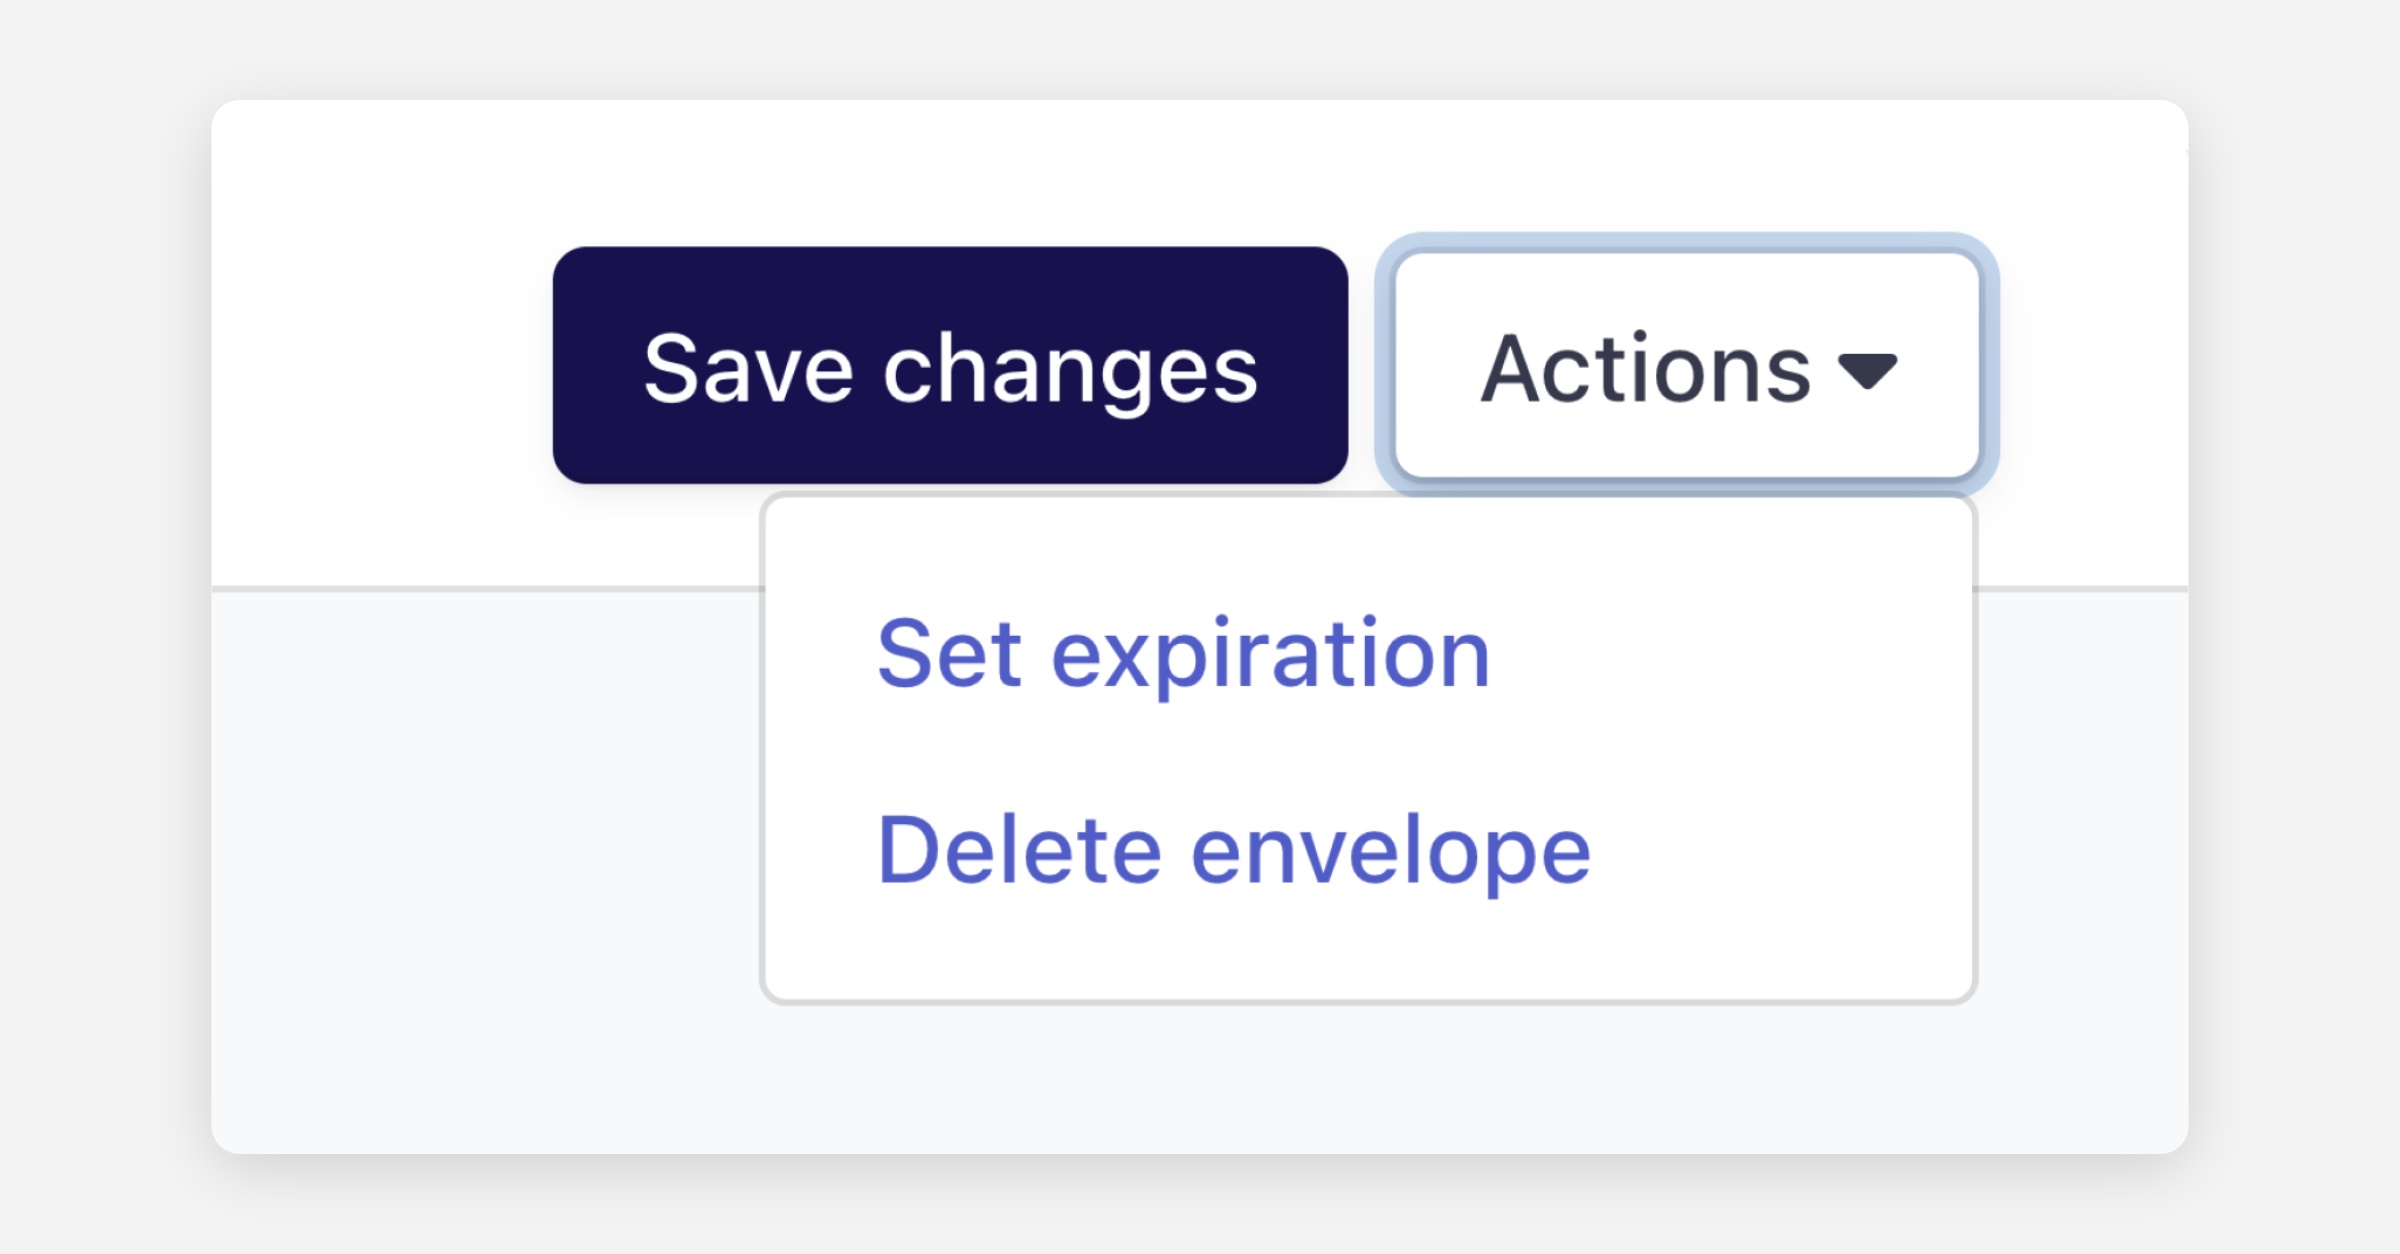
After your documents are uploaded, open the Actions menu in the top-right of the composer screen and choose Set expiration.
Choose the expiration using the calendar or pick one of the quick options (7, 14, 30, 60 or 90 days).
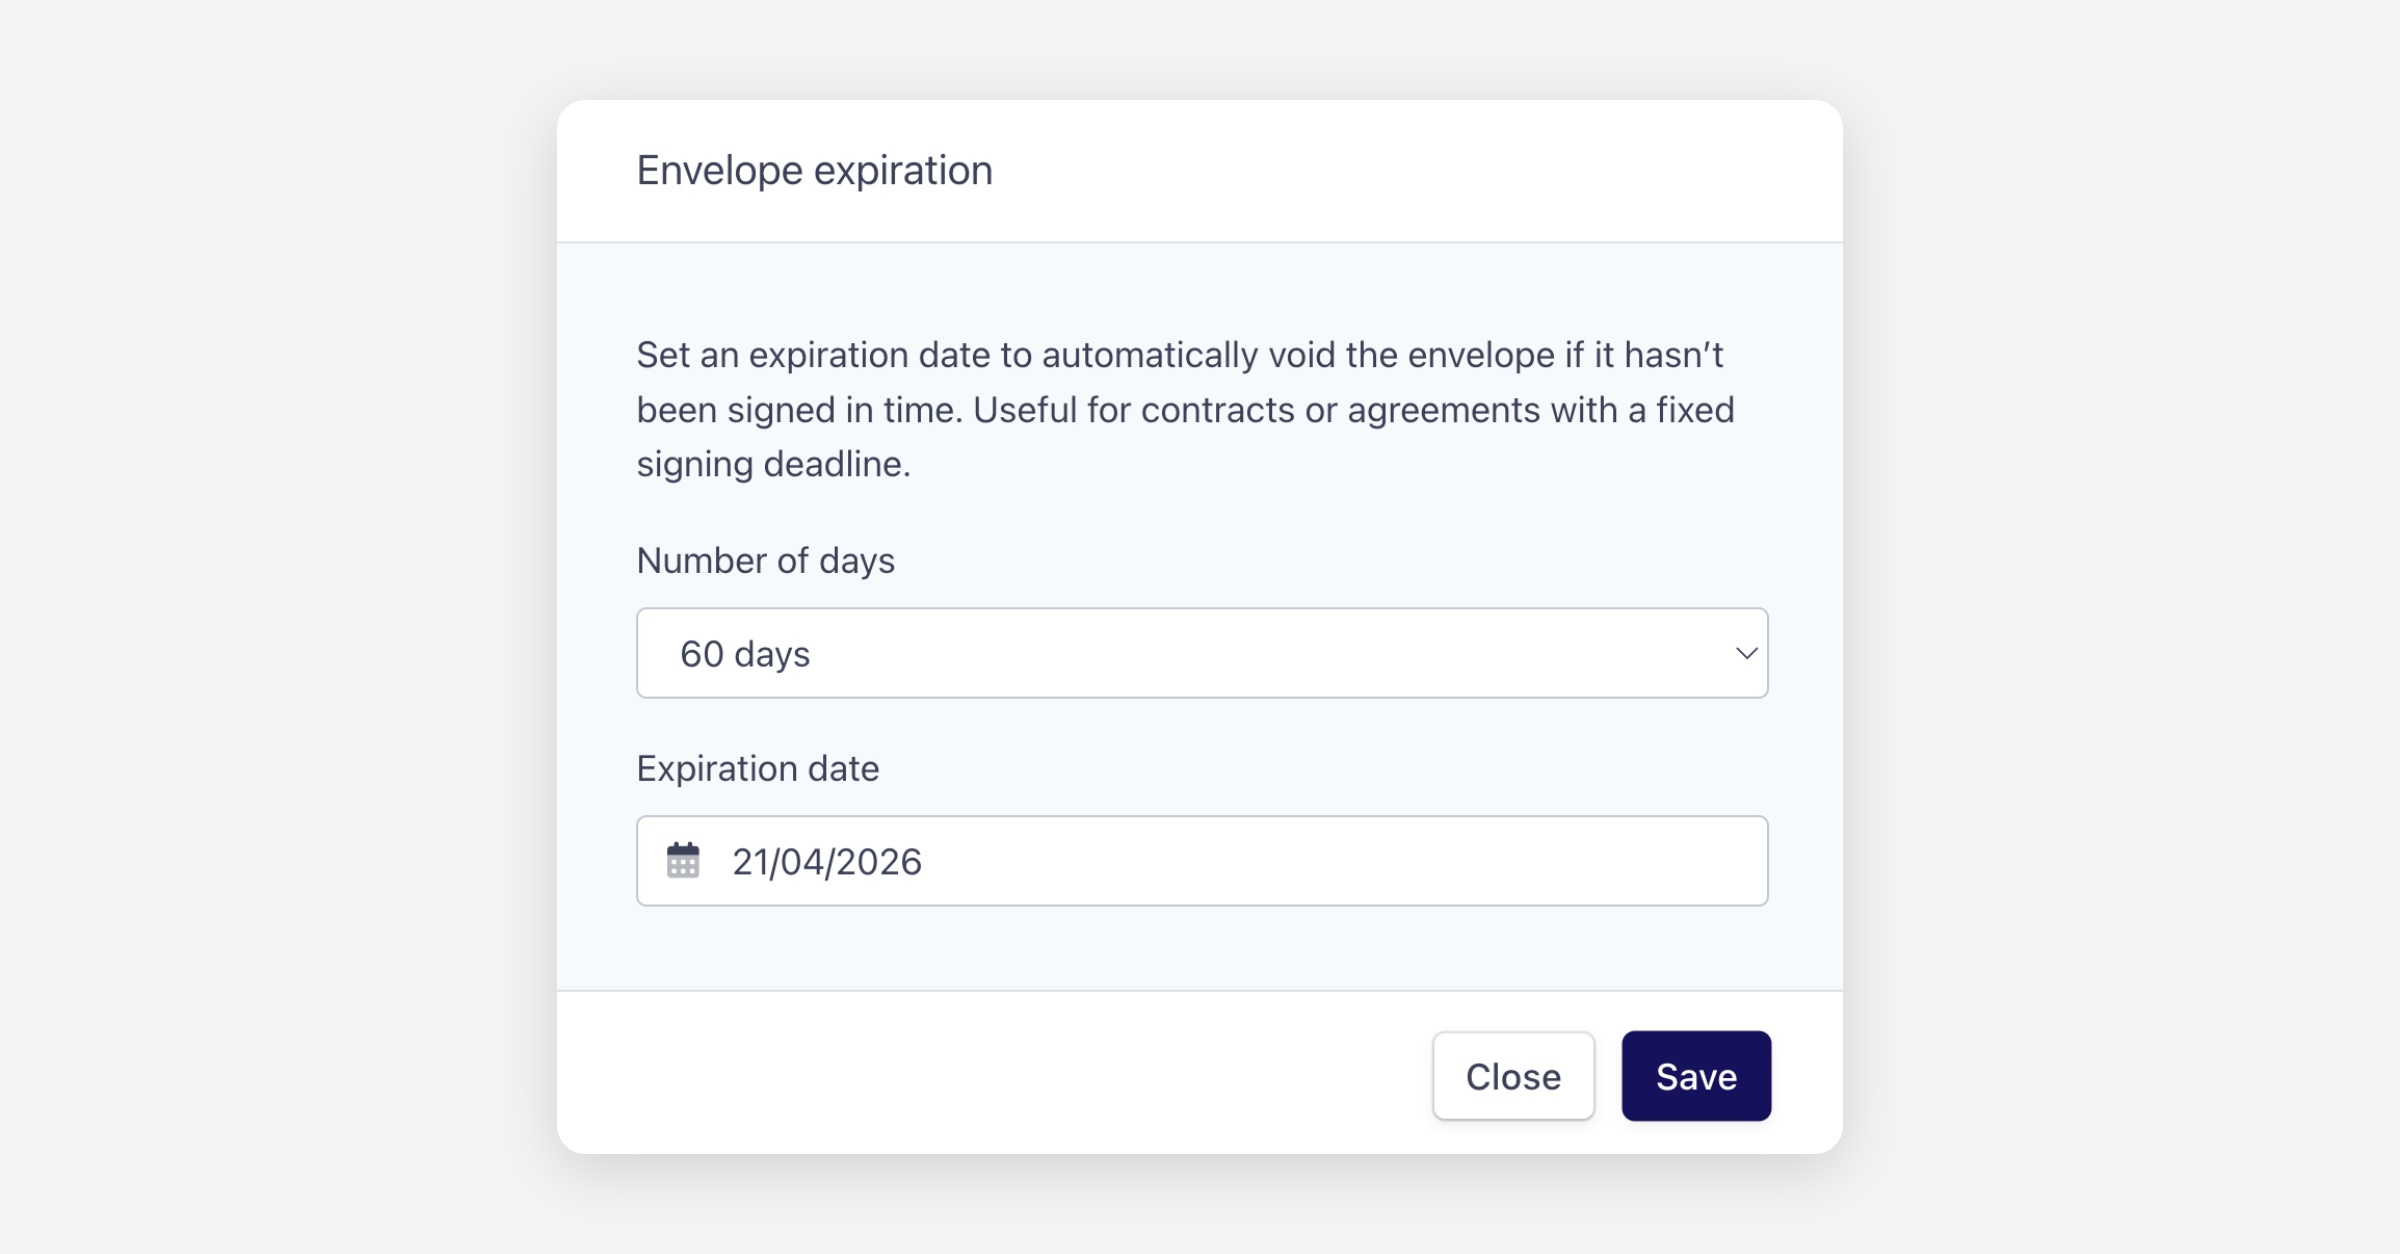
Click Save to record the expiration on the envelope.
The selected expiration will be shown in the envelope details before you send, so you can confirm the date is correct.
How to edit an expiration after sending
If you need to change the expiration after an envelope has been sent:
Open the envelope from your dashboard.
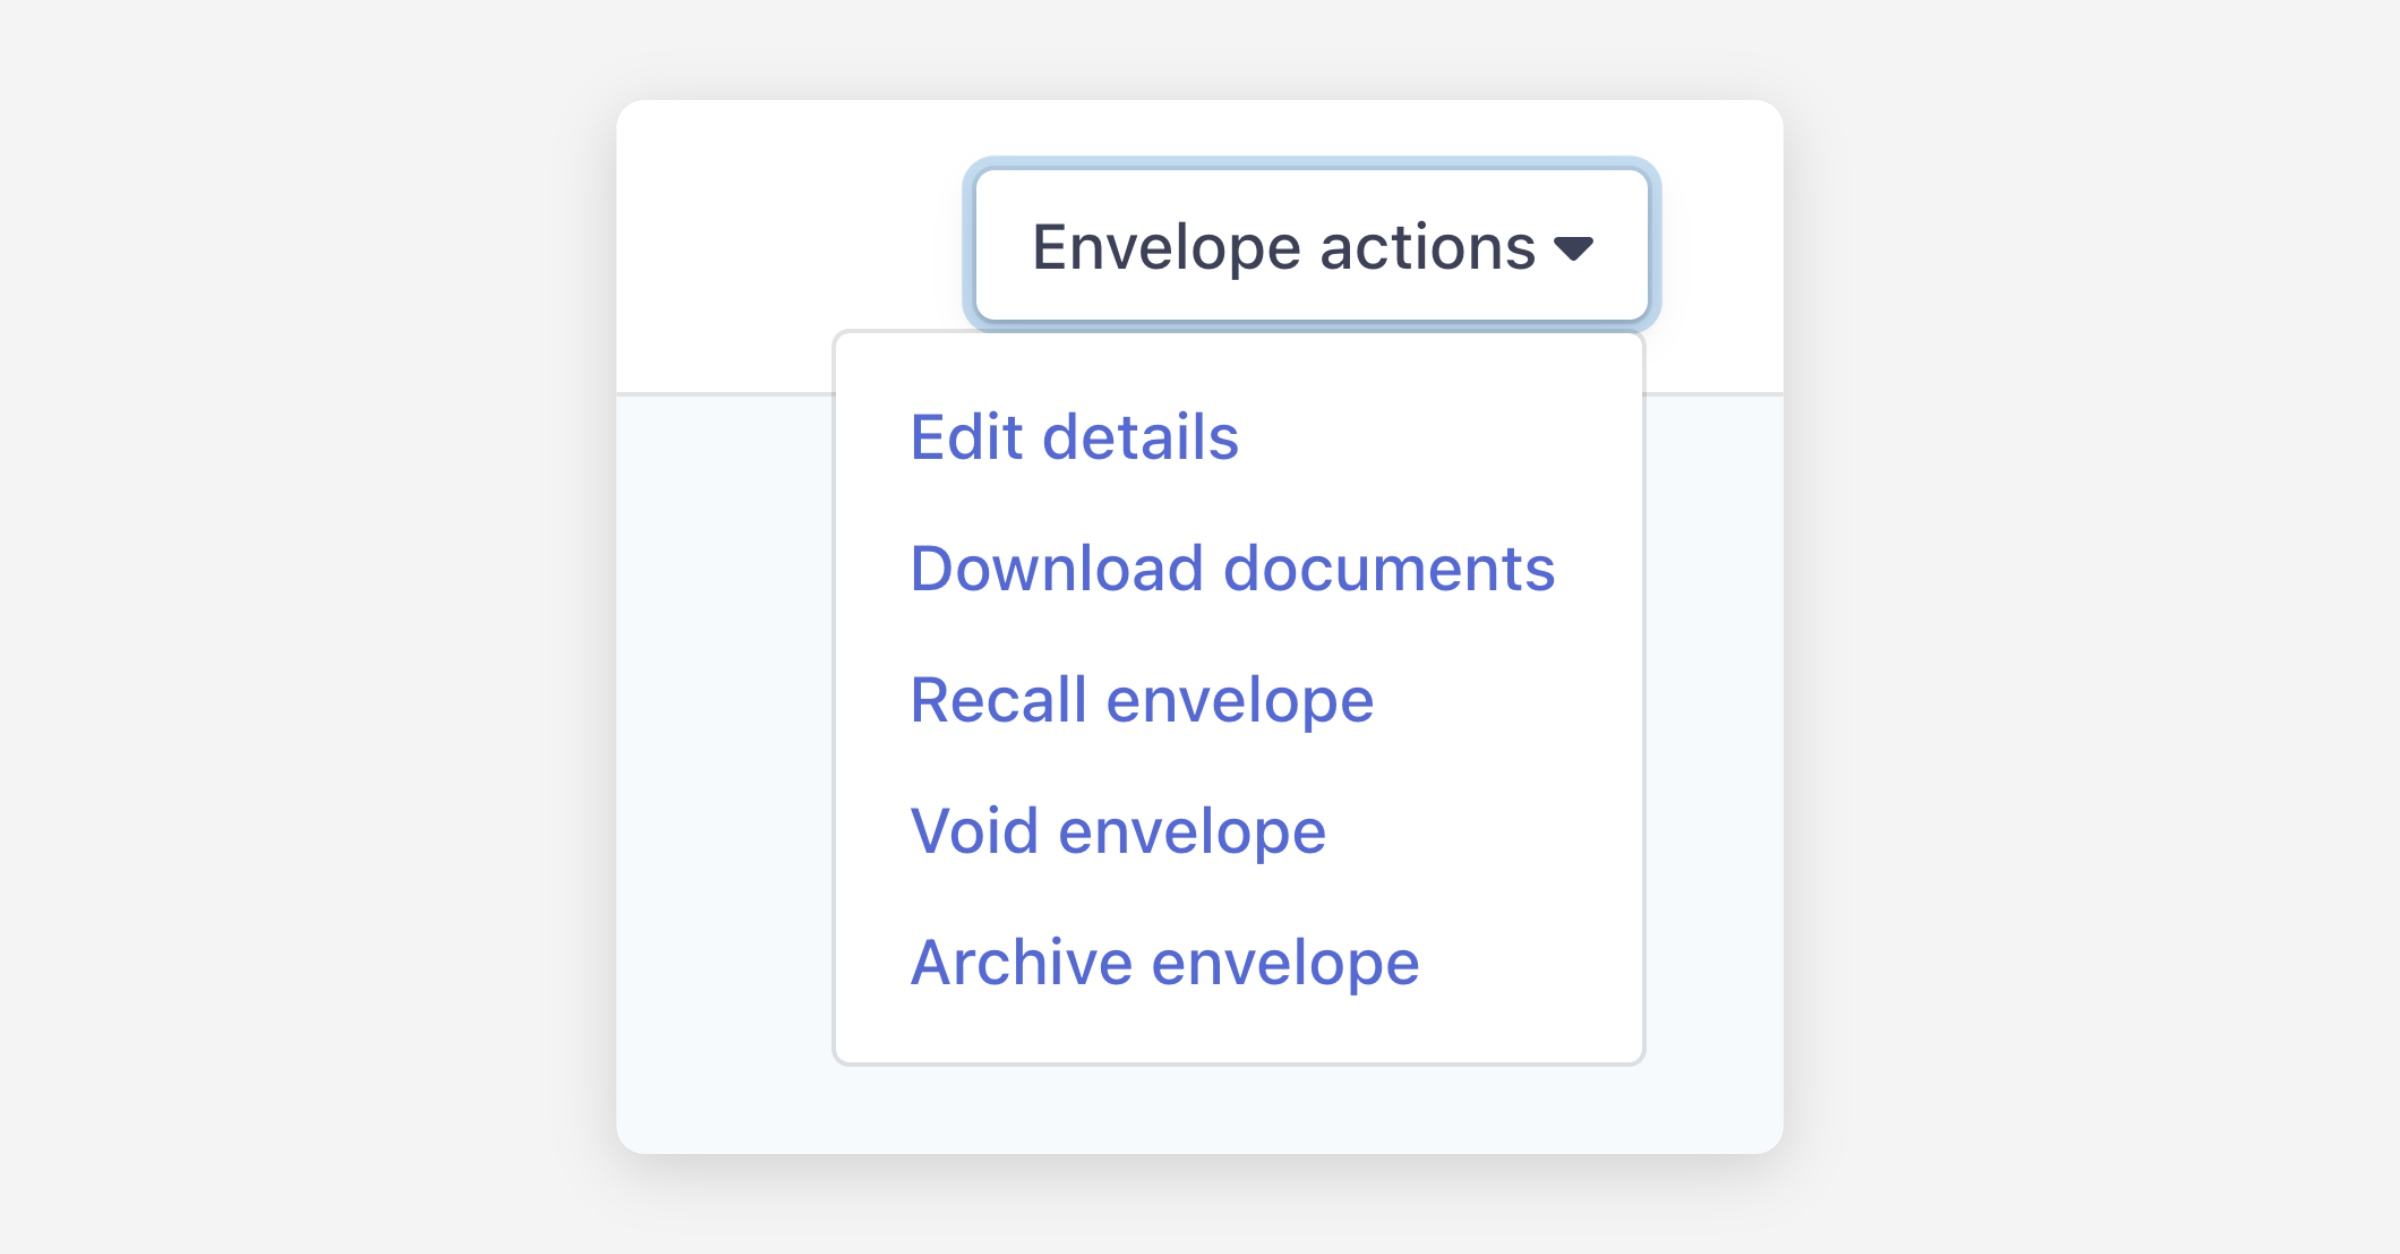
Click Envelope actions in the top-right and choose Edit details.
Update the Expiration date field to the new date.
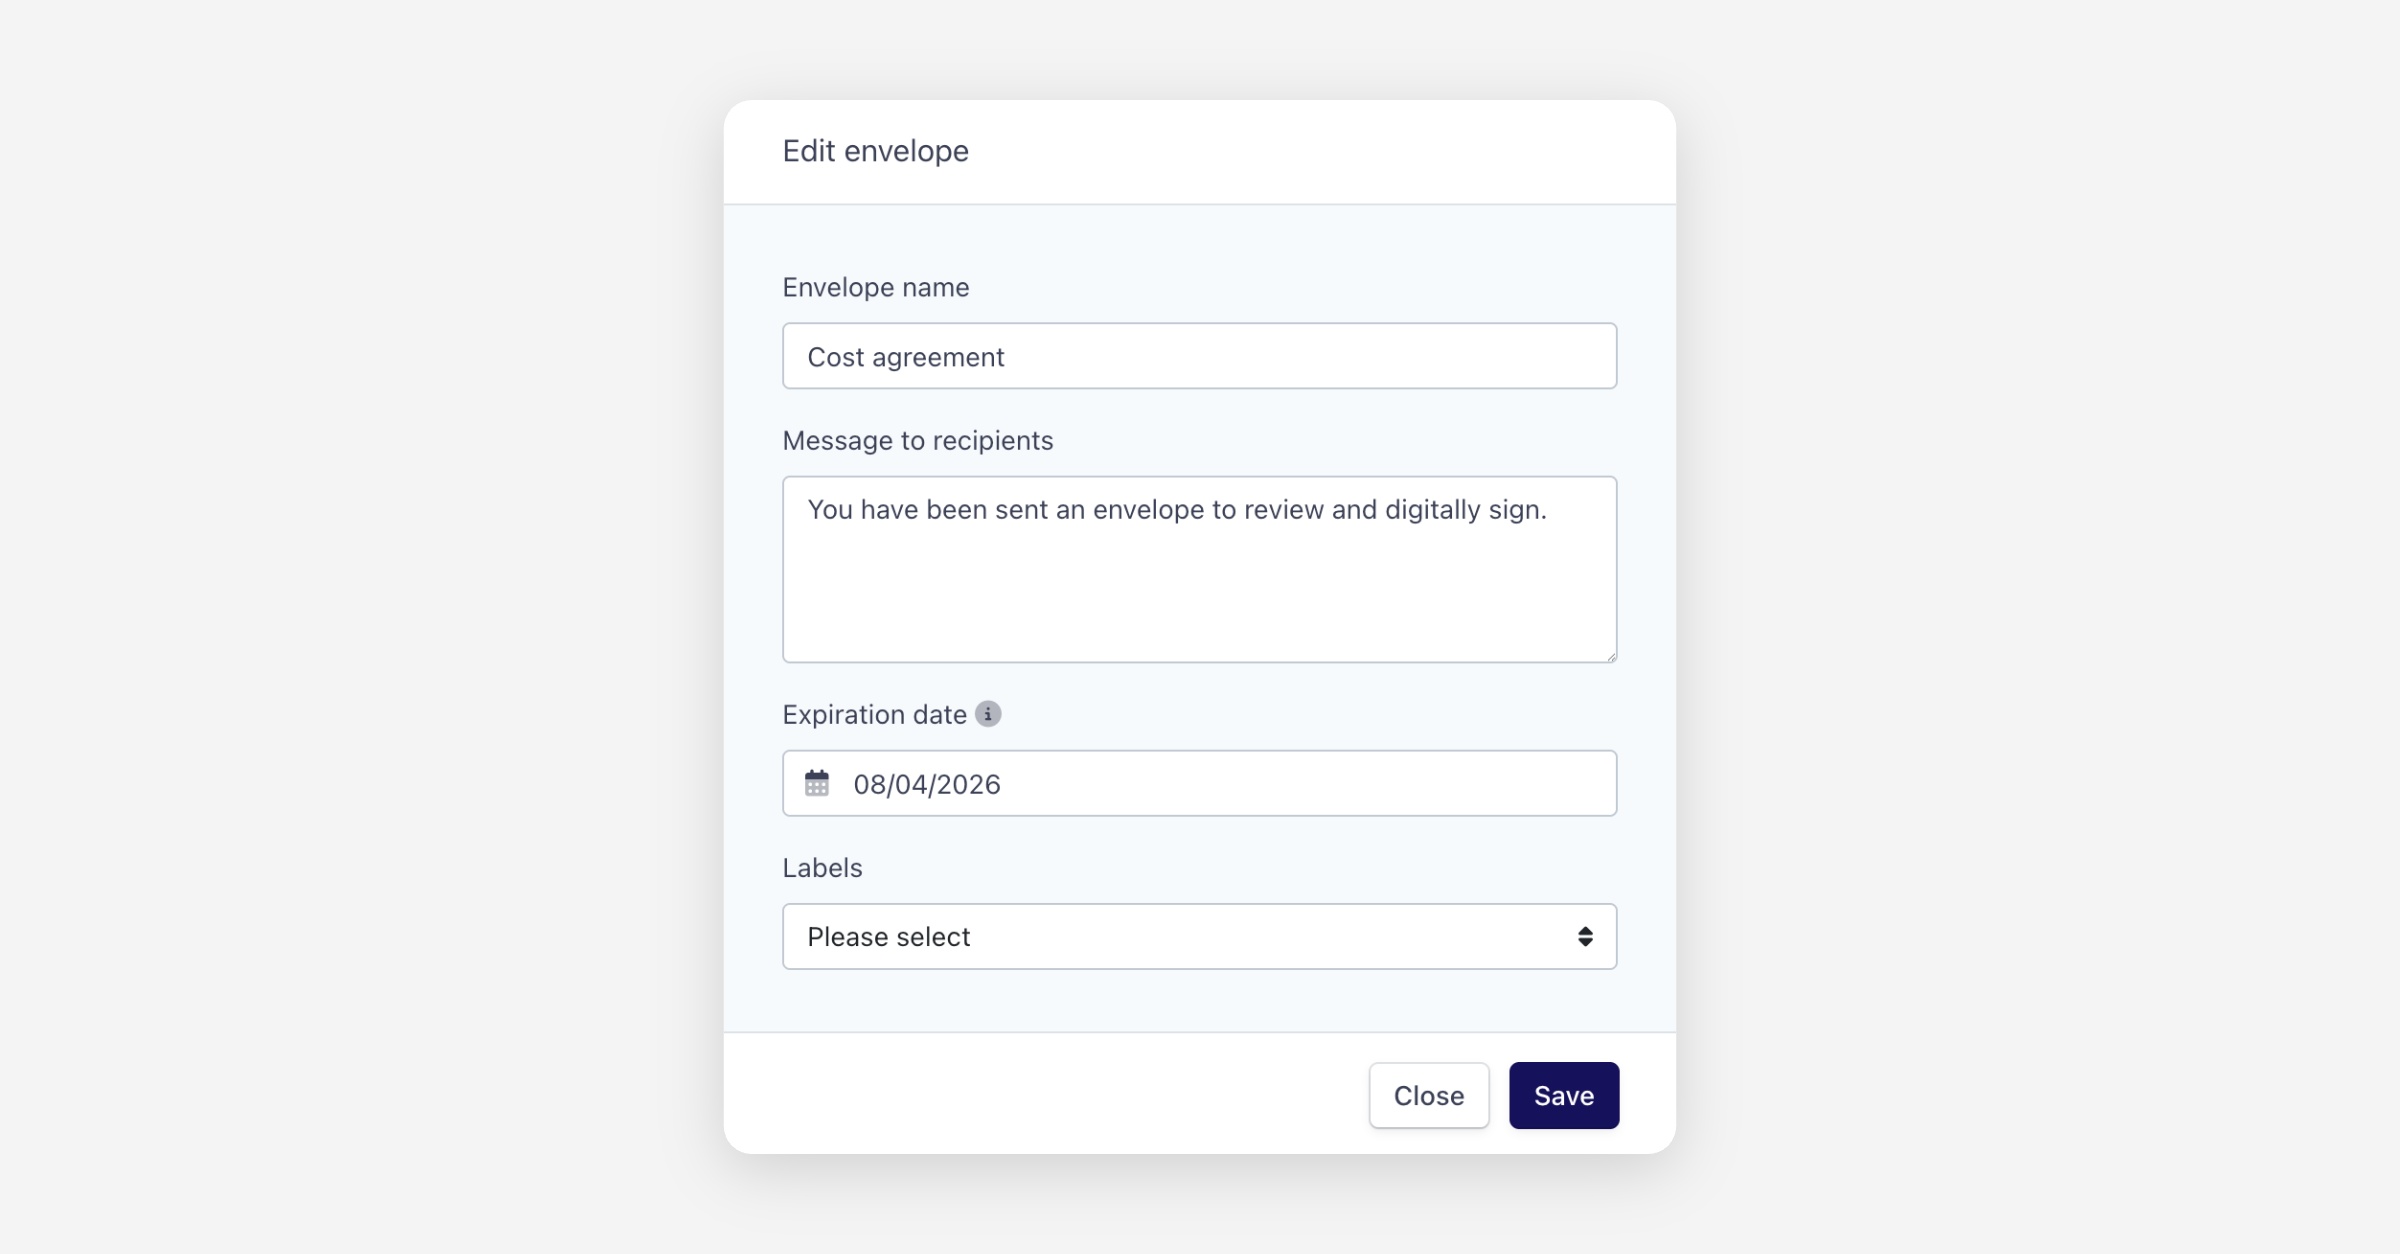
Click Save.
After saving, the updated expiration date will appear in the envelope details.
What happens when an envelope expires
Once the expiration date arrives, any envelope that is not completed will be automatically voided. Expiration is based on UTC, and the envelope will be voided shortly after the selected UTC date and time. A voided envelope cannot be signed, and its status will show as voided in the envelope details panel and in lists where envelope status is visible. If you need recipients to sign after an envelope has been voided, you’ll need to create and send a new envelope.
Was this helpful?