
Sending an identity verification
Create a full identity verification request for your client — including biometrics and AML & CTF screening — with a personalised email and SMS.
An identity verification request is used when you need to confirm your client's identity end-to-end: government-issued ID, personal details, biometrics (optional), and AML & CTF screening (optional).
For existing clients where a full verification isn't required — or where you just need to enrol them in ongoing monitoring — see Creating an AML & CTF screening instead.
Verification list
To access verifications, click Identity verification 2.0 in the left-hand navigation. The Verifications tab is the default view, and shows every verification request across your organisation:
Name — the client's full name.
Email address — the client's email address.
Checks — the types of checks performed (e.g. Multi-bureau, Biometrics, AML & CTF screening).
Created — the date the request was created.
Status — In progress, Completed, or Cancelled.
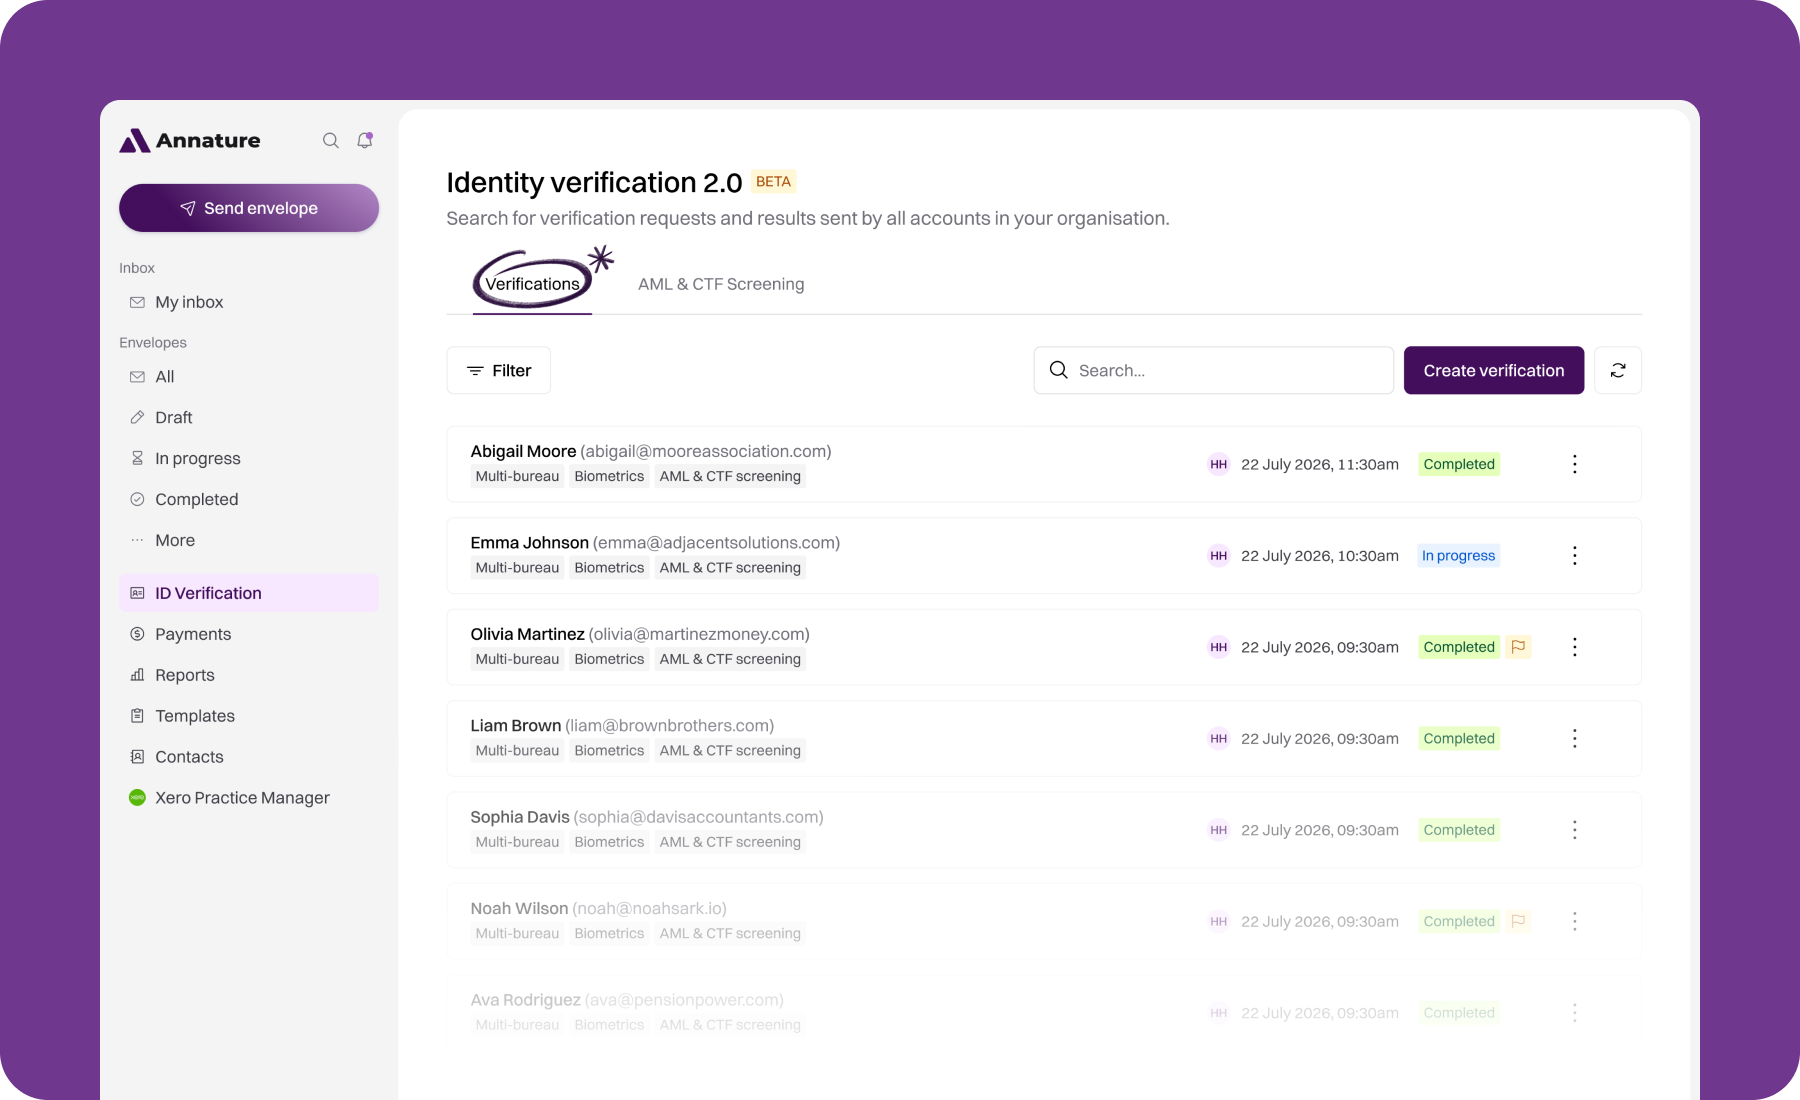
Use the search bar to find a specific verification, or click Filter to narrow the list by status, sender, or date range.
Each verification has an Open button to view its details, and a menu to Resend request, Cancel request, or Download reports.
Creating a verification
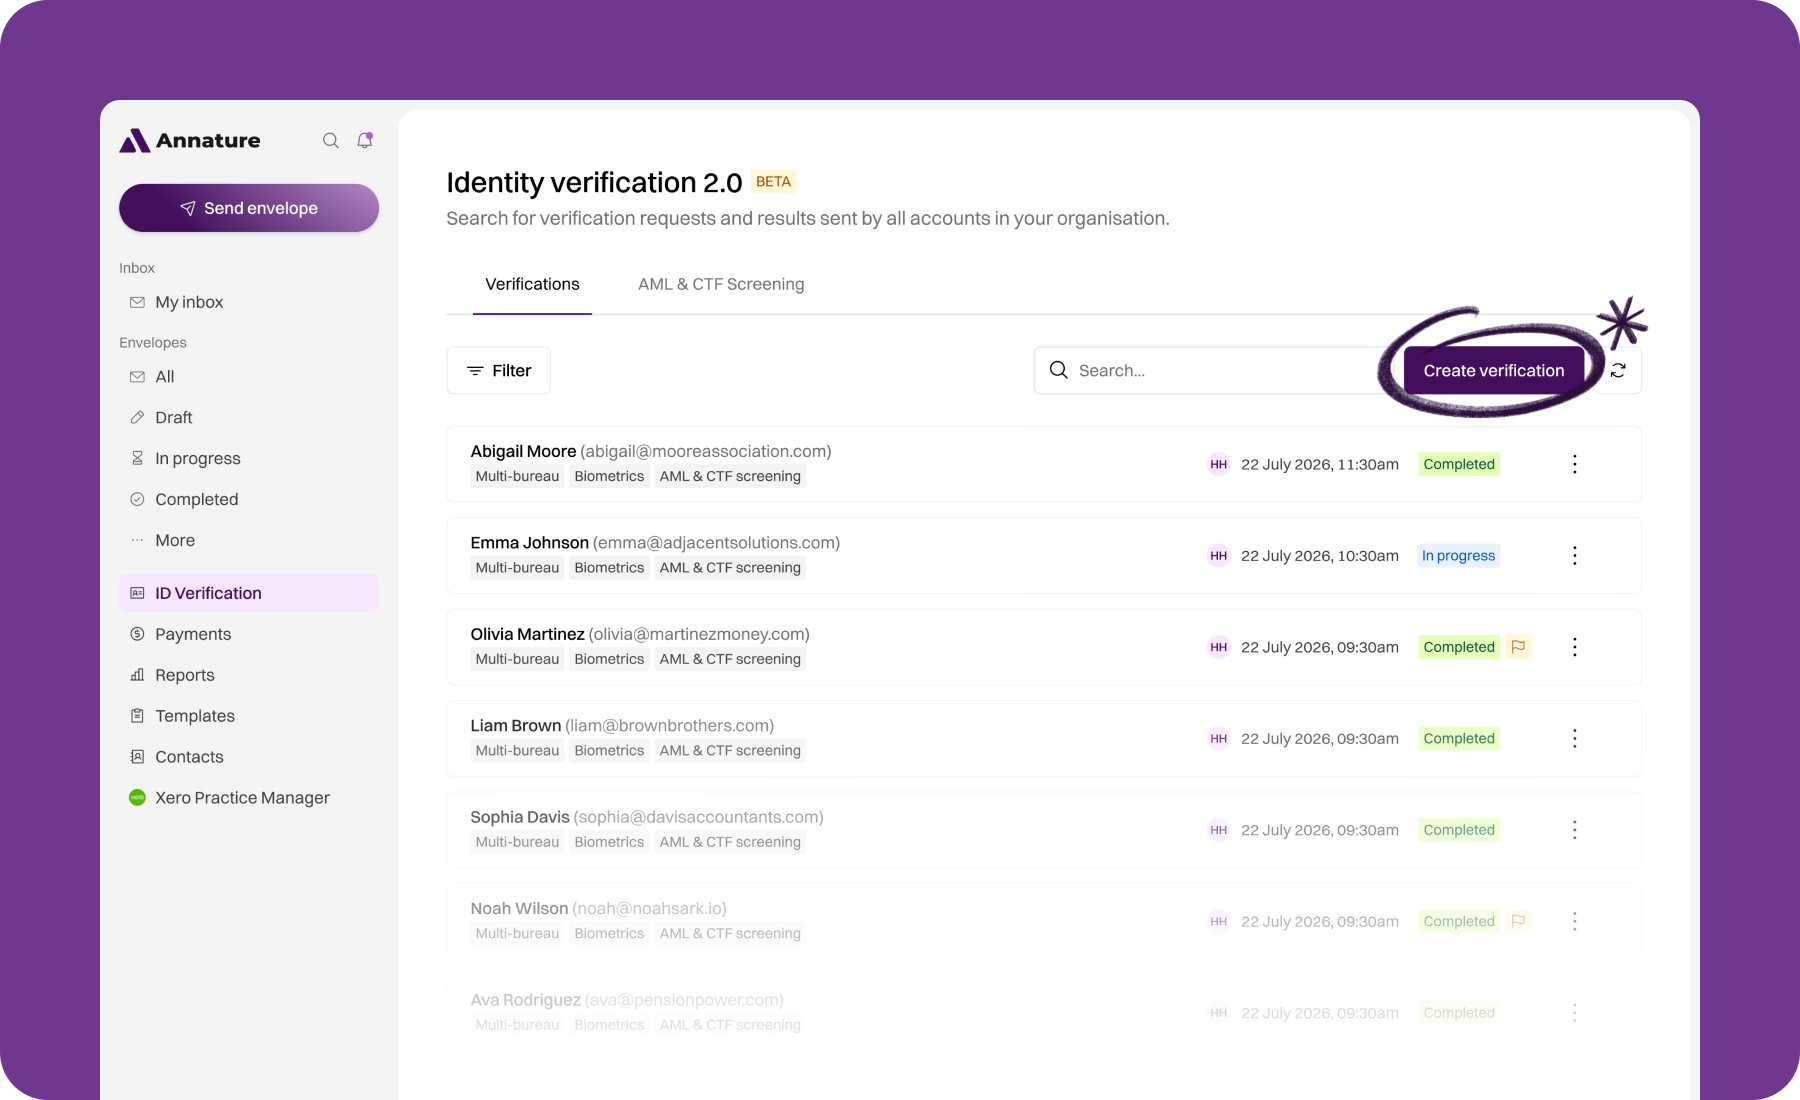
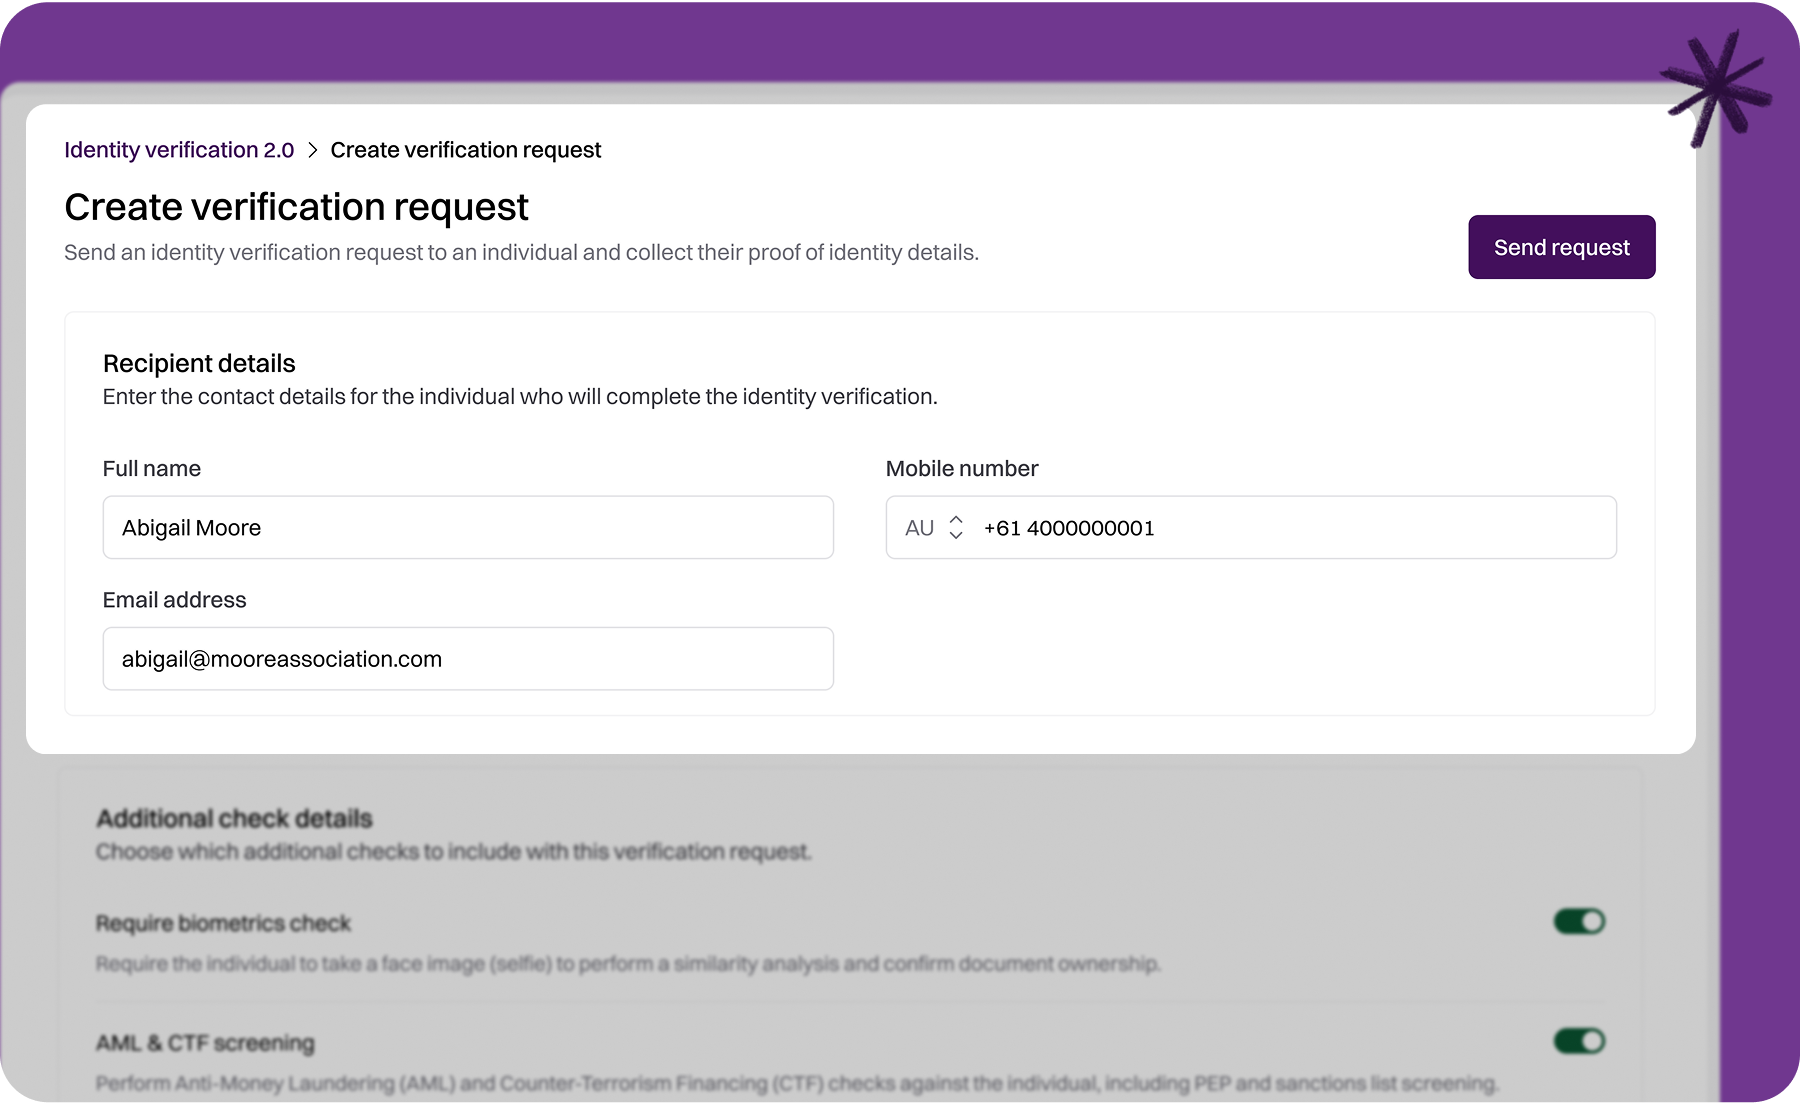
Click Create verification in the top-right of the Verifications tab. Enter the following details:
Contact details
Full name — your client's name.
Email address — where the verification email will be sent.
Mobile number (optional) — where the SMS with the verification link will be sent.
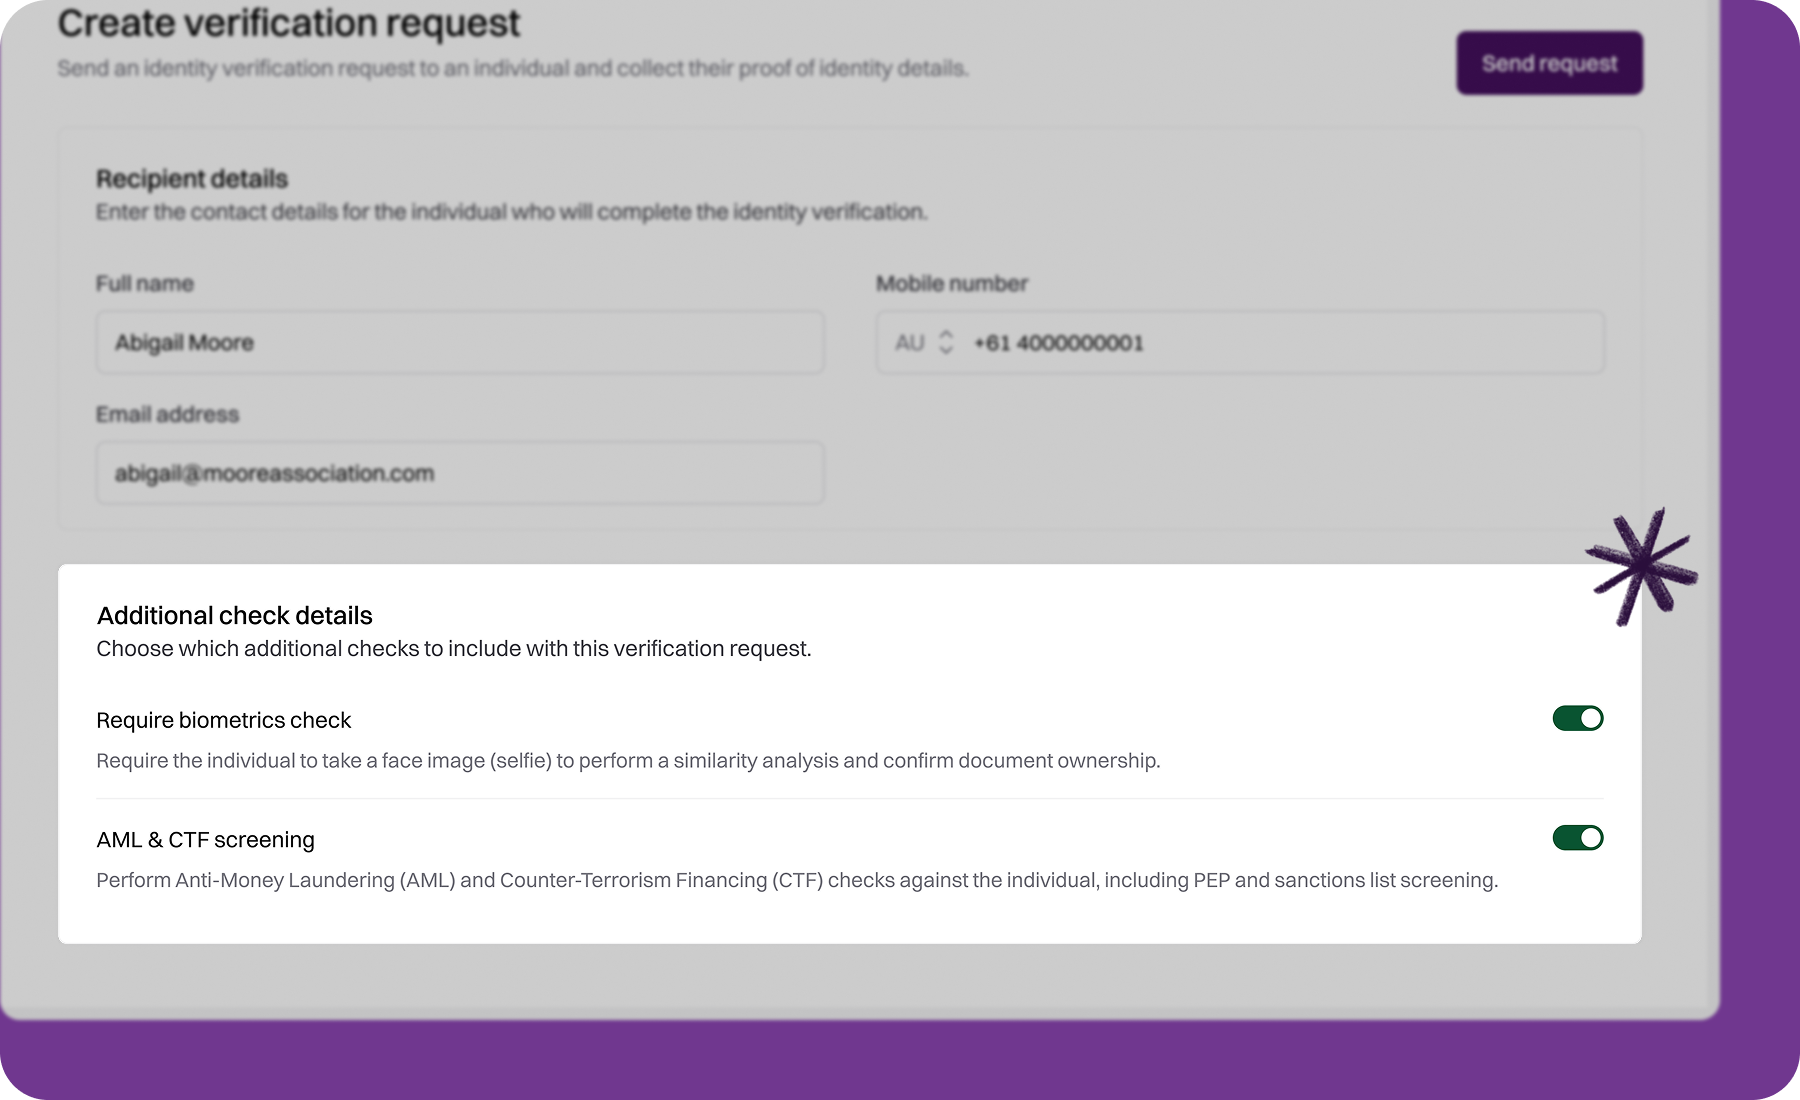
Verification options
Biometrics check — on by default. Requires the client to take a selfie so we can perform a similarity analysis against their submitted ID document.
AML & CTF screening — on by default. Runs sanctions, PEP, adverse media, and other watchlist checks against the individual once their identity has been verified. The resulting screening check also appears in the AML & CTF screening tab.
Require tax details — off by default. Requires the client to provide their Tax File Number (TFN), BSB, and account number as part of the verification.
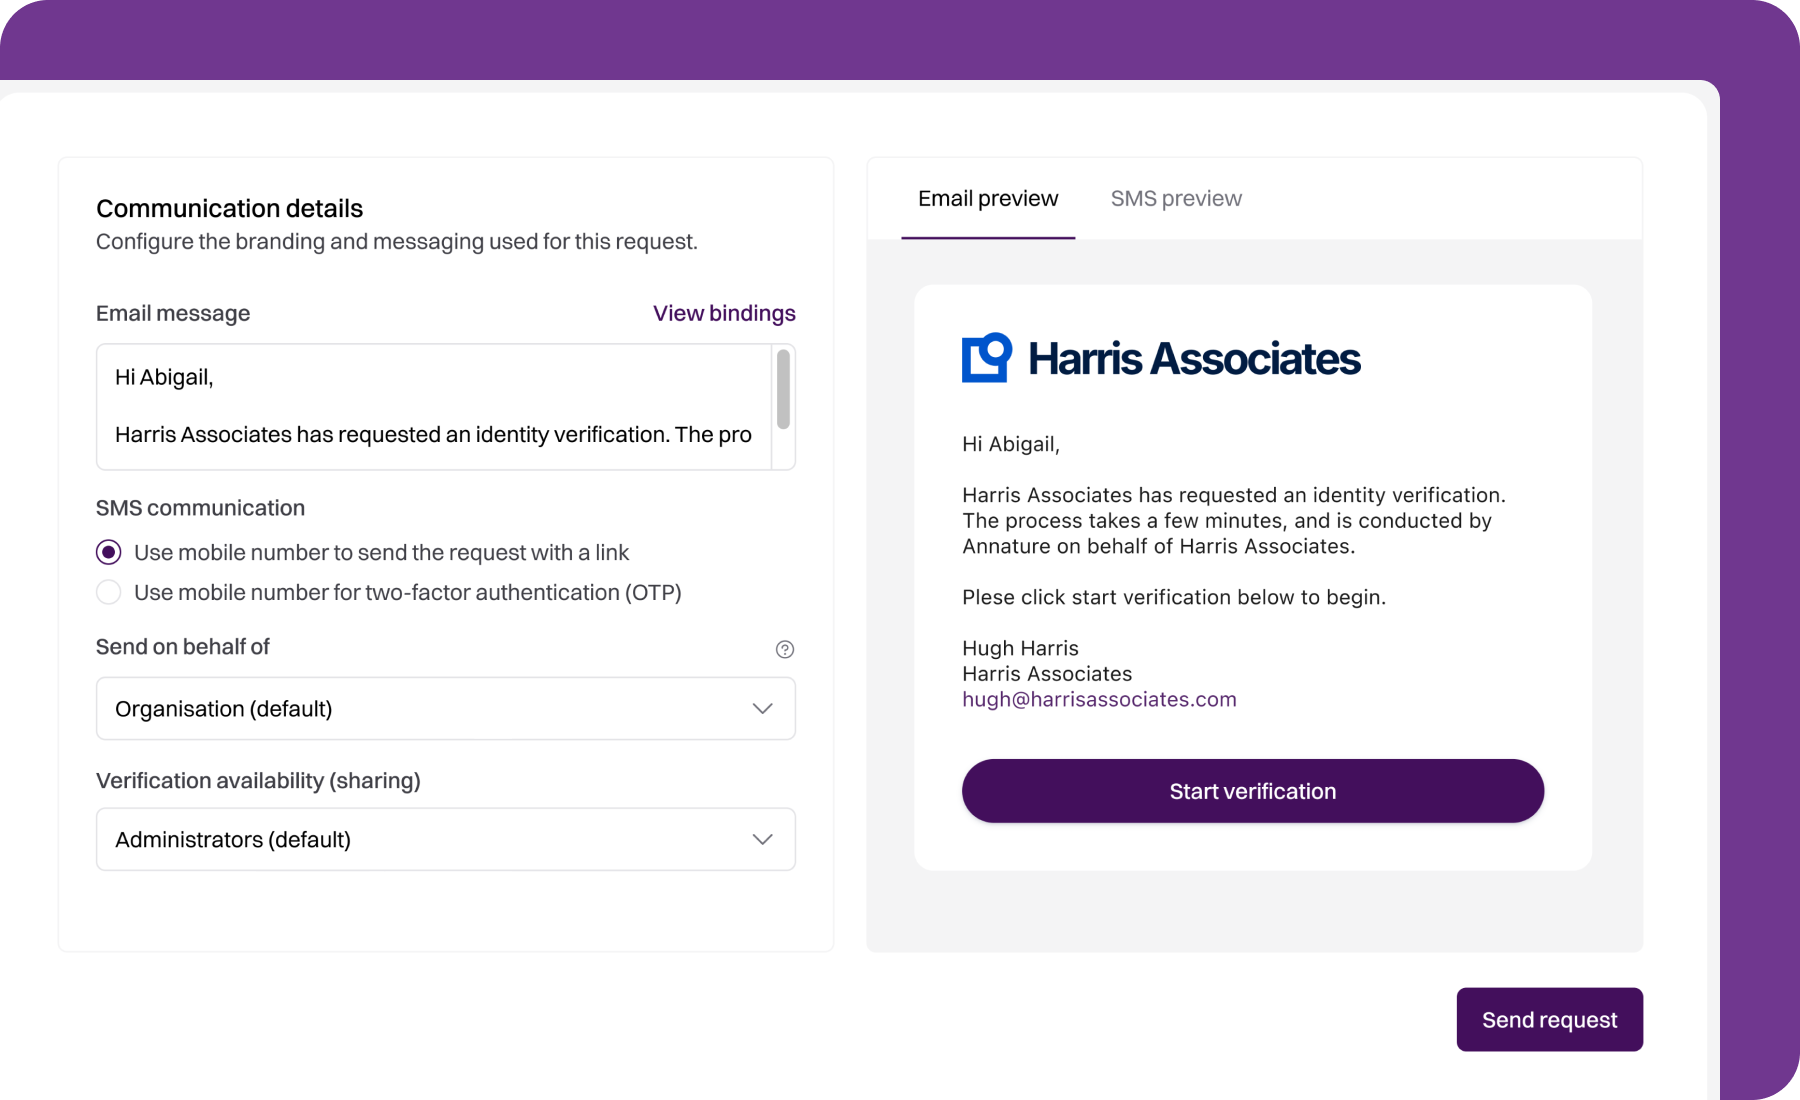
Email and SMS message
You can personalise the message sent to the client — a short note explaining what the verification is for, or who you are, can significantly reduce hesitation from recipients who aren't expecting the request.
Use the Email preview and SMS preview tabs to see exactly what your client will receive before you send.
Both messages support placeholders — for example, {{first_name}} inserts the client's first name, and {{sender_business}} inserts your organisation's business name. For the full list of available placeholders and how they work, see Verification message bindings.
Availability
If your organisation uses groups, use the Availability dropdown to control who can see and manage this verification:
Organisation (default) — visible to your whole organisation.
A specific group — only visible to accounts in that group, with the group's branding applied to the client-facing experience.
Sending the request
Click Create to send the verification request. Your client will receive:
An SMS with the verification link (they can start from here directly).
An email with the same link and any personalised message you added.
If you'd rather use the mobile number for SMS-based two-factor authentication only (instead of sending a link), that option is available under the mobile number field.
What happens next
Your client completes the verification on their mobile device — capturing photos of their ID, taking a selfie (if biometrics is enabled), and providing the additional personal details required (including country of birth and nationality). Once submitted, verification is processed automatically and you'll be notified by email.
If AML & CTF screening was enabled, the resulting screening check appears in both the verification detail view and the AML & CTF screening tab.
To learn what to do after your client completes the verification, see Reviewing a completed identity verification.
Related articles
Was this helpful?