Docs / Payments
Custom Payments
Collect payments for your own services by attaching a payment request to any envelope. Your client signs and pays in one step.

Custom Payments let you collect payment for your own services directly within an envelope. Instead of sending a separate invoice, your client reviews the documents, signs, and pays in one step.
Prerequisites
Your organisation must complete the Payments Registration process before Custom Payments become available. Once approved, Custom Payment will appear as an option whenever you add a payment to an envelope. Learn more here.
Sending an envelope with a custom payment
Create your envelope as normal — upload your documents and add at least one recipient. Both are required before you can add a payment.
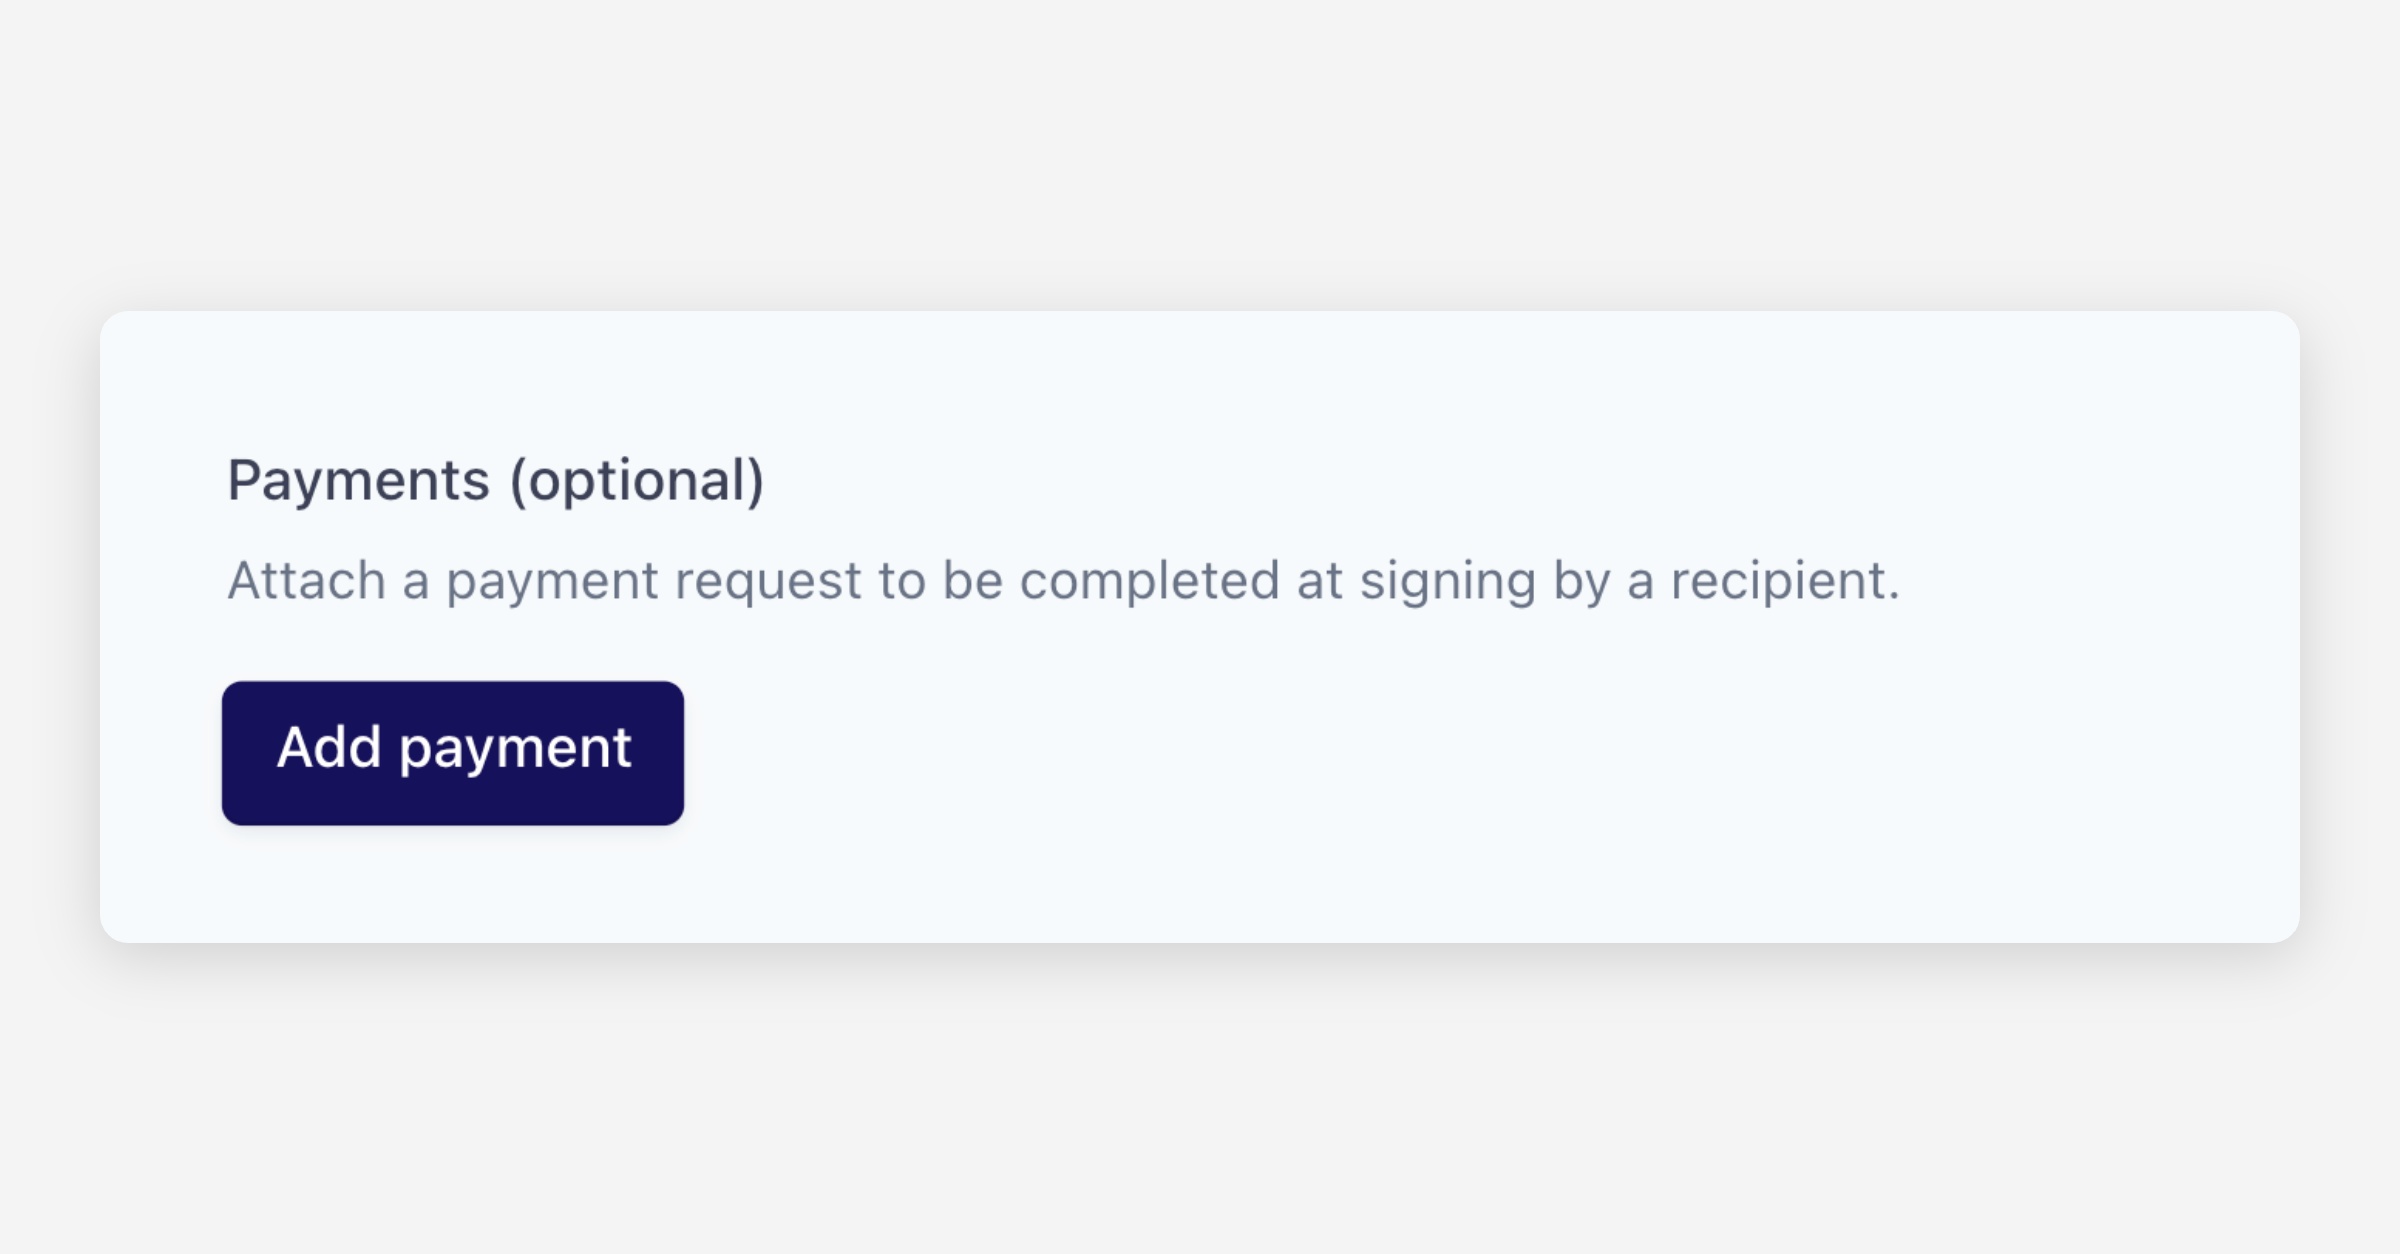
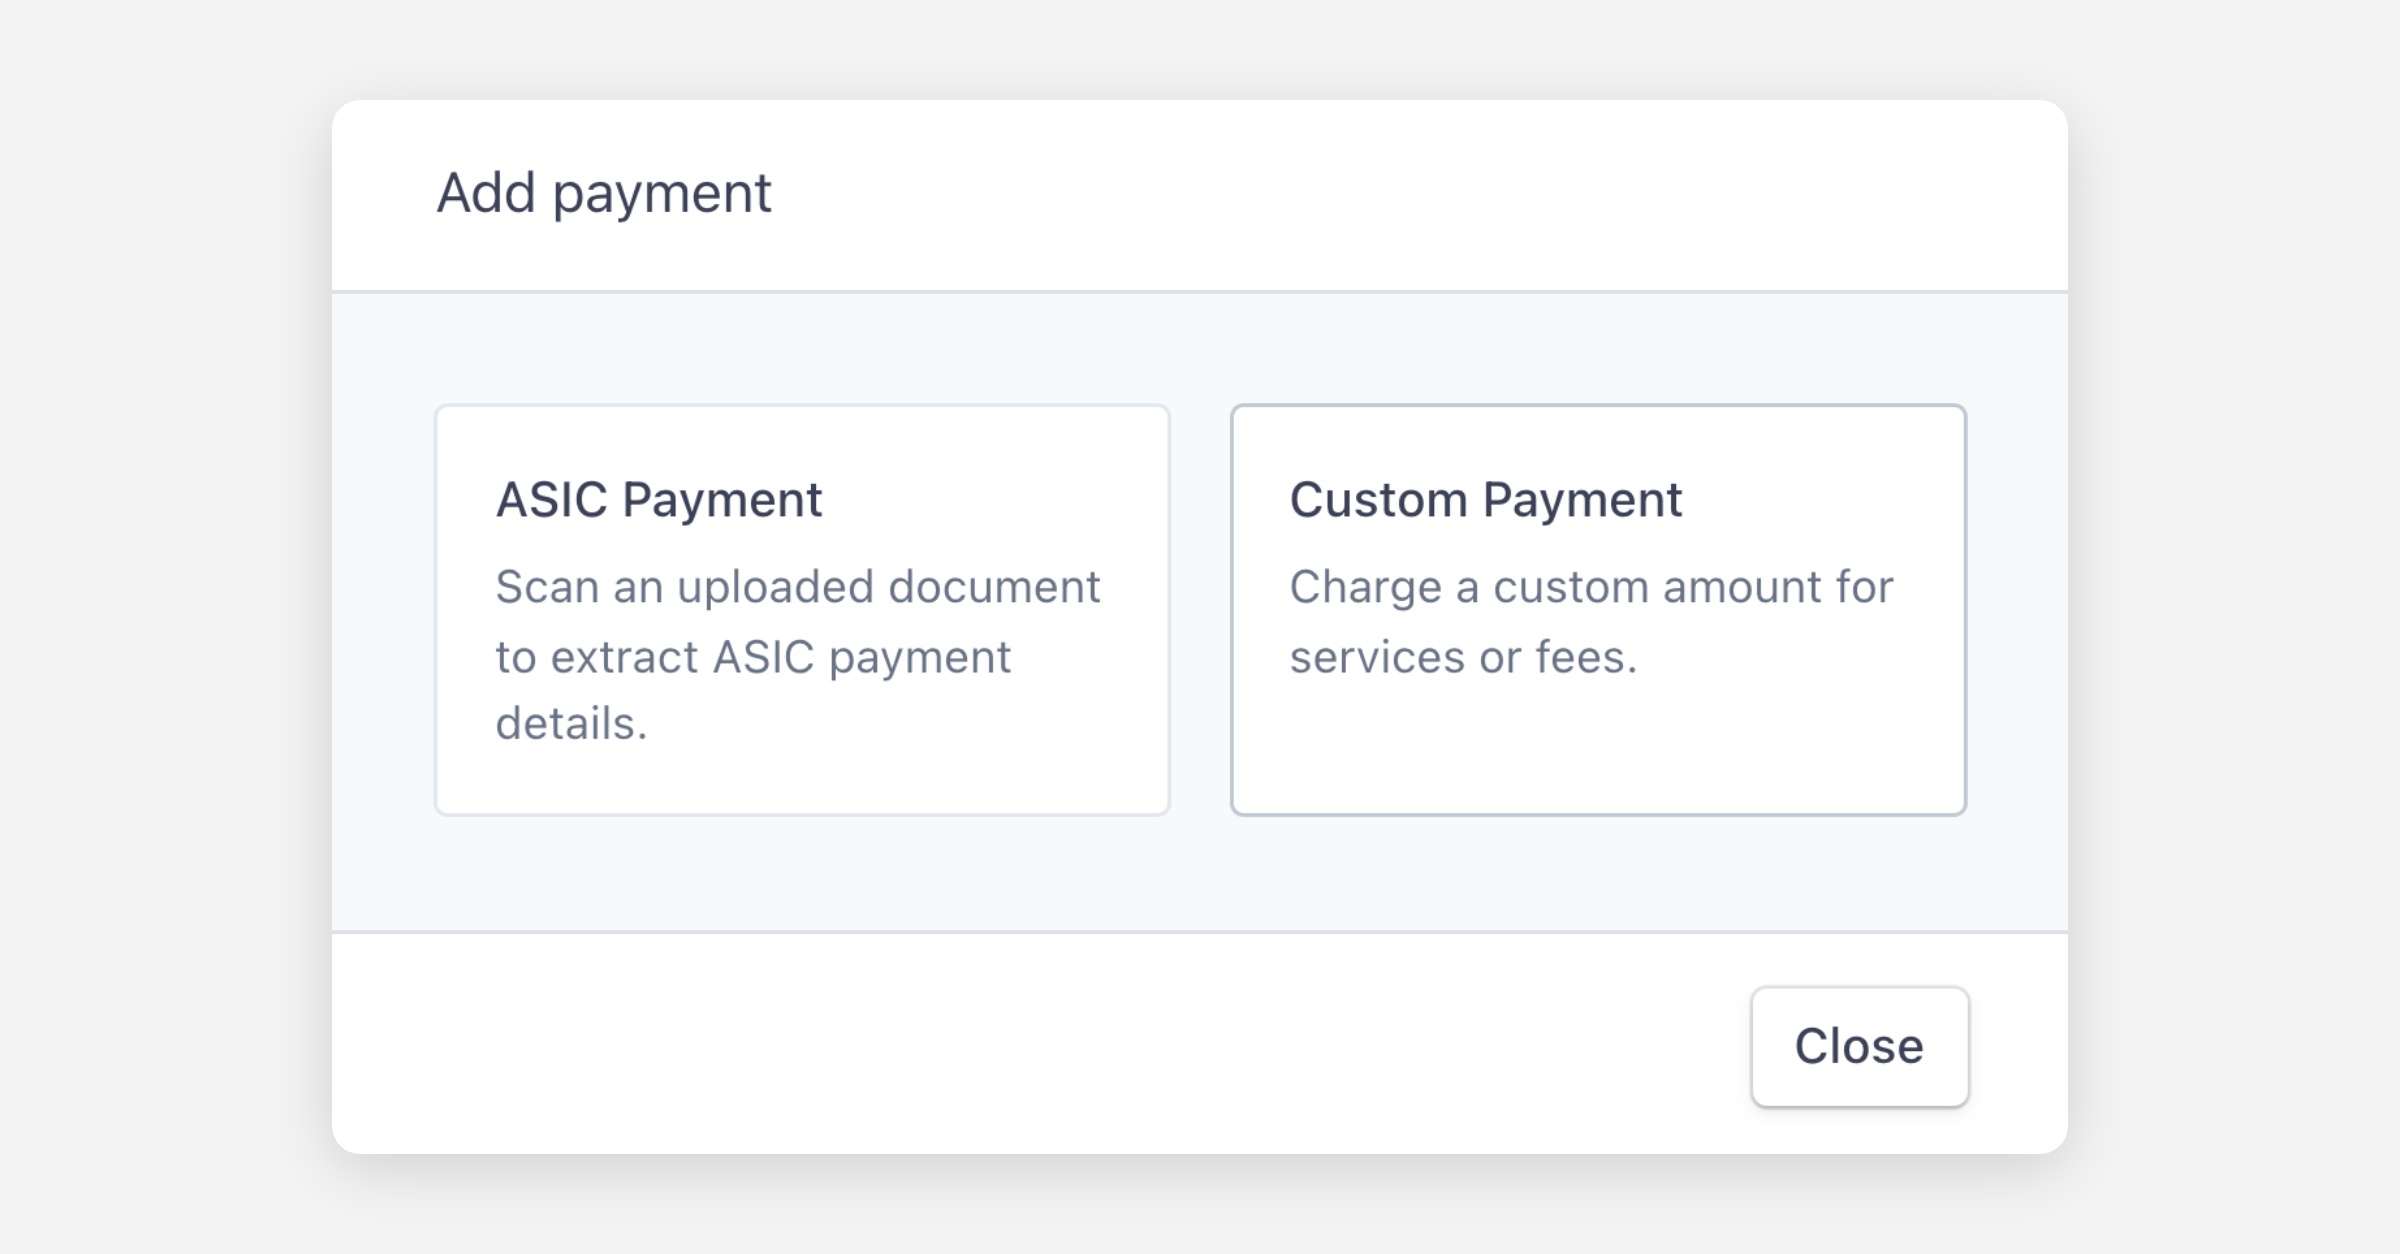
Click Add payment and choose Custom Payment.
Enter the payment details:
Amount due (AUD) — The amount to charge.
Required — Whether the client must pay to complete the envelope, or can pay later.
Description — What the payment is for (e.g. "Discovery Fee - Invoice #0001").
Assign recipient — Which recipient is responsible for paying.
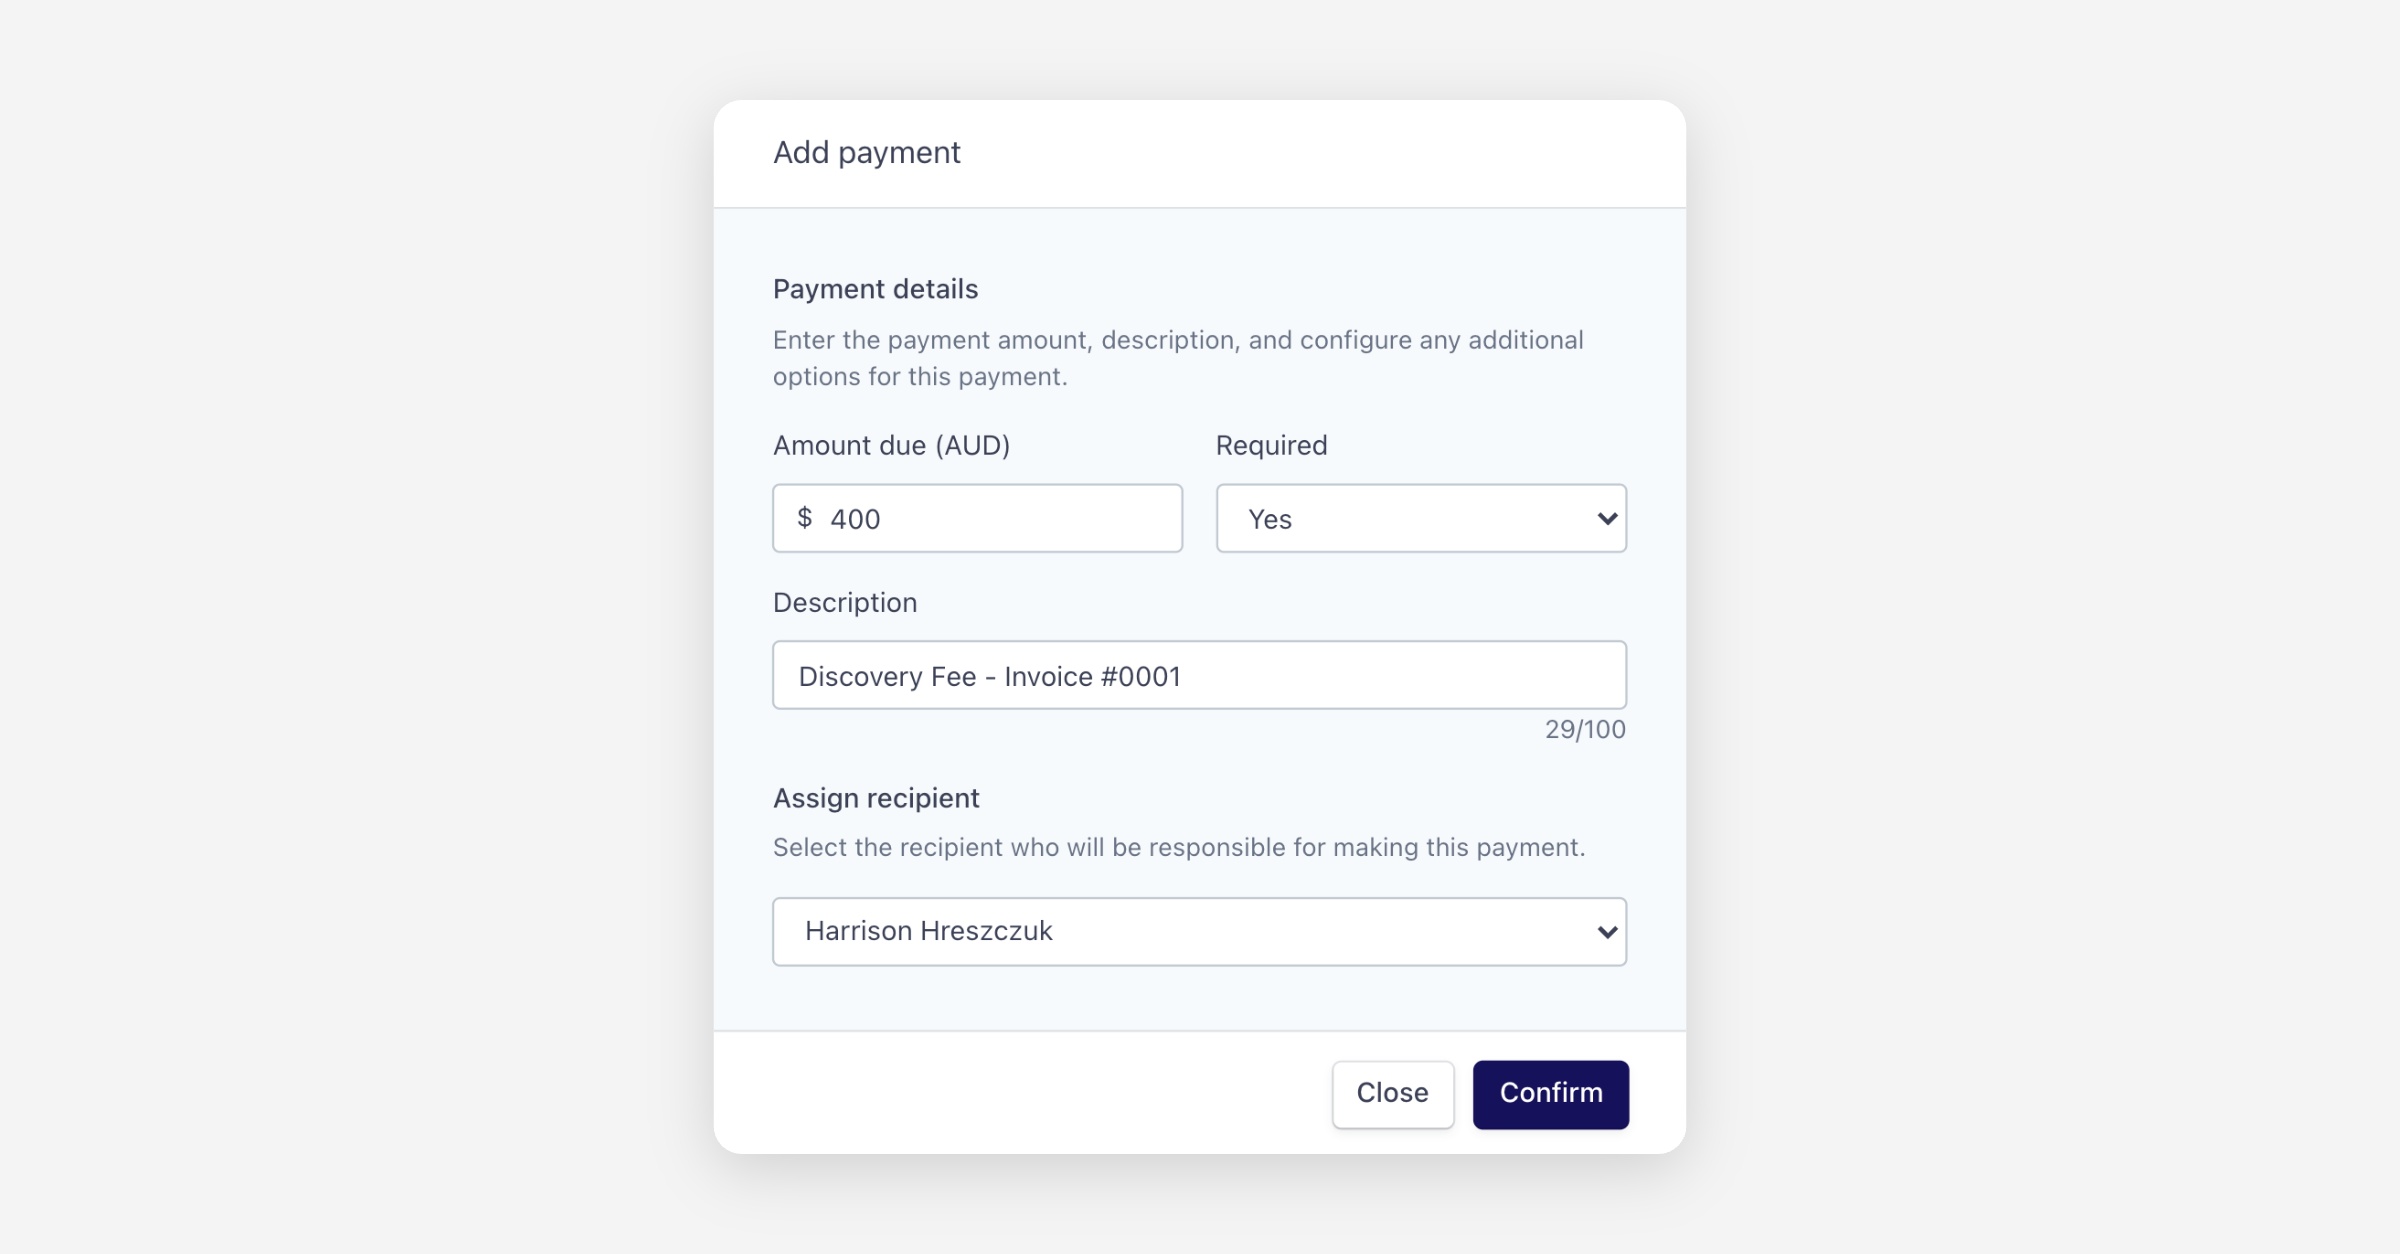
Click Confirm, then send the envelope as usual.
Completing an envelope with a custom payment
From the client's perspective:
They open the envelope via the secure email/SMS link.
They review and sign the documents as usual.
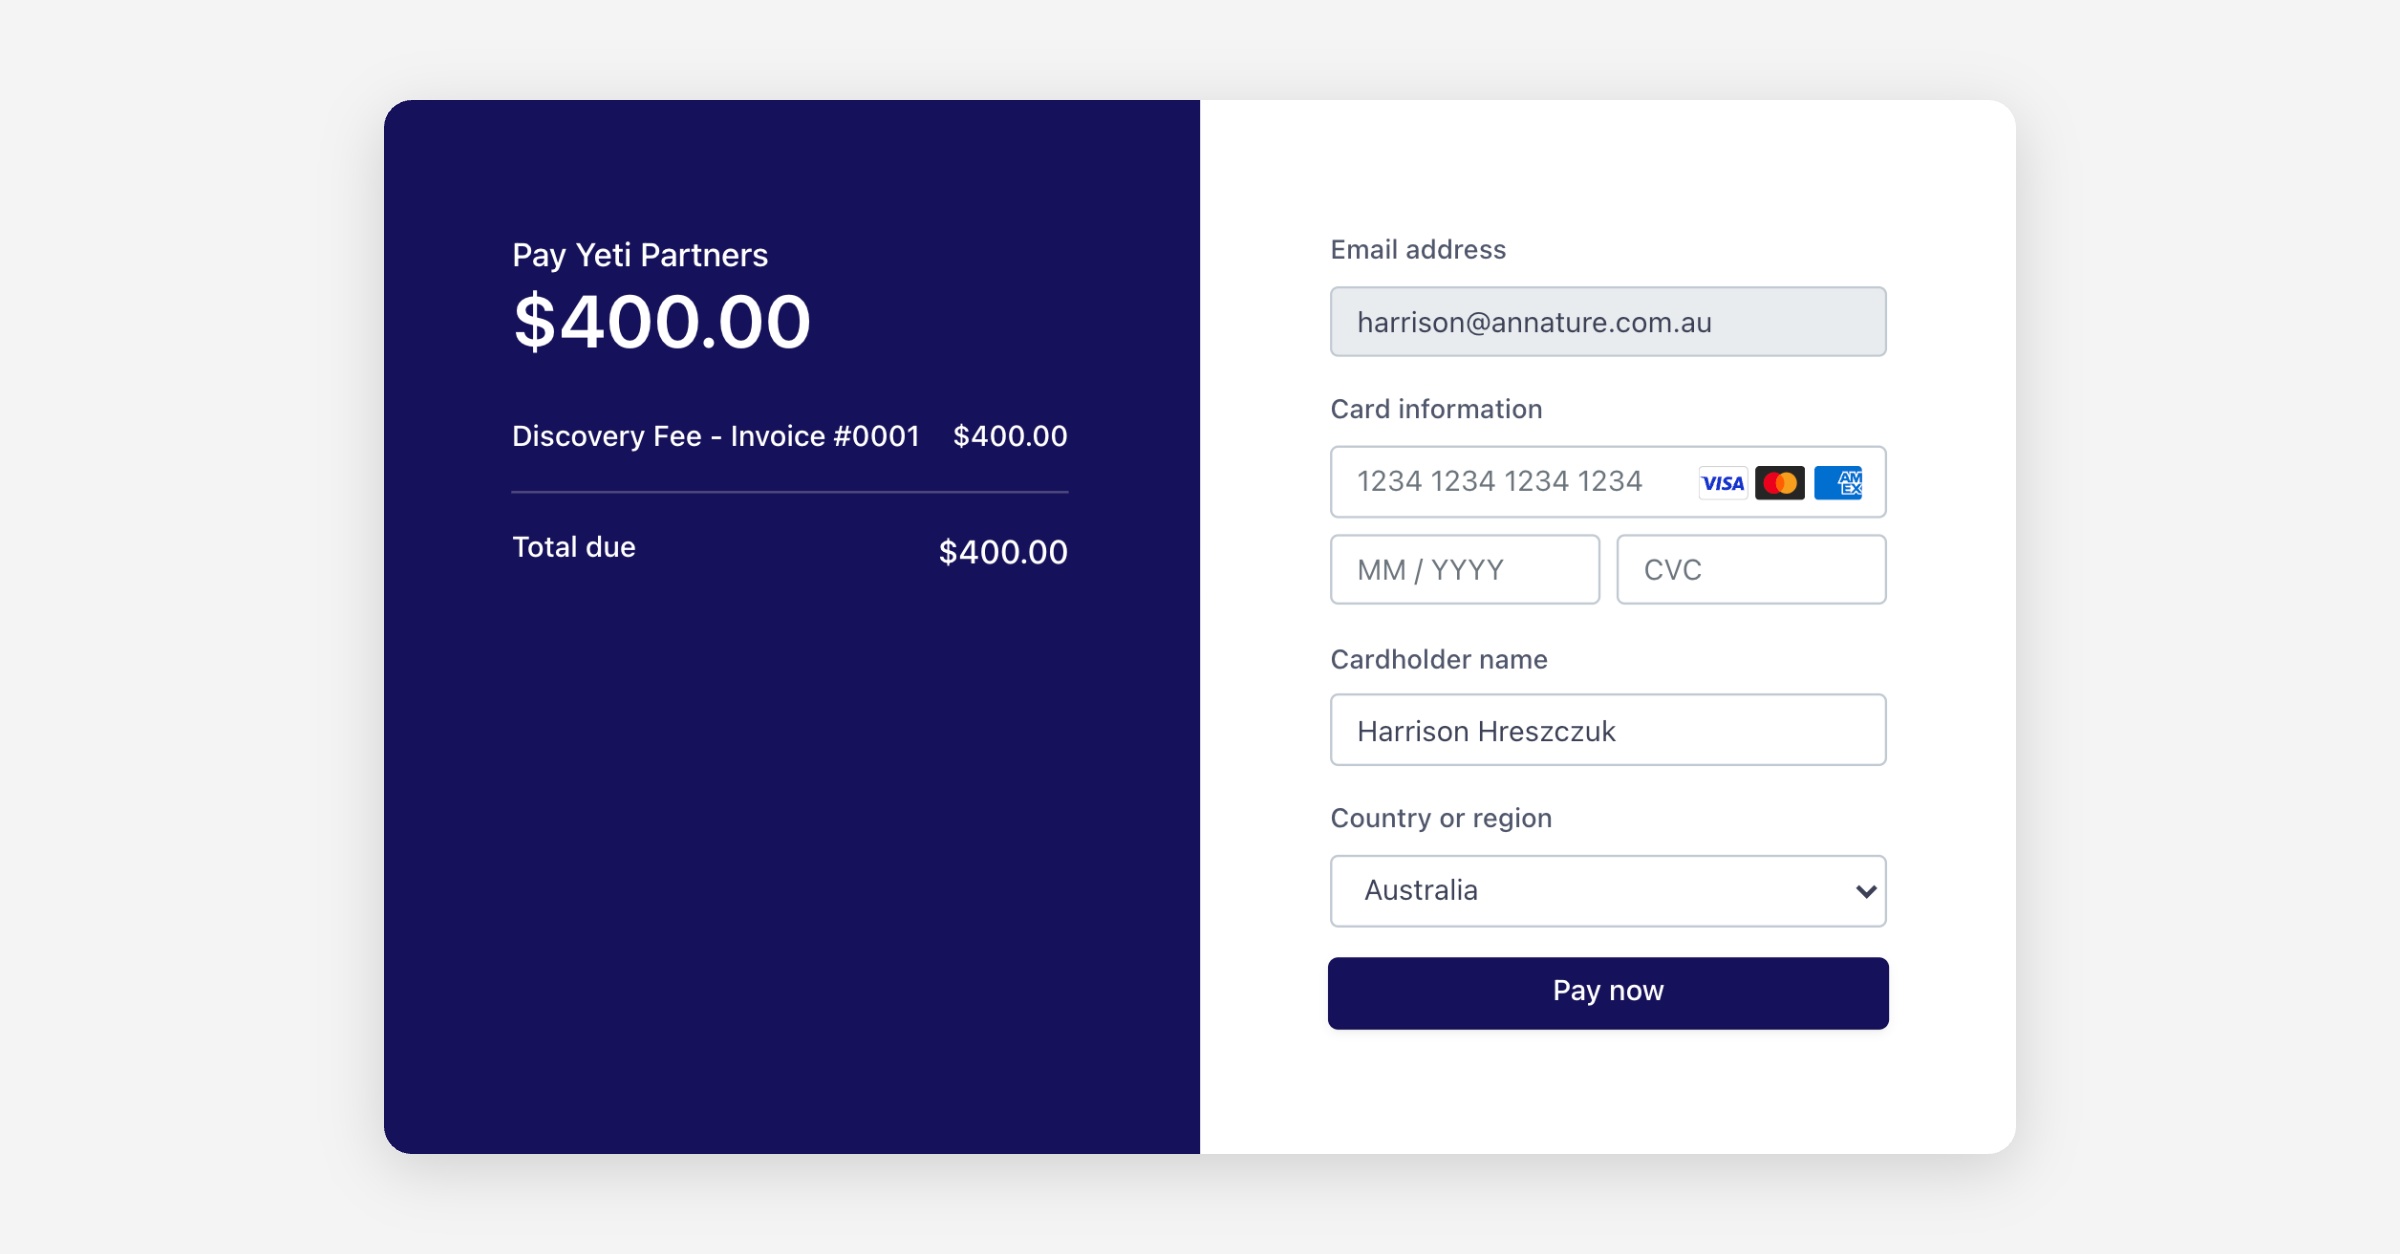
After signing, they are prompted to enter their card details. The payment amount and description are displayed so they know exactly what they're paying for. If payment is required, they cannot complete the envelope without paying. If optional, they can choose to pay later.
Both parties receive confirmation of the signing and payment.
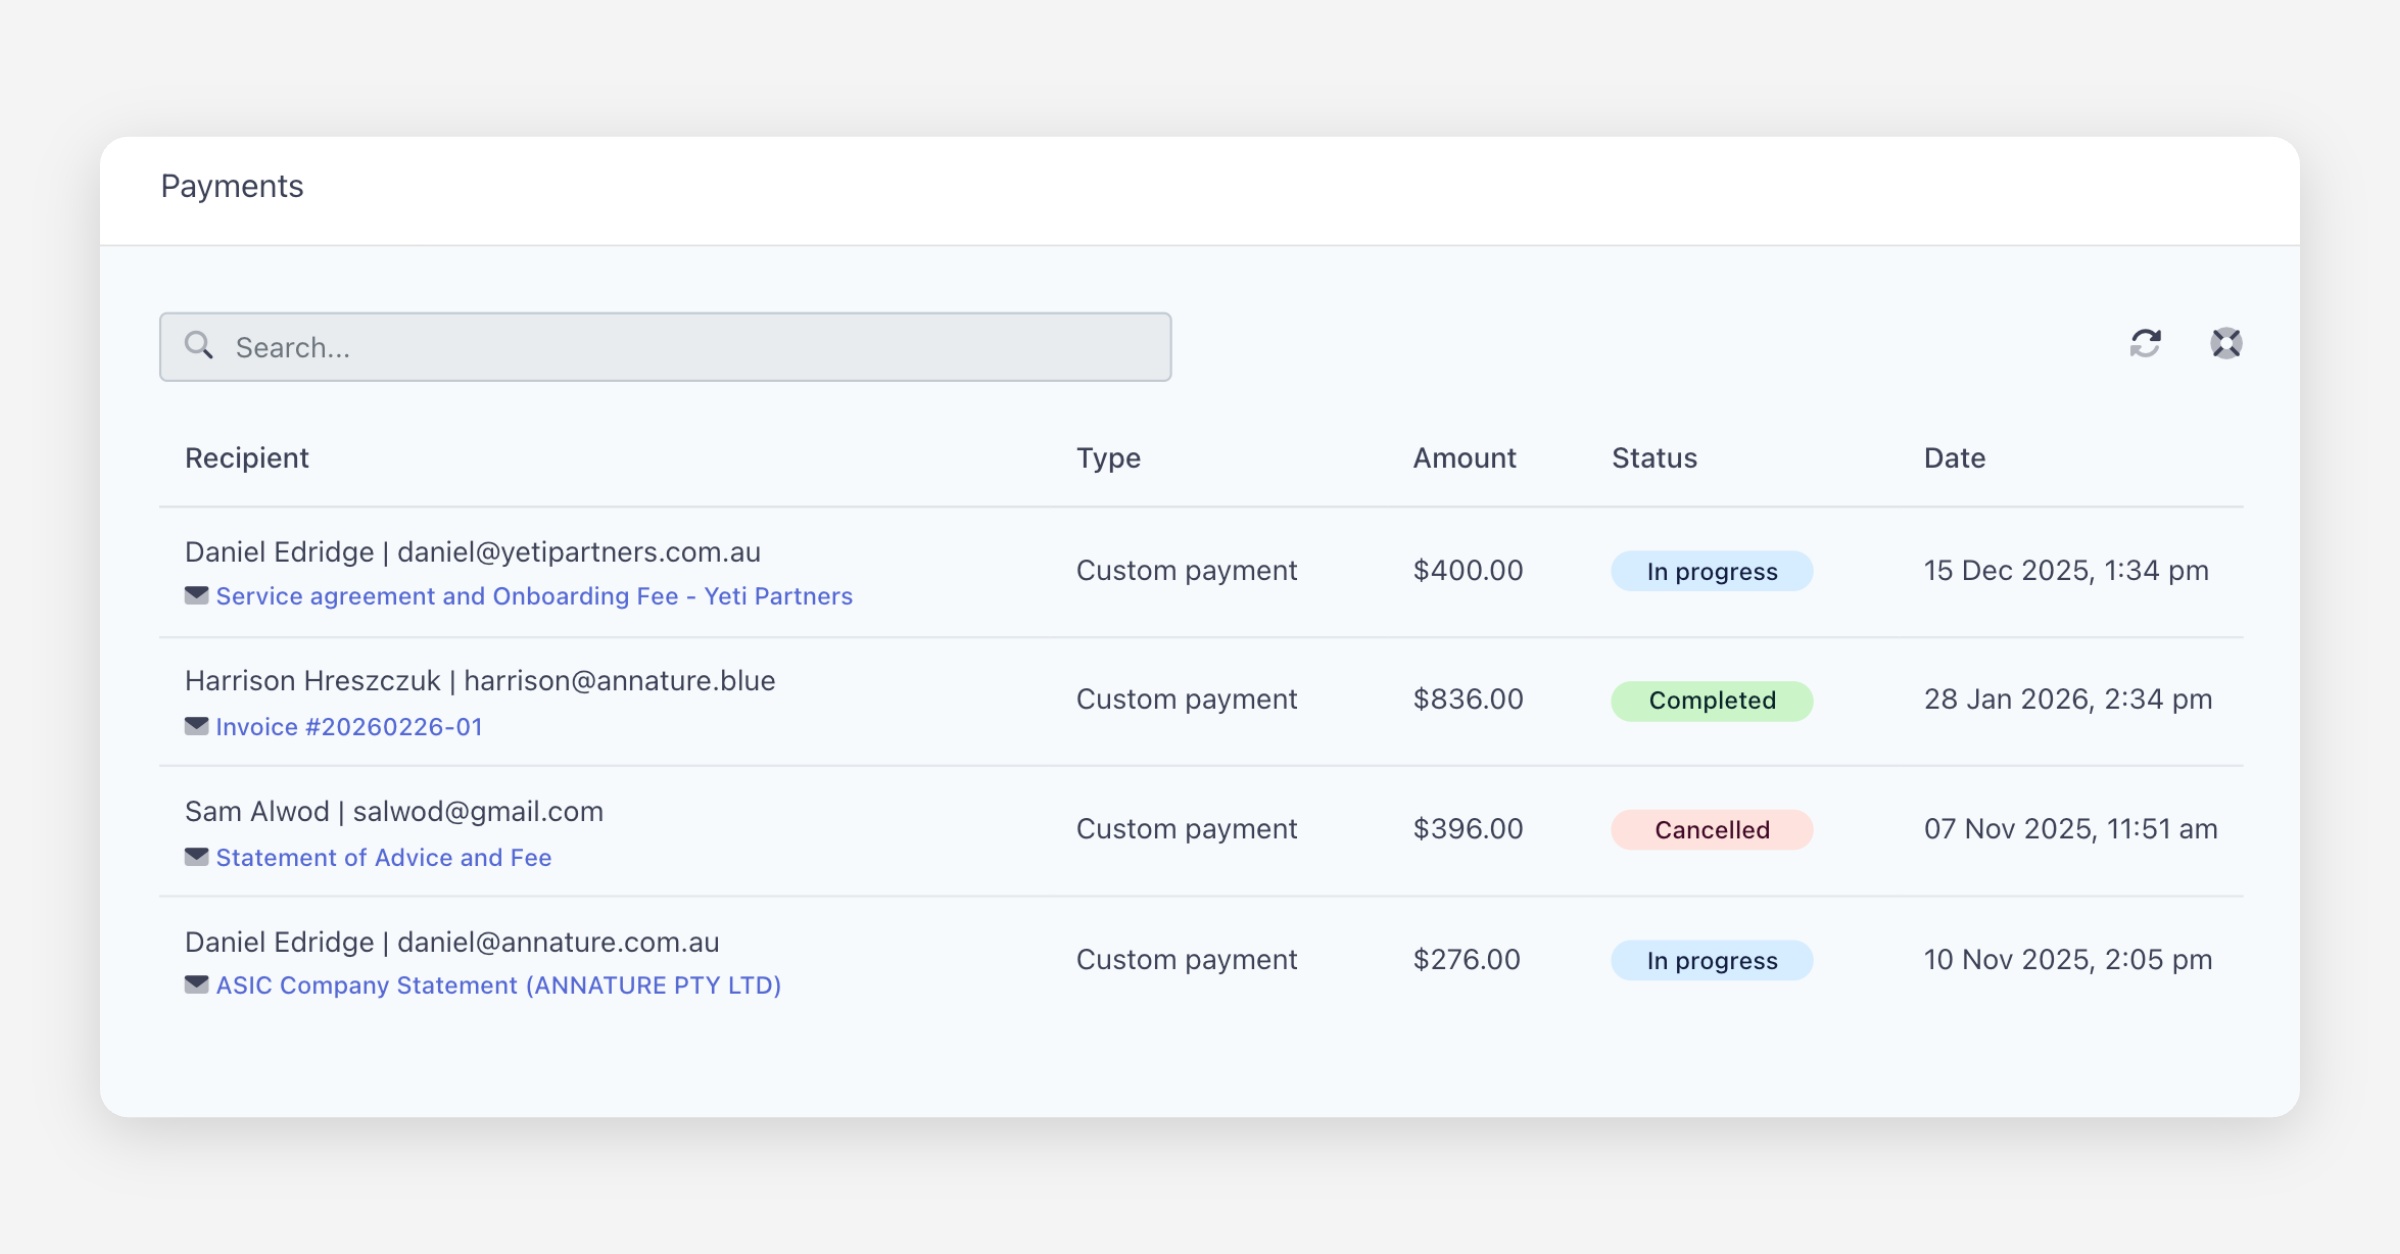
Payments dashboard
The Payments dashboard tracks all payment requests across your organisation, showing the recipient, associated envelope, payment type, amount, and current status.
Was this helpful?